Content
- page: Perform Ubunu 20.04 LTS installation steps
- page: Perform post-installation settings and configurations
The 1. page content
Introductory
Ubuntu released version 2020 LTS (Focal Fossa) on April 23, 20.04, for which it will provide support until April 2025. It has even received an update since the release of 20.04, so currently 20.04.1 LTS is the latest version of this Ubuntu line. About the lifecycles of different versions of Ubuntu exactly here get information.
In this description, we will use version 20.04.1 to create the latest family member for the minimum servers.
Get Ubuntu 20.04 LTS
By default, the following file is downloaded for the 64-bit Intel or AMD architecture: ubuntu-20.04.1-live-server-amd64.iso
If you want to install on a different architecture, select the appropriate one from the top menu.
Installation
There are several ways to install: Write the ISO file to a flash drive Under Windows, or On Debian, or you can install it on a virtual machine. I choose the latter, so one VirtualBox I will install it on my machine, which I will add to the downloads later.
Boot System
After booting the machine from the ISO file in any way, the installer will start:
At first, a few things run, and then we find ourselves in the installer right away.
Language and locale settings
A list of languages appears:
Select the appropriate language here.
Installer update
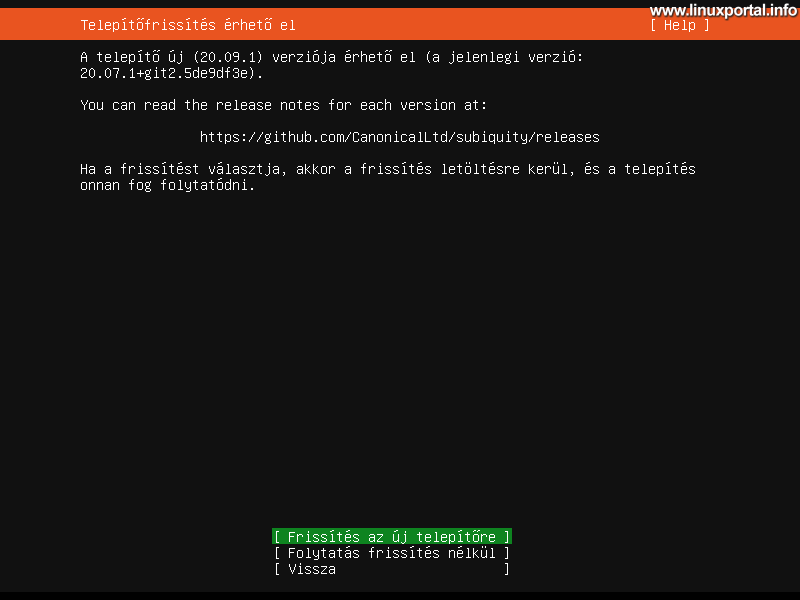
Here I have an upgrade step that says "Installer update available". Despite the recent download, there seems to be a newer installation version. Here you can choose from three options:
- Update to the new installer
- Continue without updating
- Back
If you already have another installer, I will choose the first option here, "Upgrade to the new installer".
(Of course, if someone is downloading the latest installer, this step will be skipped.)
Then you will download the things you need and you will let go of the next step.
Keyboard setup
Here you can select your keyboard layout and version, or select the "Keyboard Identification" option:
Here, if you just don't know your exact allocation, choose the authentication feature. An information panel will appear stating that automatic keyboard detection has started and that you will be asked a series of more questions and that you can return to the previous screen at any time with the ESC key:
Select OK.
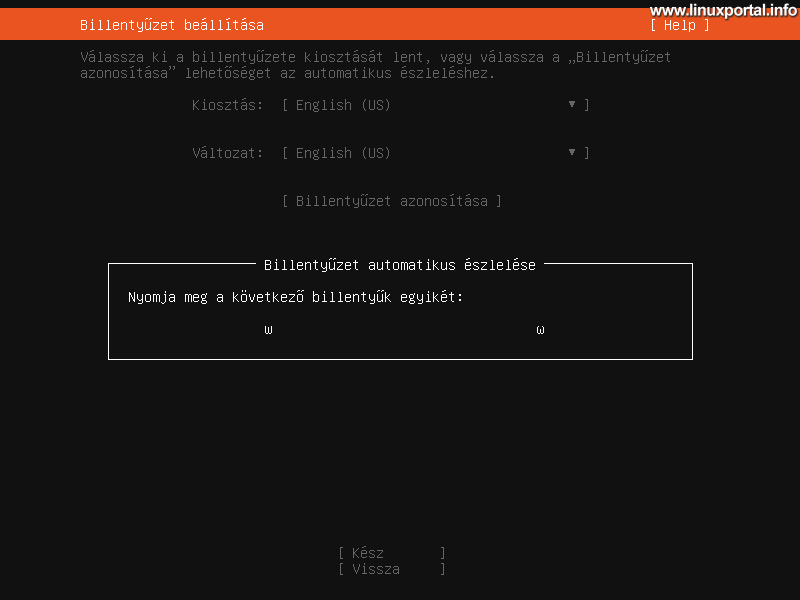
You will then be asked to press one of the following keys:
Here you press one of the keys listed. Then comes the following:
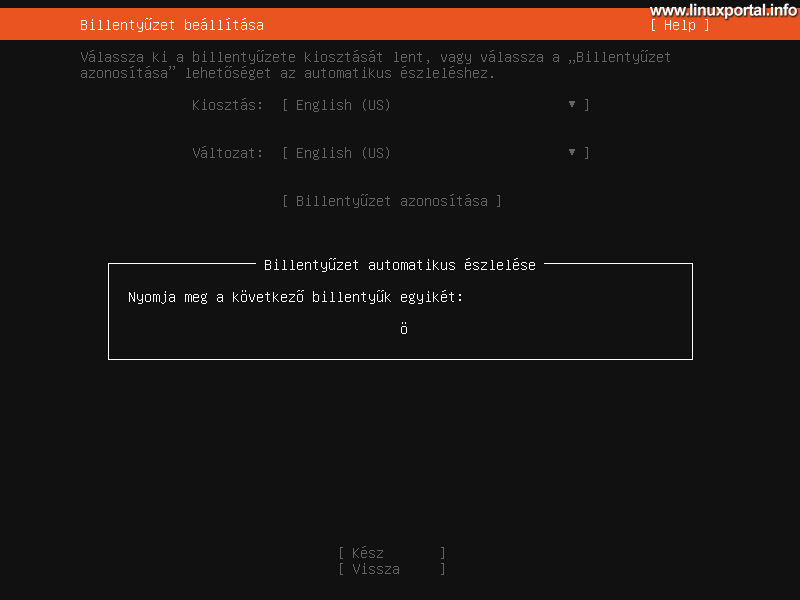
Let's press down here, too, what you have to offer us. In this case, here is the "w" key. It then asks for another one and asks if the displayed character is available on the keyboard (in this case, "ö"):
Here, select according to your keyboard whether it is available or not. If you select yes, you will also be asked to press that key:
Press the desired key.
The keyboard detection is still complete, it lists which keyboard it has detected, and if it is correct, continue with OK, but you can also go back to start detection again:
If all went well, move on with the green OK option. We then return to the main keyboard layout window, where we can review the whole thing, or even start over, if necessary:
If all is well, move on to Done.
Set up a network
The installer displays the network card detected on the server. The device name enp0s3 is currently automatically assigned to this. The IP addresses during the current installation a DHCP assigned, this will later be migrated to a fixed IP address. If you do not get the address via DHCP, but have a real fixed address, you can also enter it here by selecting the top network device option:
So if you get the IP address via DHCP, go ahead with Done.
Then the proxy setting follows:
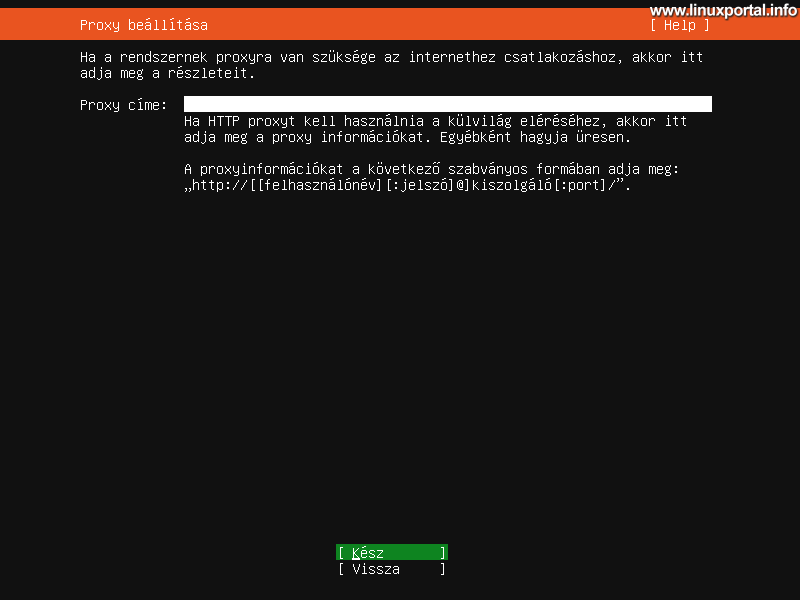
If you are connecting to the Internet through a proxy, configure it here. If you are not connected to a proxy or you do not know about it, leave it blank and move on to the Done option.
In the next window you can configure the Ubuntu mirror:
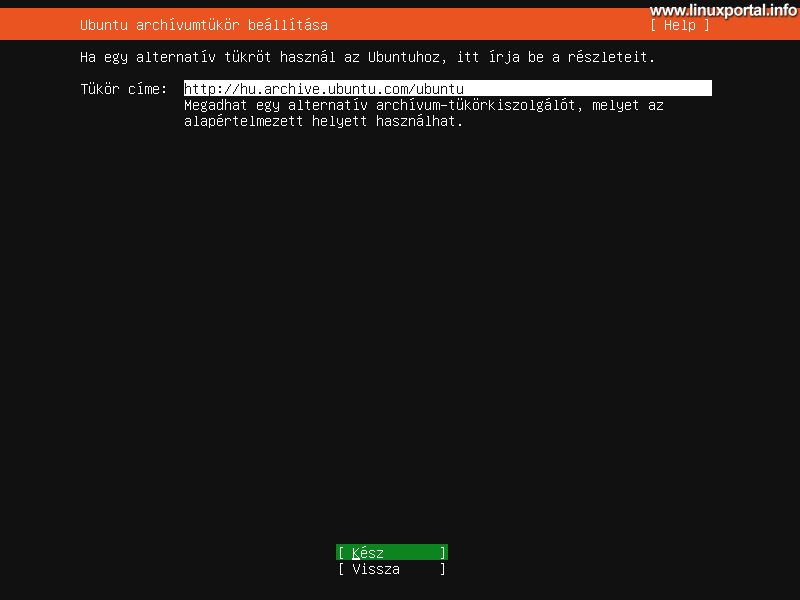
You can leave this at the default setting, but if you want to use another mirror we can pick from here. Whatever we choose, it will be later APT package manager we can set this again at any time. I leave this at the offered setting.
Partitioning disks
Now the partitions are partitioned.
In this description a simple BIOS mode is performed, which MBR partitioning scheme will use. We will make it in another description UEFIinstallation, which is GPT partitioning scheme will be built.
A 25GB hard drive is connected to this virtual machine. By default, the installer has set the partition as a logical volume (LVM) for us, which is irrelevant to our installation and future use, so we can leave this option set. I don't set up LVM disk encryption on a virtual machine, so we can more easily maintain my hard drive later if needed. For live server usage, if the situation requires it, we can turn it on if we know how it works.
If you do not want to create a custom partitioning schema, go to Done. If you want to set up custom partitions, select the "Custom storage layout" option below. Here we move on to the Done option.
Then we get another overview window where we can review how the partitions are divided:
The automatic partitioning feature created for us a 1 MB partition for GRUB, a 1 GB partition for / boot, and the rest for the entire file system. Here, too, proceed with the Done option.
He then warns us that we need to approve the partitioning, as an irreversible operation will be performed:
Select Next here.
profile Settings
In this step, you can set your server name and user:
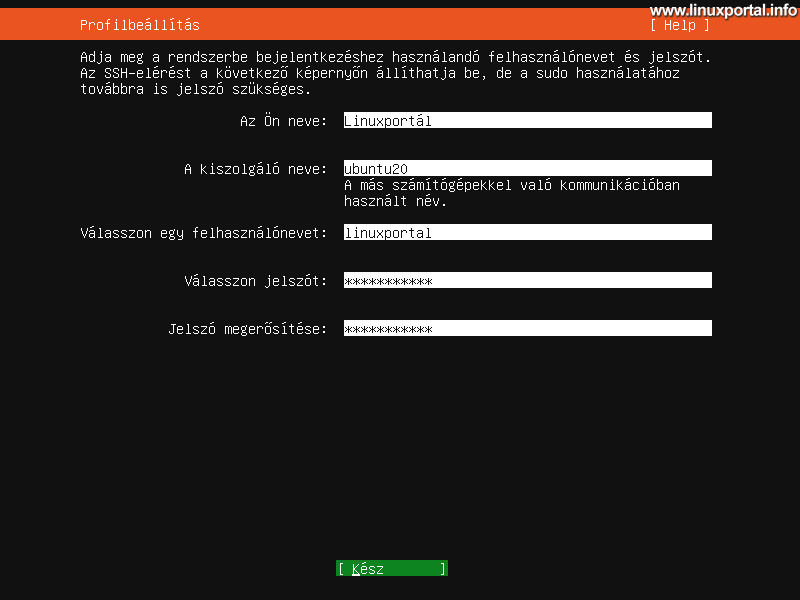
The following must be provided:
- Your name: Enter your full name here.
- Server name: Enter the host name of your server. It's not here FQDN we need to enter a name, only the hostname.
- Choose a username: Enter any username here.
- Choose a password: Enter a password.
- Confirm password: Let's enter it again
Once we are done, move on.
SSH setting
You will also need an SSH server for remote access. In this step, you can set this:
Check the top "Install OpenSSH Server" here. Also, if necessary, here you can also import SSH keys to use we can log in without a password remotely into our system. These can, of course, be set later. If you selected the option, move on.
Additional services
As a final step, the installer offers some frequently used features that are installed through Snap:
We don't have to select anything here, as this installation is made for the base system, so later we will install the necessary things ourselves in the APT or using snap package managers. So select the done option to complete the installation.
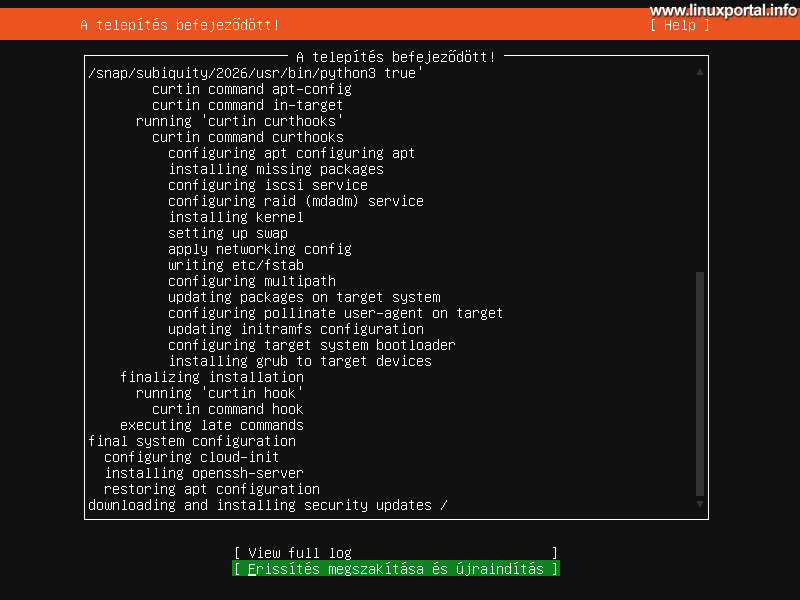
Installation complete
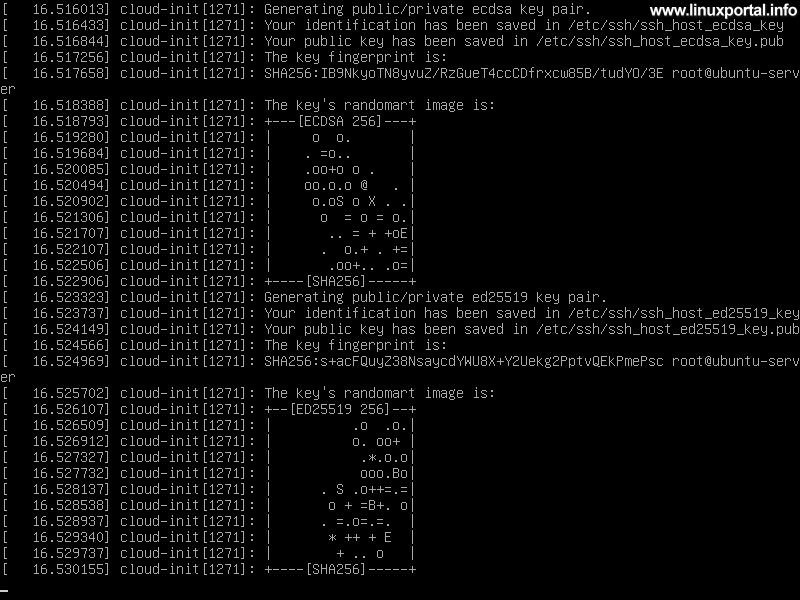
Finally, the installer completes the necessary tasks:
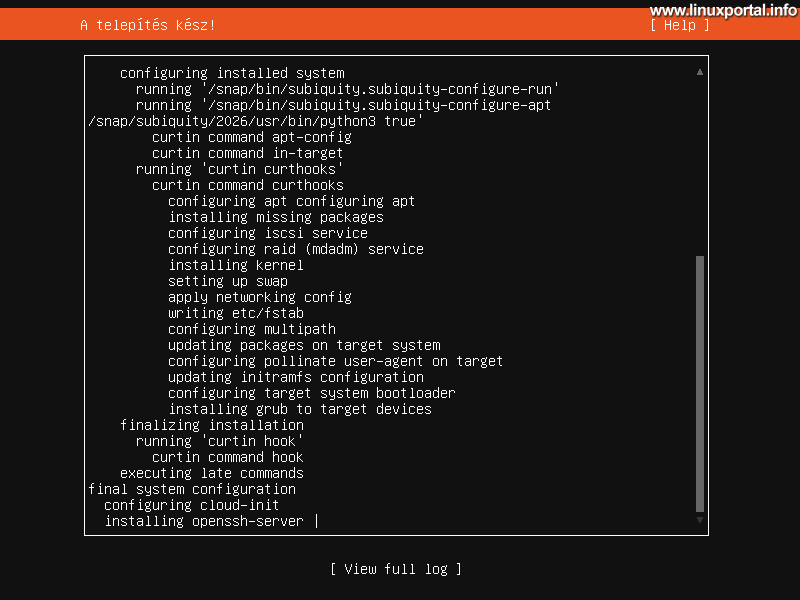
Don't press restart here yet, wait for it to finish:
And when you're done, you can go for a reboot.
Let's not go anywhere yet, a next page continue with further server settings.
Navigation
- To post registration and login required
- 2728 views