Content
Introductory
In this tutorial we will walk you through installing a minimal server for the Debian 8 (Jessie) Linux operating system.
At the time of writing (2018-04-21), the latest version of Debian is 9.4, so version 8.10, which is now being installed, is no longer the latest. Surely the reader is wondering why we are installing version 8.10 then. There are more complex reasons for this:
A little reflection
A lot of people still use Debian 8 as a live web server. The default in the Debian 8 distribution PHP version is 5.6, currently 5.6.33. Here are the PHP versions shipped with Debian versions.
This is a key issue for running a web server, as a very significant proportion of websites on the Internet that use PHP do not currently use a version of PHP higher than 5.6.x. Of course, as time goes on, more and more people are switching to PHP 7.x versions. However, it is no small task to rewrite the source code (e.g. on a custom dynamic website) to a version compatible with PHP 7.x. So it's much easier to use Debian 8 with the default PHP version 5.6.x than to reverse the Debian 9 version. Thus, we prefer to compile Debian 8 optionally to version 7.x if required by web pages running on the server.
Right now, I’m in the same shoes too; here on the server I use Debian 8 in the same way, with the default PHP of 5.6.33 and optionally up from version 7. Thus, each of the websites running on the server runs in the right environment.
Of course, this changes over time, because sooner or later support for old Debian versions will be discontinued, which raises security issues in a live server environment, so we can't end up migrating. But then we will face new questions: Which one will be simpler? Rewriting source code for old web pages to be compatible with newer versions of PHP, or downgrading older versions of PHP, which may seem simpler, but also has its limitations due to the version dependencies of Debian packages.
So if we look at things this way in practice, then it is very timely to install and use 8 Debian.
Debian 8 (Jessie) archived on March 2019, 20 nem LTS libraries so you can have them do not arrive updates as well as the original luggage racks throws 404 errors when updating. Detailed information about this can be found here.
Accordingly, the position I described above about a year ago is now obsolete.
Therefore, it is highly recommended to install Debian 9 (Stretch) when building a new server! Let's review this description for study purposes only (I have left the original parts of the description in order to keep it round).
A The Debian 9 (Stretch) minimum server installation guide can be found here.
The Debian 10 (Buster) minimum server installer description
Now that we are over the theoretical part of the thing, let's get to work!
Get Debian
Installation
You can install the minimal Debian server directly on your computer, for example to build a dedicated web server, in which case it is advisable to burn the image file to a flash drive. Or you can install one created for this purpose virtual machine, if you only want to create a test environment or experiment with Debian. Whichever one we choose for this description, the end result will be the same.
I in this description VirtualBoxI will do the installation in So let's start the installer.
Installation method

On the first screen, you will see a menu where you can choose from several installation methods. The first two options are important here: You can choose between a plain text screen installer or a graphical version of the screen. Both versions will run through the same installer.
If you already have a choice, make it a little more convenient, I’ll move on with the graphical screen version. There will already be mouse integration here, so we can also use the mouse during installation.
Language and locale settings

The next screen will switch to a higher resolution to display the language selection. Here we choose the language that suits us (e.g. there are those who prefer computer science in English).
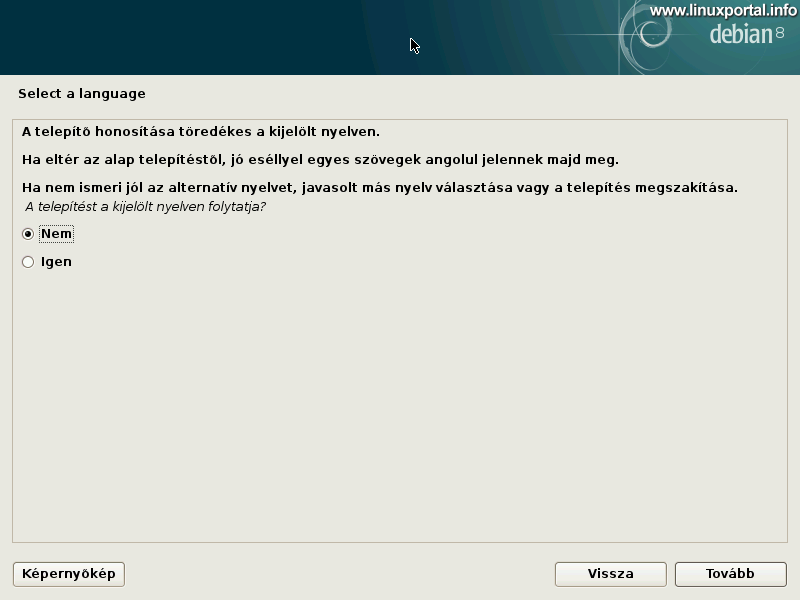
He then prints that the translation is incomplete and asks if he can go with the selected language. Select Yes to continue here.
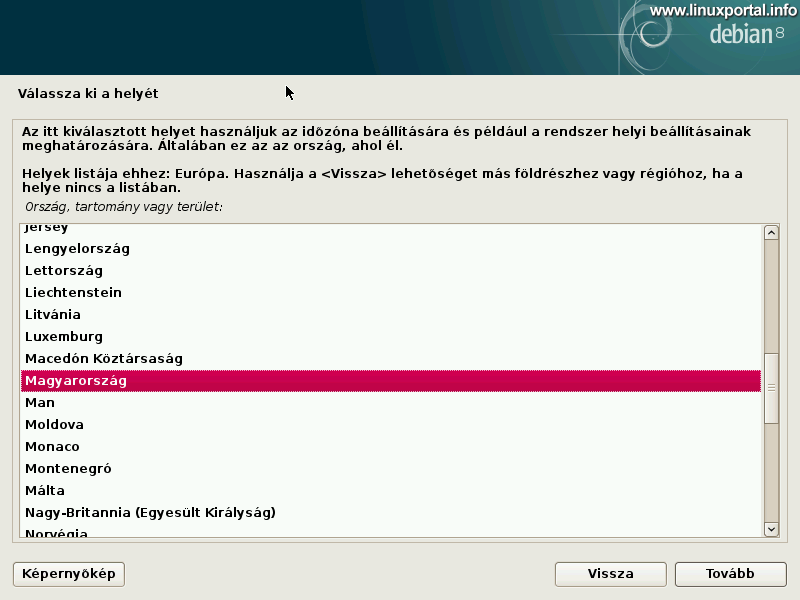
In the following picture, you will need to select your country for the locale.

Select your keyboard.
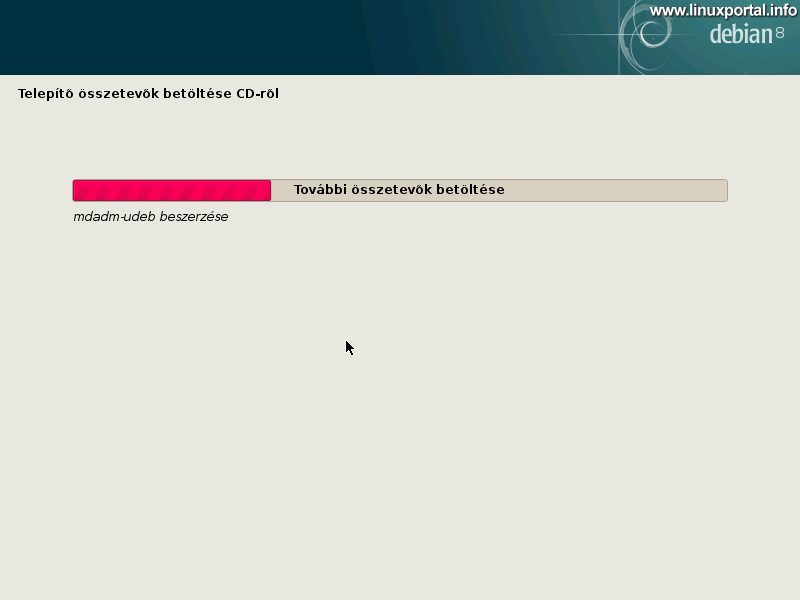
It then loads the components and prepares the network settings.
Set up a network
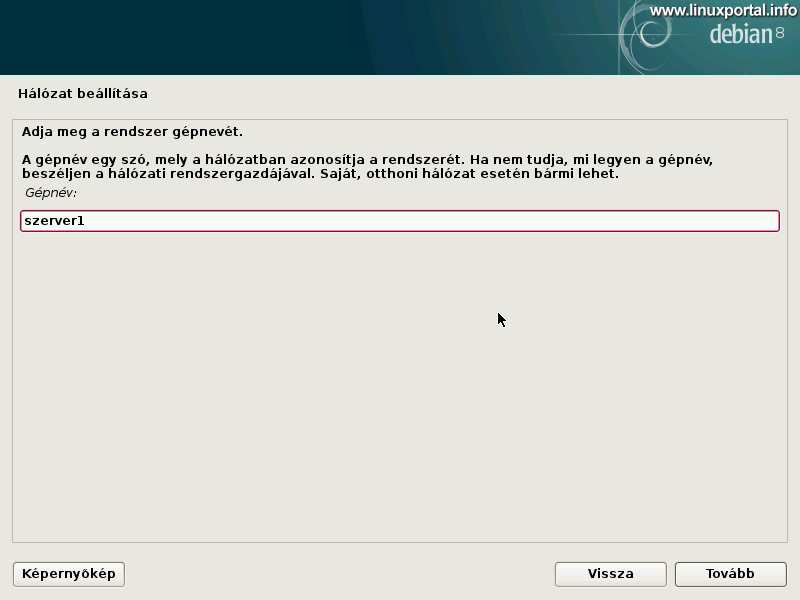
In this section you need to enter the machine name. Here you can enter anything. This is important if there are multiple hosts in the network and need to communicate with each other later.

Enter the domain name. If the installation is not intended for live use, then anything that can be specified here will not matter. And if you want to build a live web server, select the primary domain name that will be on the server.
When I first installed my production server, I gave it the domain for which I was primarily dedicated. Then, since then, multiple domains have been redirected to it for more websites.
So here we have to decide what our future goal with the server is. For example, if we are offering hosting services to clients, it would be a good idea to provide our own primary domain name here as a corporate "central" domain name.
The significance of this will be that if we buy an SSL for our main domain, for example, it will be available for other services on the server when connecting via this main domain. For example, connecting to e-mail accounts, webmail, phpMyAdmin, FTP, etc. Here, let's choose a domain name that we can later provide to our customers as an SSL-protected "central" webmail or FTP access address.
But if we do not have a better idea now, then no problem, because we can change this later at any time from the terminal if needed. So here we can enter anything.
Here I am going to enter the domain name of this page, as I will create tutorials for this on this virtual server.
Users and passwords

The password for the root user must be entered here. Enter a sufficiently secure password according to the instructions in the image.
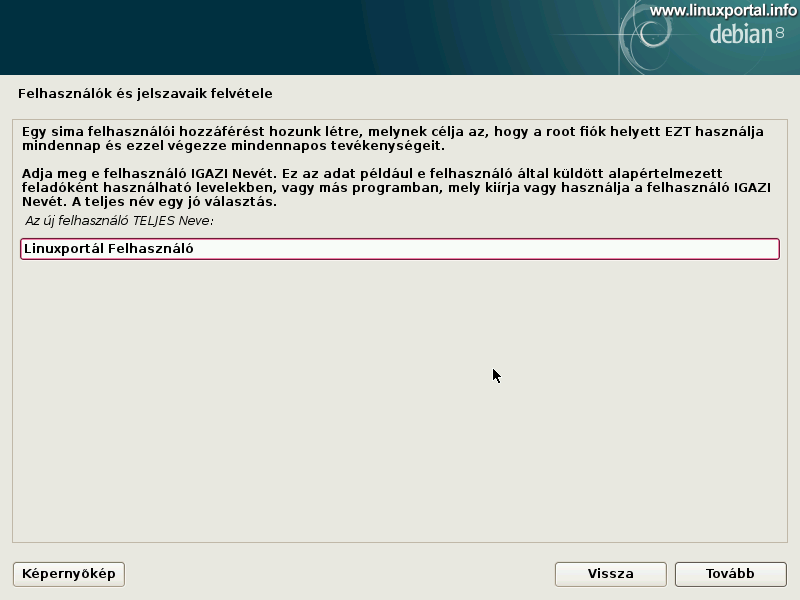
The next step is to enter the full name of a standard user to use the system by default. Here, the name of the virtual machine is also irrelevant, but if you want to use it live, enter your full name. I'm using the name "Linux Portal User" here, so this will be the name in this installation.

And let's enter the name of our smooth user. Here I enter the username "linuxportal".
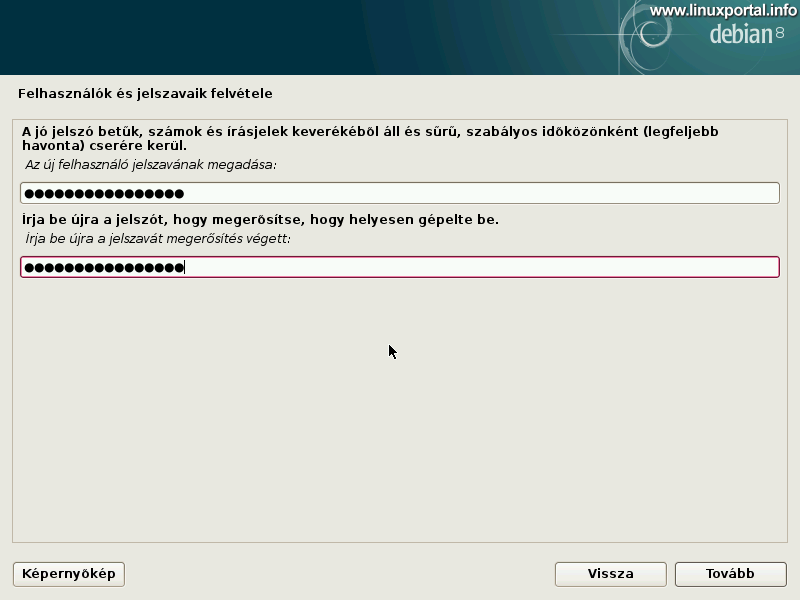
Enter the password for this user. And here I entered the password "linuxportal-user".
Partitioning disks
In this tutorial, for the sake of simplicity and portability, I will now put everything on a single disk, not partitioning the virtual machine into additional partitions.
Of course, you can create the same schema for VirtualBox, but it doesn't make sense to create a test environment.
Partitioning a live server or home machine is covered in another description.
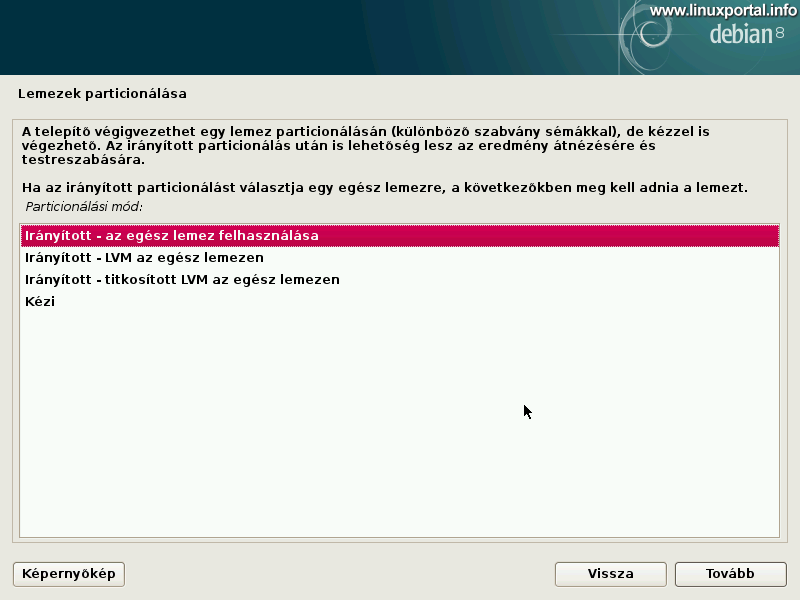
So here we have to choose the basic partitioning method. Here, the scheme offers various schemes for the most common uses. Select the very first option if only this Debian installation is installed on your computer (eg your current virtual machine). Of course, anyone who knows what he's doing should do it at his discretion.
If you want to install Debian on your home computer alongside another operating system, you need to do the partitioning manually here. If you don't know the manual settings well, be sure to stop here, don't risk losing your existing operating system!
In this description, I will only describe one operating system regular installation, I will not cover multiple regular partitions.

Select the disk to be partitioned - here is the VirtualBox disk that you previously connected to the machine on an exclusion basis.

Here, select the very first option: All files on a single partition.
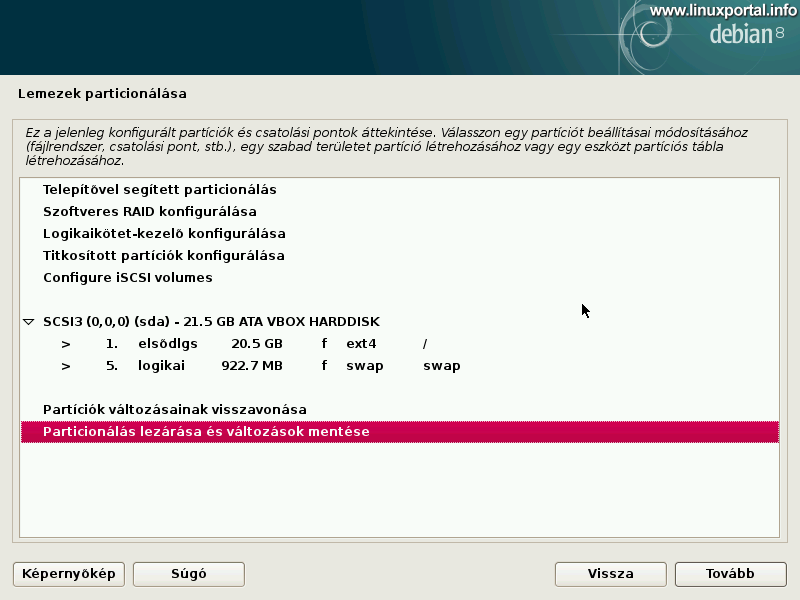
Close the partitioning and then continue.
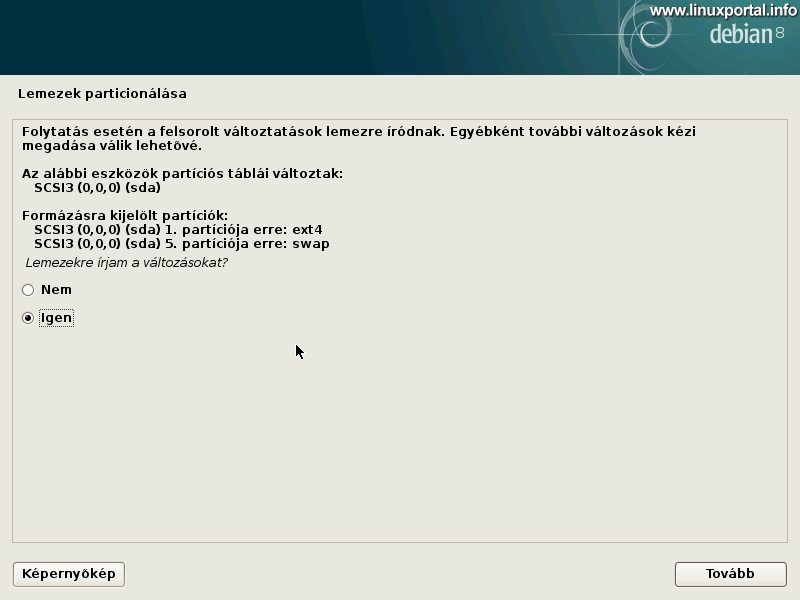
Let's save it.
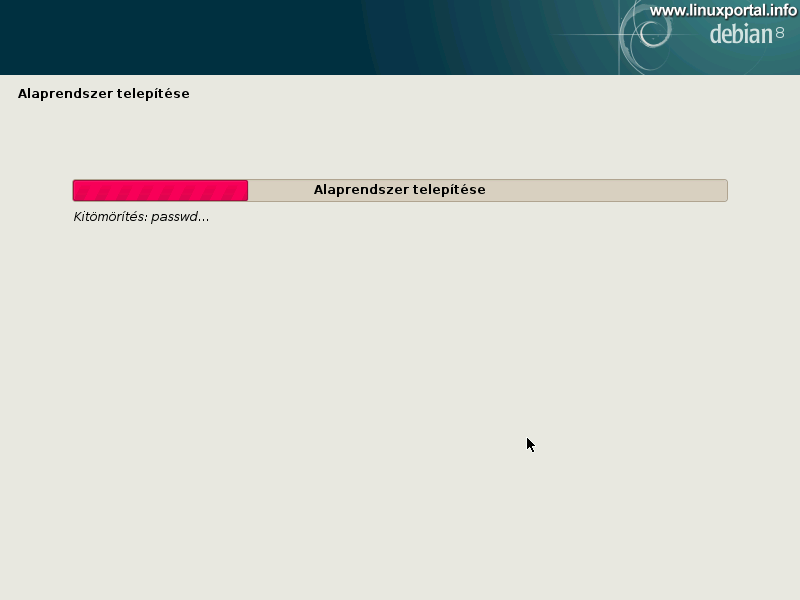
The installation will then start.
Configure package manager
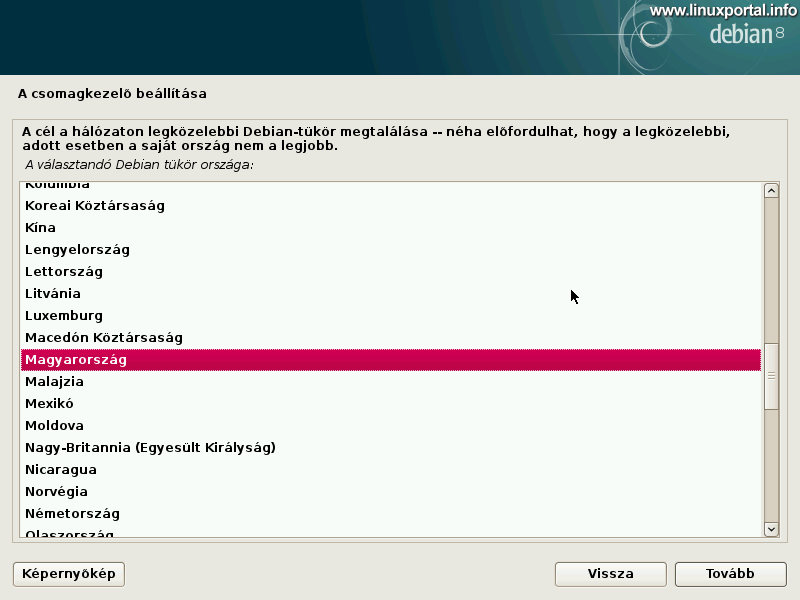
Choose Hungary.

And the Hungarian debian mirror.

If you do not use a proxy or do not know what it is, leave it blank. If used, enter its parameters.

Sets the APT package manager.
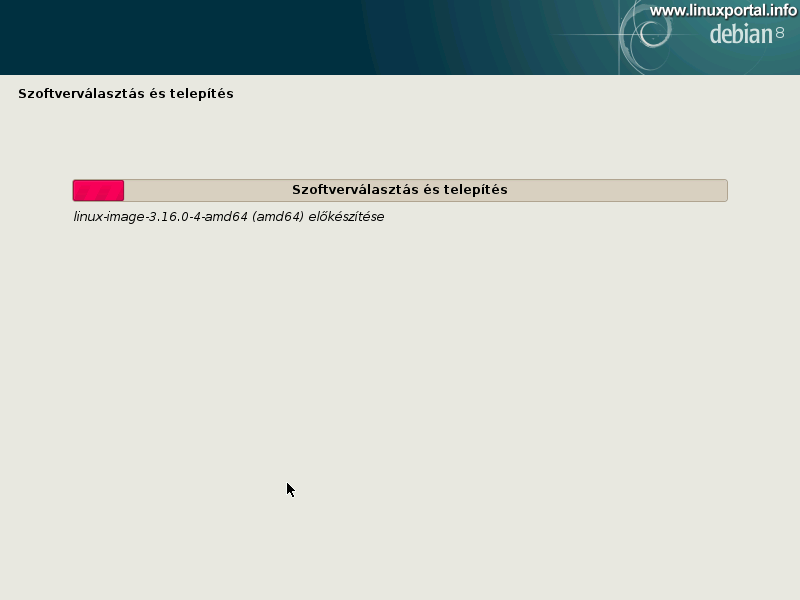
Assembles the necessary software.
Configure anonymous statistics
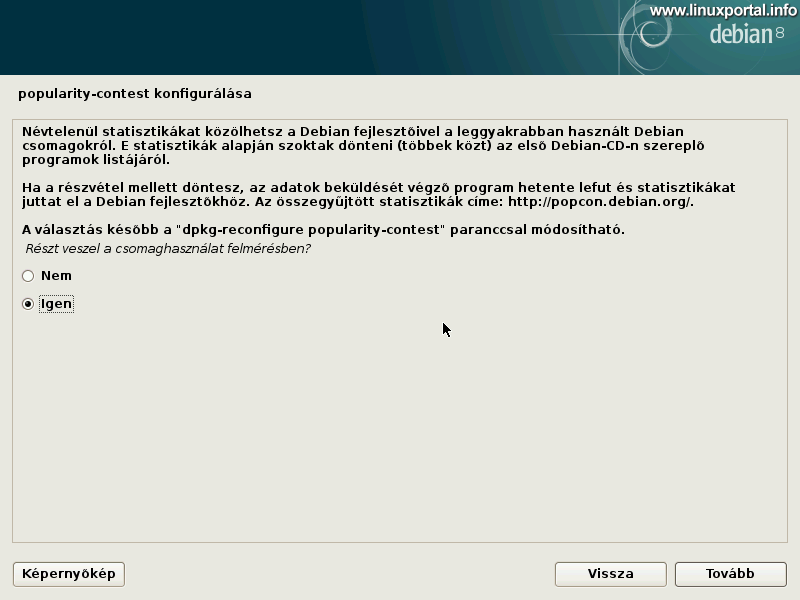
You can choose whether to send statistics anonymously to Debian. Here, let us decide at our discretion.
Software choice
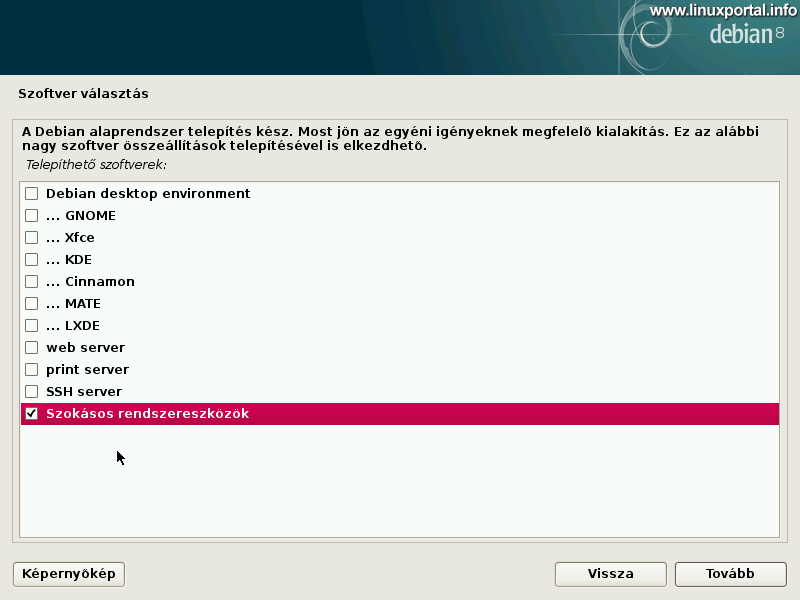
And here comes the essence of minimal installation: Here we take everything out, only the lowest, Common System Utilities select the option and then after booting the system we will load from console what we will need.

This is where the installer starts and installs all required packages.
Installing GRUB
A GRUB we need to decide how to install the boot loader into MBR:
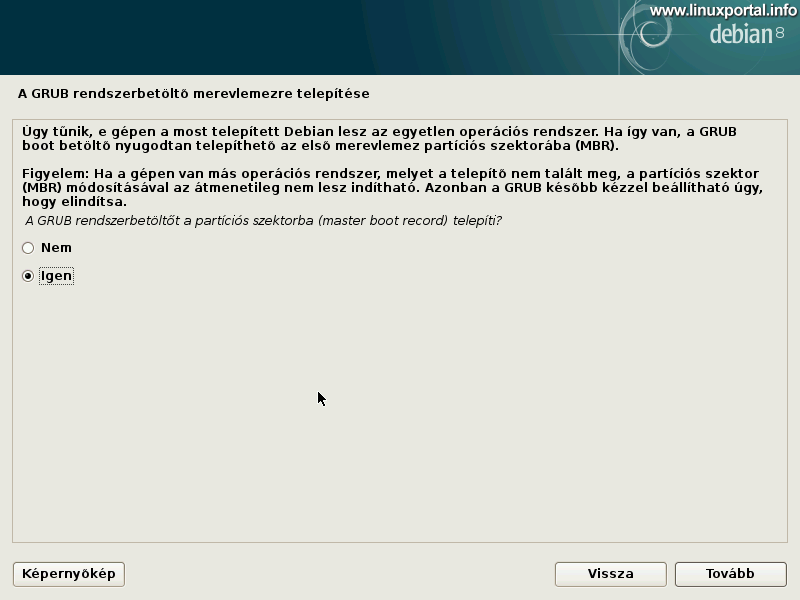
Here we choose according to our own situation. For VirtualBox, you can go to the partition sector.

Select the device where GRUB will be installed. There is only one option in this description.
Finish installation

And by the end of the installation. Click Next to restart your computer.
Boot System

When you start the system, GRUB (the system selector) will appear first, select the Debian GNU / Linux option here (if you do not select anything, it will start automatically in a few seconds).
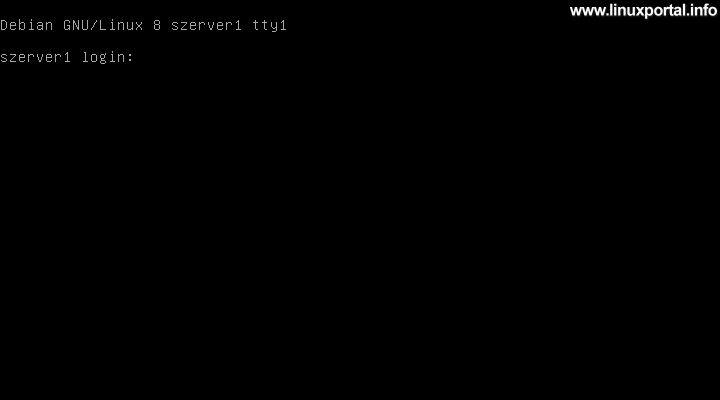
Log in with the root or smooth user account you specified earlier:
User: root, Password: linuxportal
vagy
User: linuxportal, Password: linuxportal-user

Entering as root is our screen.
Install basic programs
Our minimal Debian installation is ready, but we still need basic programs and packages that we cannot work on the new system without.
First, update the repositories and packages in the apt-get commands:
apt-get update
apt-get upgrade
I didn't have an update right now. It's a good idea to do this regularly, say at least every few weeks, to keep the latest packages in your system.
Nano editor
You will need a good editor to conveniently edit your config files. The optimal choice for this is a dwarf. Previous versions of Debian did not include it by default, but it was already included in this version of Debian 8.10, so let's give it a try:
nano
If you are trying an older version of Debian and it is not included by default, it is recommended that you install it:
apt-get install nano
SSH server
apt-get install -y ssh openssh-serverConfiguring this will be covered in more detail later, for now it is easy enough to install so that you can access this system from other machines on the network via SSH.
Use one of these terminals to connect to the machine with the machine's IP address (IP address setting below), plain username and password (on first login, the terminals will ask for confirmation to store the key sent by the server. In this case, accept).
Now you can conveniently use the clipboard as follows:
To paste raw (unformatted) text from the clipboard into the terminal: SHIFT + INSERT key combination. To copy texts from a terminal, simply select the appropriate text in the terminal with your mouse and it will be immediately added to the clipboard. This way, we can easily move text data in both directions and get used to the terminal.
Later this will become more and more important when we are working almost exclusively in the terminal and often need to copy / copy data.
Bash Set
In Debian 8, by default, a Dash more shell is set. More preferably, the Bashwill be used later. So, change the default shell to Bash:
dpkg-reconfigure dash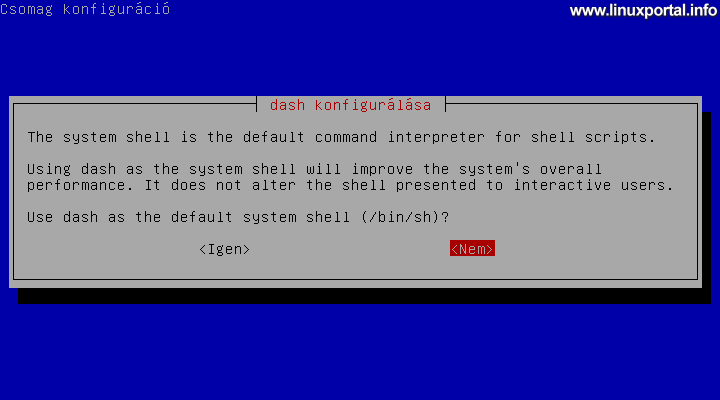
Select No here. You will then update the corresponding symbolic links.
Configure SUDO
During normal use and / or remote SSH access, we do not use the root user but log in with our regular user. And then sudo command to gain root privileges when needed. By default, the sudo package is not up, so let's install:
apt-get install sudoNext, we need to configure our user "linuxportal" created during installation to use the sudo command:
visudoThis will open the nano editor, including the / Etc / sudoers with the contents of the file that we are editing. Add our user to the file with the green highlight below:
#
# This file MUST be edited with the 'visudo' command as root.
#
# Please consider adding local content in /etc/sudoers.d/ instead of
# directly modifying this file.
#
# See the man page for details on how to write a sudoers file.
#
Defaults        env_reset
Defaults        mail_badpass
Defaults        secure_path="/usr/local/sbin:/usr/local/bin:/usr/sbin:/usr/bin:/sbin:/bin"

# Host alias specification

# User alias specification

# Cmnd alias specification

# User privilege specification
root    ALL=(ALL:ALL) ALL
linuxportal ALL=(ALL:ALL) ALL

# Allow members of group sudo to execute any command
%sudo   ALL=(ALL:ALL) ALL

# See sudoers(5) for more information on "#include" directives:

#includedir /etc/sudoers.d
CTRL + O with and then CTRL + Xwe can quit. You can then use the sudo command with the user you just set up.
If you want to use the sudo command without a password, you can find out more here.
Network Configuration
By default, the installer DHCPset the system to request a title, so it is dynamic IP addresses get the machine. If you want to make a server later from this installation, you need to set up a static IP address.
A My VirtualBox description properly i set up a virtual machine's static IP address (192.168.1.120) on my router based on the MAC address so it always gets the same address from outside. But if no other setting is available, the IP address may change the next time you turn it on. So let's set up a static IP address now:
Edit the following file (remain as root in the system):
nano /etc/network/interfacesWhich basically contains this content:
# This file describes the network interfaces available on your system
# and how to activate them. For more information, see interfaces(5).

source /etc/network/interfaces.d/*

# The loopback network interface
auto lo
iface lo inet loopback

# The primary network interface
allow-hotplug eth0
iface eth0 inet dhcp
Change this to
# This file describes the network interfaces available on your system
# and how to activate them. For more information, see interfaces(5).

# The loopback network interface
auto lo
iface lo inet loopback

# The primary network interface
#allow-hotplug eth0
#iface eth0 inet dhcp
auto eth0
iface eth0 inet static
        address 192.168.1.120
        netmask 255.255.255.0
        network 192.168.1.0
        broadcast 192.168.1.255
        gateway 192.168.1.1
I have the IP address 192.168.1.120 set in the router, so I will enter this here as well. We will also work with this IP address in later tutorials.
Once you're done, let's restart networking:
service networking restartThen open the / Etc / hosts file:
nano /etc/hostsAt this point I currently have:
127.0.0.1       localhost
127.0.1.1       szerver1.linuxportal.info       szerver1

# The following lines are desirable for IPv6 capable hosts
::1     localhost ip6-localhost ip6-loopback
ff02::1 ip6-allnodes
ff02::2 ip6-allrouters
Add your static IP address as follows:
127.0.0.1       localhost
127.0.1.1       szerver1.linuxportal.info       szerver1
192.168.1.120   szerver1.linuxportal.info       szerver1

# The following lines are desirable for IPv6 capable hosts
::1     localhost ip6-localhost ip6-loopback
ff02::1 ip6-allnodes
ff02::2 ip6-allrouters
Of course, everyone can use their own domain name that you provided during installation, but you should consistently use it every time I mention my own in the tutorials.
Installing VirtualBox Guest Additions
Finally, if you have installed the system in VirtualBox, consider a installation of guest integration services, which is optional, but provides greater hardware compatibility for our installed system, resulting in more stable performance.
Closing thoughts
In this description, we also mean the end of this topic. To turn off the machine, press shutdown You can do this with the command:
shutdown -h now
I hope this description has been used and will break the deadlock for those who have already considered installing Debian in console mode but have not yet done so. There will be more installation instructions later, such as a graphical interface, so don't let those who want to use this excellent operating system for multimedia purposes now.
What's next?
Once the minimum server is built, you may be wondering where to go about building your server.
Well, for those who want to build a simpler server that they want to use in a developer or test environment, Debian 8 (Jessie) LAMP server for my description, which is based on this minimal server setup. And for those who want to run live web pages, they might want to serve customers, and for those Debian 8 (Jessie) perfect server description for me I recommend that you can use it as a complete, shared hosting provider with multiple clients, web hosting control panel includes building a working, complex server.
- https://www.howtoforge.com/tutorial/debian-8-jessie-minimal-server
Based on this, I installed my production server at the very beginning, and supplemented this description with my own experience.
- To post registration and login required
- 721 views