
The 1. page content
Introductory
WordPress is free, open source, easy to use, customizable and search engine friendly CMS system, which allows you to easily create blogs, websites, or even web stores. Due to its extreme popularity, the system's development community is already contributing more than fifty thousand extensions to the customizability of WordPress-built websites.
Previously we have installed a Drupal 8system one Debian 8 (Jessie) is the perfect server configuration, and now we’re going to talk about WordPress version 5.2 one as well ISPConfigserver environment - which can be the previous server config, the newer, A perfect server based on Debian 9 (Stretch), or even the upcoming Ubuntu 18.04 LTS (Bionic Beaver) perfect server. More descriptions will be built on the installed website later.
basic Conditions
- Perfect server: Debian 8 (Jessie) v1.0 [ Installation guide | download virtual machine ]
- Perfect server: Debian 8 (Jessie) v1.1 [ download virtual machine ]
- Perfect server: Debian 9 (Stretch) v1.0 [ Installation guide | download virtual machine)
Create a web account in the control panel
Before we can start installing any website, we must first create a web account on the server and the necessary things related to it (e.g. storage space, database, FTP, DNS, email addresses, cron tasks, etc.). About this before I made a full description, however, we will not go into such detail now, but will only go through the parts that are absolutely necessary for our WordPress installation today, which will be enough to test start the page. Of course, in case of sharp use, I have to make most of the settings I made in my previously linked guide.
Create a new site
In the ISPConfig main menu, click sites button. This will bring up a list of current sites:

Click the "New Site" button here. This will bring up the "Web Domain" page, which contains a multi-tab form:
Domain tab
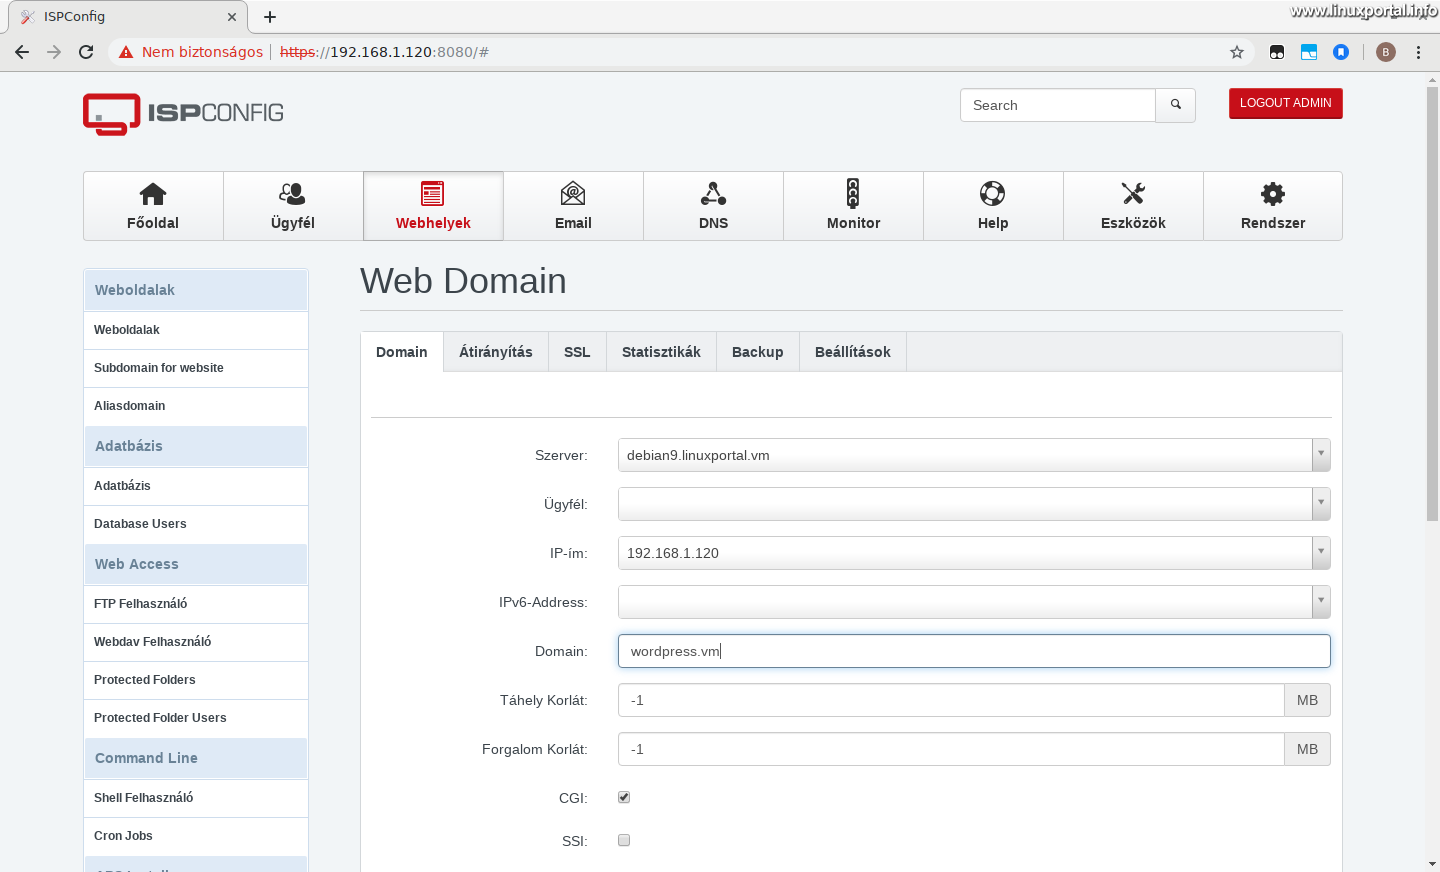
Here you should set the following in sequence:
- Server: Scroll down the name you set when you installed the server.
- customer: Leave it blank. Unless we want to create a customer hierarchy. In this case, first create a customer.
- IP address: Scroll down to server installed fixed IP addresses.
- IPv6-Address: Leave it blank.
- Domain: Here, enter one that suits us domain name along with its ending. In case of live use, we use our purchased domain name. Here, I enter the domain name wordpress.vm to match the hostname scheme.
- Storage limit: Leave it on -1 to disable the restriction.
- Traffic Limit: Let's also leave this on -1
- CGI: Not all pages use it CGIbut turn it on because WordPress can use it.
- SSI: I do not need it
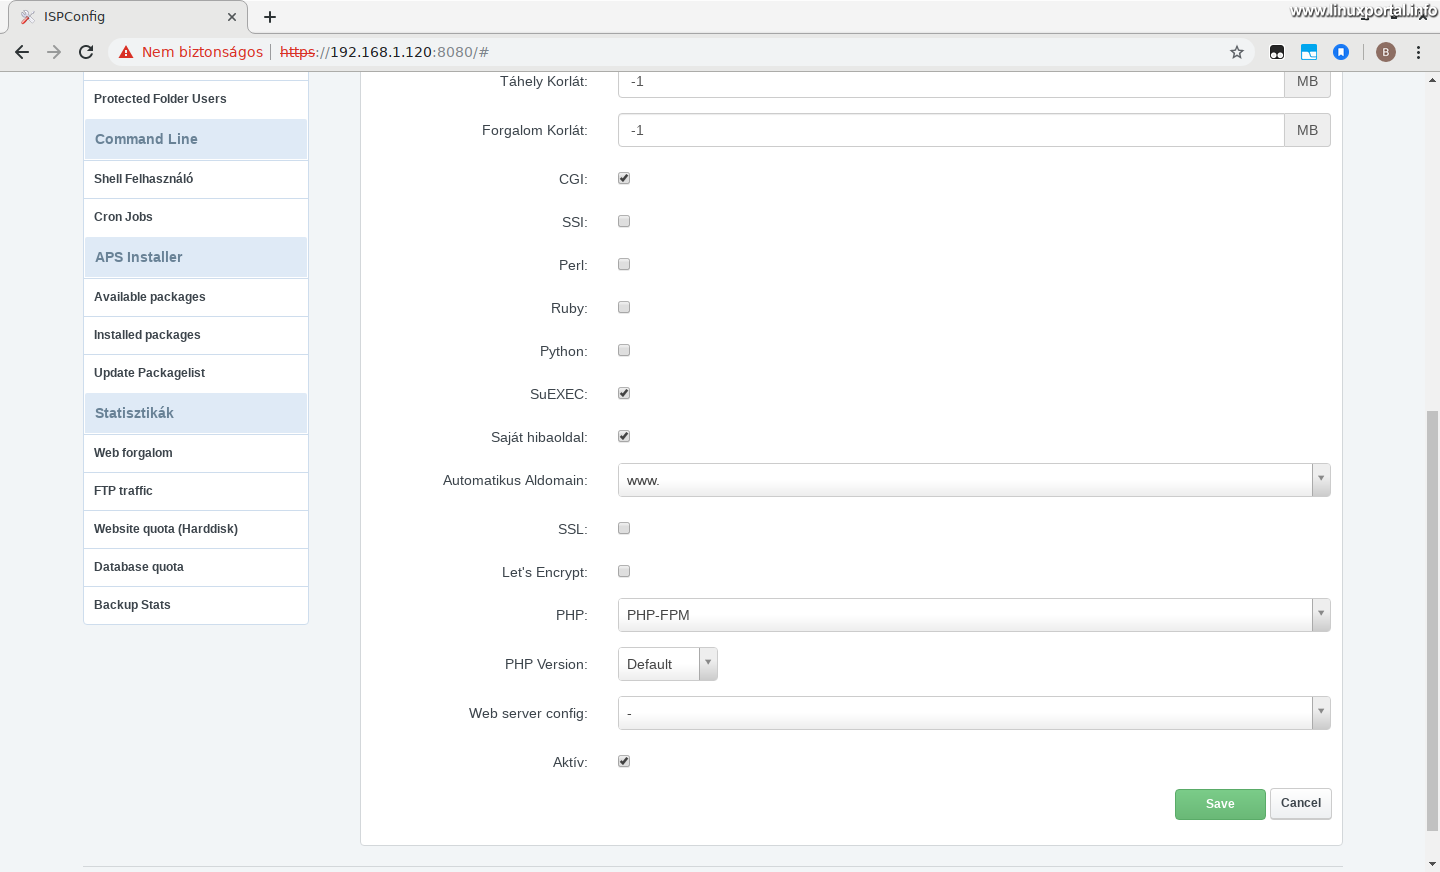
- Perl: I do not need it
- Ruby: I do not need it
- Python: I do not need it
- suexec: By default, you don't have to. But if you trust the creator of the website - and we know you need this feature - you can turn it on. In this case, it's WordPress, so it's secure. However, you are unlikely to want to run scripts on behalf of another user.
- My Error Page: Pipe.
- Auto Subdomain: www
- SSL: Be sure to use it in real time SSL, which provides our site with encryption HTTPS relationship. Today it is available for free to anyone at Let's Encrypt courtesy.
- Let's Encrypt: Our server will automatically request a certificate for our domain name from the free SSL issuer just mentioned. Only works with live web pages (working domain accessible web page)! In addition to encrypting communications with our website, if you wish to use it we can also secure other services on our server.
- PHP: A PHP is disabled by default here. Set the PHP-FPM, which is currently the most advanced and efficient server API.
- PHP Version: Default. If your server configuration includes newer / custom PHP versions, select the latest one, because the WordPress also supports the latest PHP versions.
I now have only "factory" 7.0.33 PHP on this server and one hand translated 5.6.40 version. Of course, I'll set it to 7.0.33 because it's newer, but it'll be clear if it yells at it. We will even install newer PHP versions later ... - Web server config: Leave it blank.
- Active: Pipe.
Do not save the form yet, but go to the Settings tab.
Settings tab
You only need to make one setting on this tab by scrolling to the bottom of the page in the Apache Directives field:

Here, paste the following line into the Apache directives field as shown in the image:
DirectoryIndex index.php index.html index.htm default.html
The point is that Apache in directories is by default index.html files are preferred index.php files. This option reverses this to have the WordPress CMS installed index.php do not interfere with the execution of any of your startup files index.html files.
The other tabs do not contain any settings that we need to change now, so we can save the form. If you still need to change something or just want to find out about the other settings, mentioned earlier you will find more information in this section.
If you have done everything right, after saving the form you will be returned to the list, and your newly created web page will appear:

This is not the end of the storage, there are still some settings left.
Creating a database and user
Like most modern websites today, the WordPress system uses a database. On Debian 8 (Jessie) based servers a MySQL, while Debian 9 (Stretch) servers a MariaDB we have a database engine, which of course is also supported by WordPress.
In this section, we first create a database user and then create a database for the user.
Create a database user
You must create a database user first, as you will be prompted to do so when you create the database.
While staying in the Sites main menu, click on "Database Users" in the left menu bar:

Then click the add green new user button. A small form will appear:
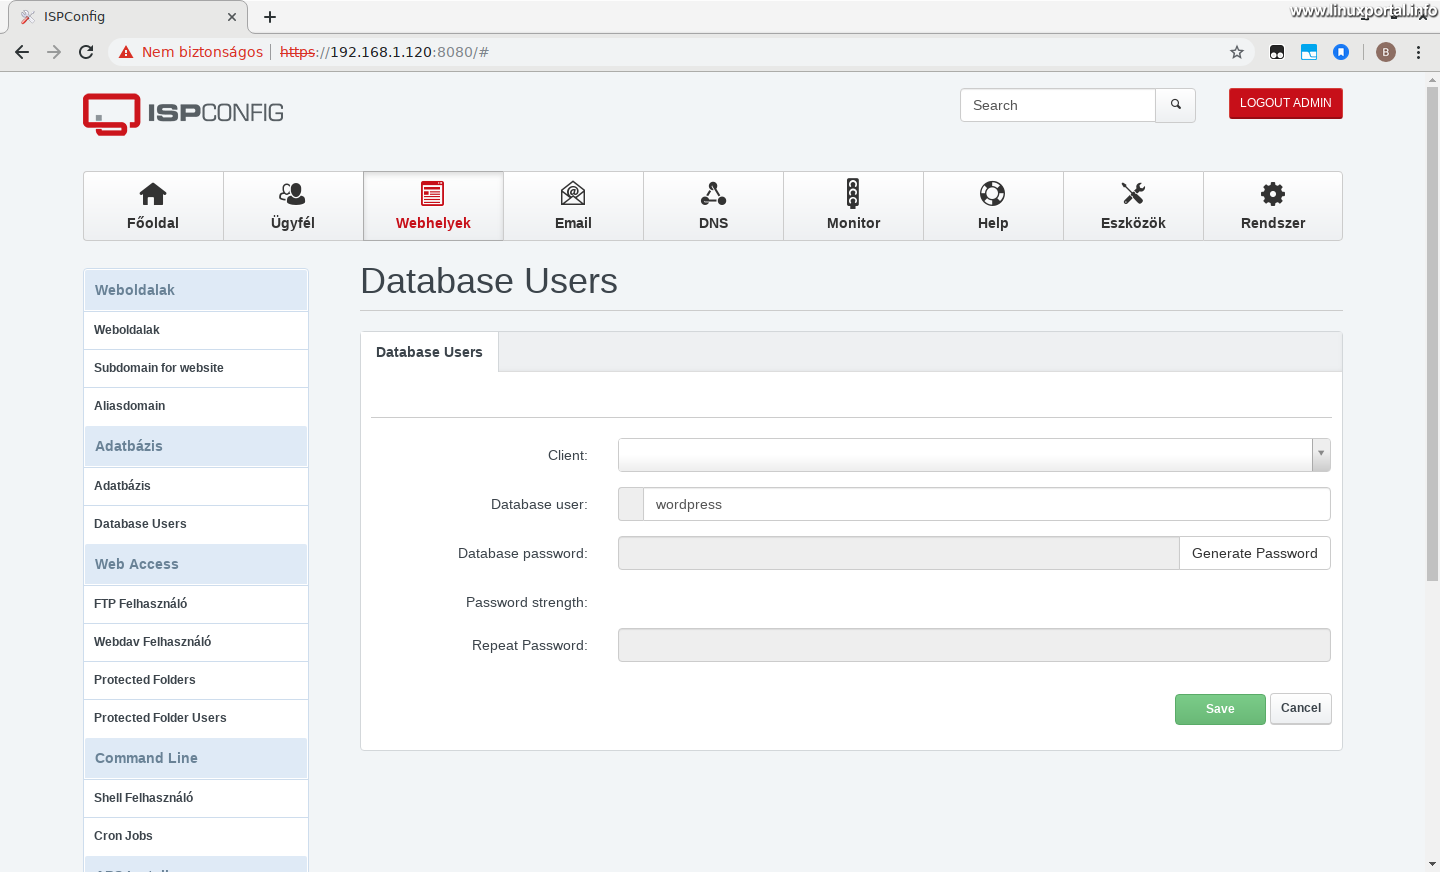
Here you can enter:
- Client: It may be left blank, or if you have already set up a client above when creating your web account, set it up here too. All that is left to do is leave the created accounts, databases, etc. directly under Admin, while with a configured client an intermediate user will own the item. This way, for example, we can create clients for clients and manage their own clients.
- Database user: Select a database name here. Here I note that we can create prefixed names here by default. I don't have prefixes just because I do I turned off prefixing for usernames.
- Password, password repeat: Enter a strong enough password here or generate one using the button.
Save the form.
Creating a database
To create a database, go to the "Database" menu item in the menu on the left and press the green "New database" button in the same way:
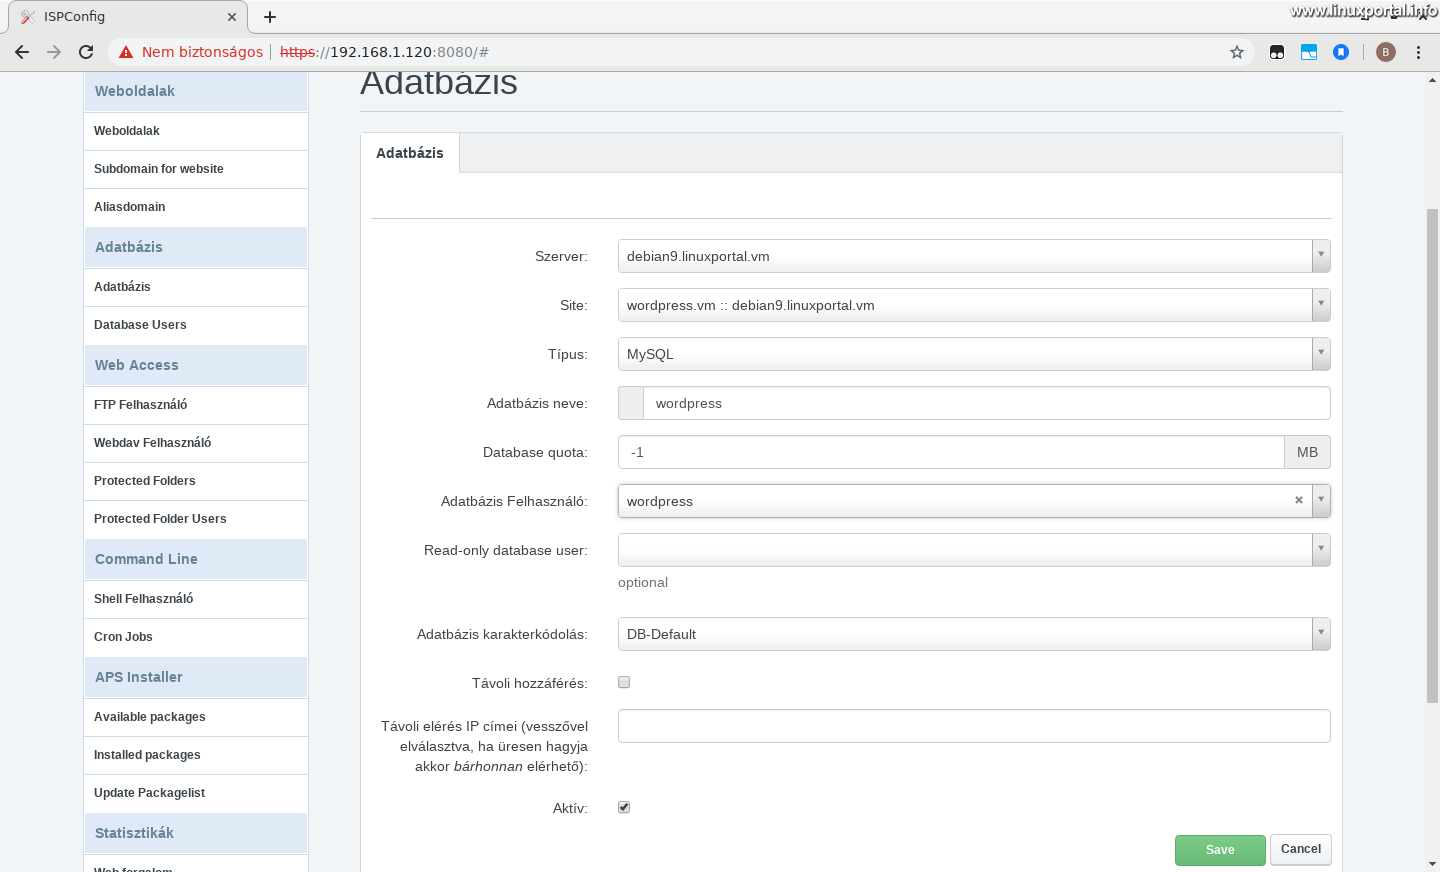
Here too, set it up as follows:
- Server: Scroll down and set the name of our server.
- Website: Select from the drop-down list for which web page / web account we want to create the database.
- Type: MySQL. You do not have to deal with MySQL or MariaDB here as they are fully compatible so they are handled under one hat.
- Database name: Enter a database name. Again, be aware of the presence of the prefix if you have not turned it off. I used the same name here as the user. So I won't mix them up later.
- Database quota: Leave -1 to disable the database constraint.
- Database User: Scroll down our database user created above.
- Read-only database user: Leave it blank. Here you can optionally specify a read-only backup user, if one has been created.
- Database Character Encoding: Leave it at the default value so that the database default will determine the character encoding of the database and tables.
- Remote access: If the phpMyAdmin, we want to access and manage our database with other client programs like Windows Navicat program, you should enable it because you no longer need to receive connections from the localhost to the database server.
- Remote access IP addresses ...: If Remote Access is on, you can enter here a whitelist of IP addresses from which to allow connection. Leaving blank allows you to connect from any address.
- Active: Pipe.
Once you have done this, save the form and wait for ISPConfig to update the settings. You can find out about this with the little red circle at the top of the page. When the circle disappears, it updates the changes (the cron runs ISPConfig's task scheduler every minute).
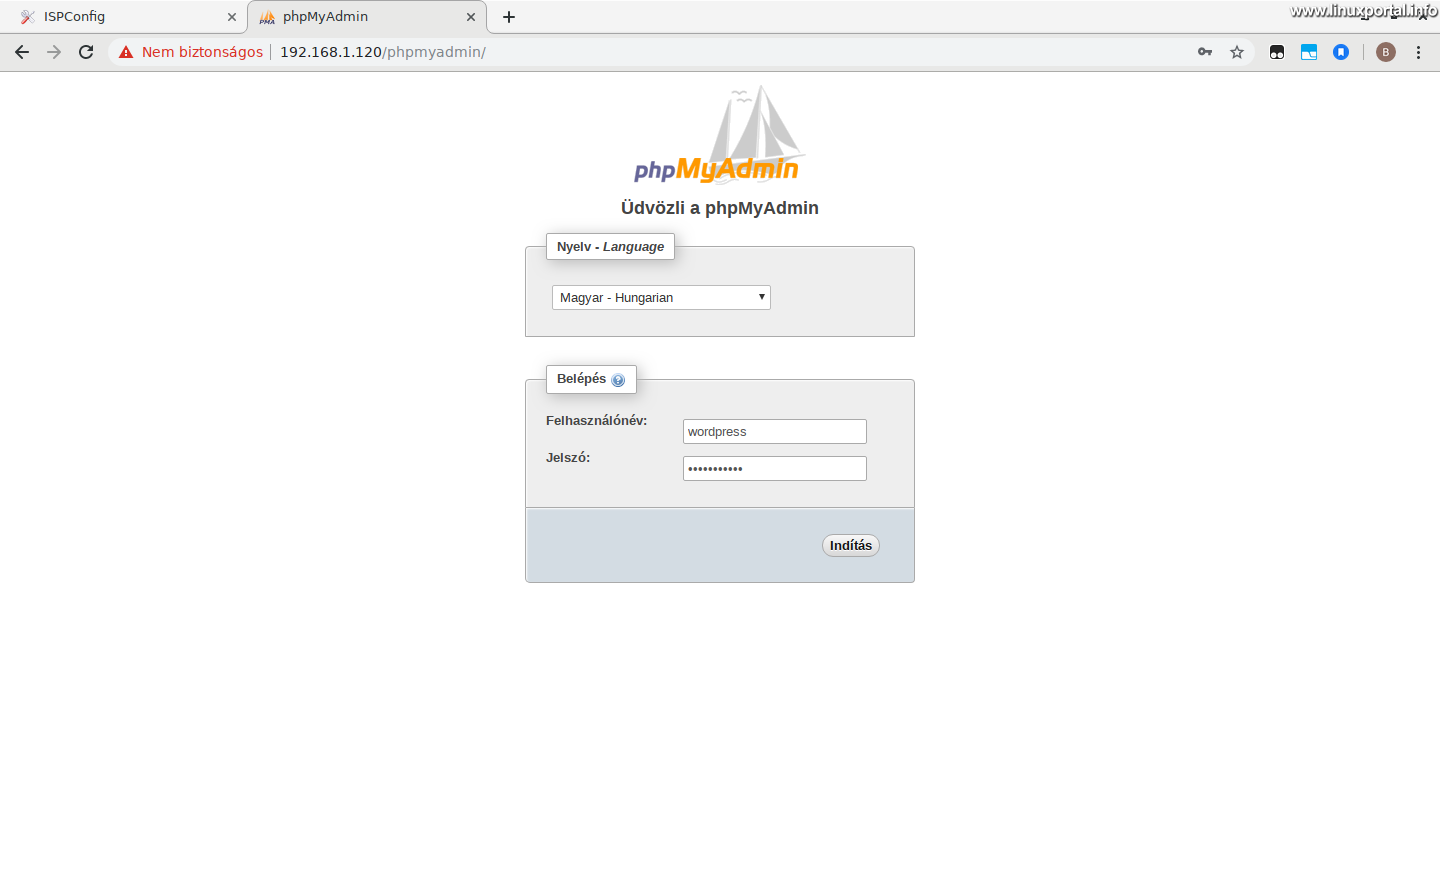
If you would like to try out our created database and its user, log in to phpMyAdmin with our new user and password:
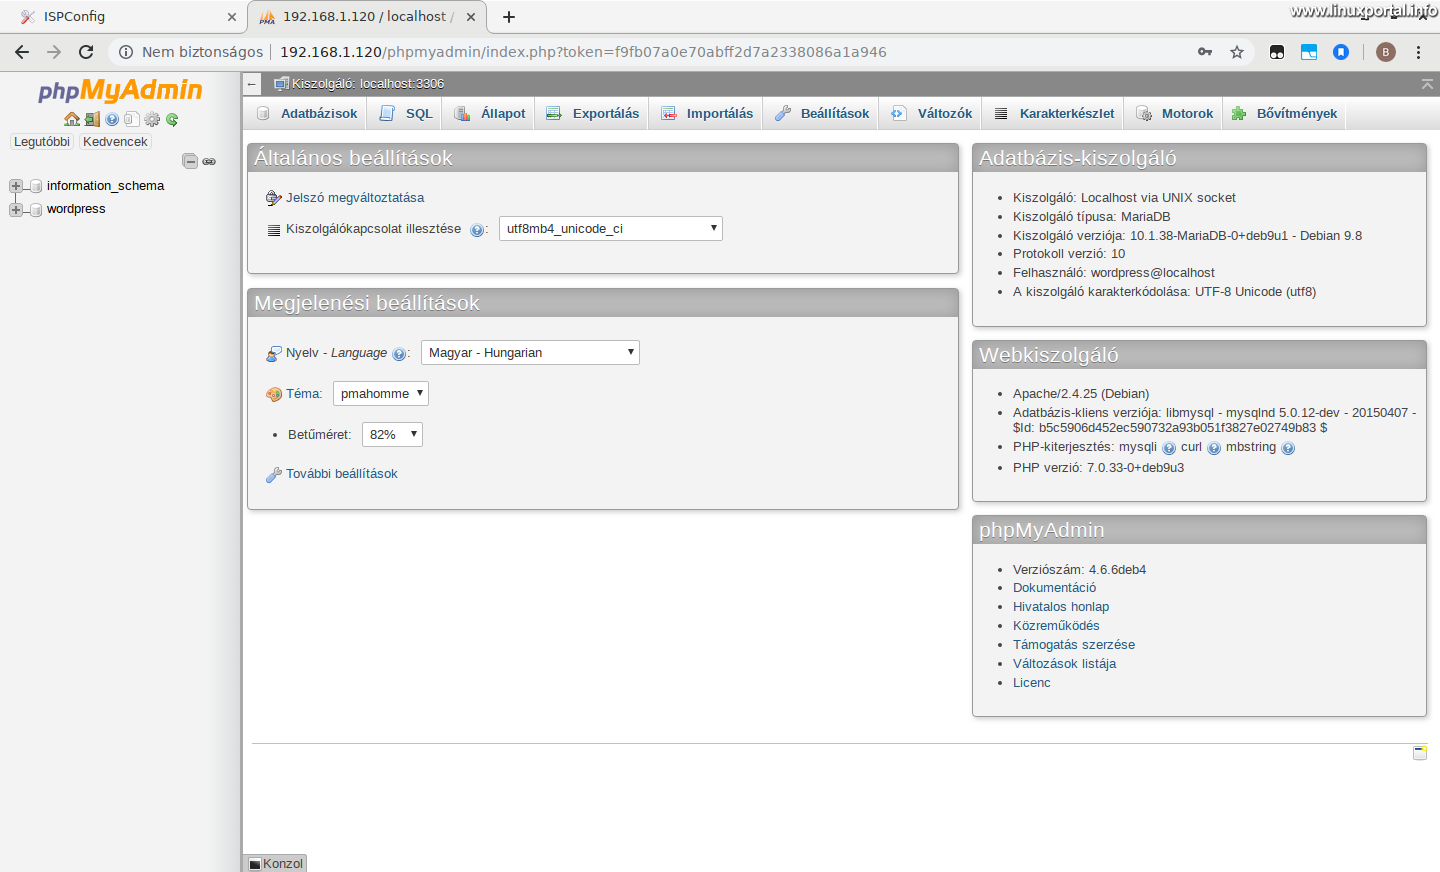
When logged in, the standard homepage receives us with a database linked to the user on the left:
The description continues with the creation of the Shell user next page.
- hu.wordpress.org
- Perfect server: Debian 9 (stretch) V1.0
- Perfect server: Debian 8 (Jessie) V1.0
- Encyclopedia - Web Hosting Control Panel
- Encyclopedia - ISPConfig (Web Hosting Control Panel)
- Disable prefixing of user names in the ISPConfig3 control panel
- Creating the first Web account in the ISPConfig server configuration
- Installing and setting up Drupal 8 CMS system
- Installing and setting up Drupal 9 CMS system
Navigation
- To post registration and login required
- 216 views