
The 1. page content
Introductory
We've seen in previous tutorials how to install a Debian system, and then can be deployed for sharp use complete web server. Now we are going to set up a new web account on our existing server and set it up to run any dynamic web site.
Prerequisites
Create a client
Clients allow us to separate the permissions of the accounts on the server, and the web accounts assigned to the client are the client's responsibility. For example, you can use it to build reseller structures on your server.
Let's create a client for our future web account so that the structure is regular. Let's enter as an Admin ISPConfig and then move to Client main menu Add new client of options:

Address tab
Here you have to enter the new customer's contact and access information on the first tab. In this tutorial, we only fill in the fields that are strictly necessary to move faster:
- Company name: In the case of a company, the name of the company
- Amount: Title (Mr. Ms.)
- Contact name: Name of the contact person. I will name it "Linux Portal".
- Customer No .: Customer serial number. Here, the system allocates the first free Cx number by default, and you can leave it at that.
- Username: The client login user name in ISPConfig. Here I set the username "linuxportal".
- Password: Customer login password in ISPConfig. This is where you generated a strong password and saved it in the /root/access.txt file on the virtual server. So the next uploaded server version will have these passwords that I create here.
- Language: This is optional, but we can set up Hungary.
- Country: Here too we can set Hungary
- Email: You must enter an email address here. Anything can be specified. I set the address admin@testpage.local here, later it will be the name of our first website on this virtual machine.
There are no more options to configure here, scroll to the top of the form and click Limits tab where you can fine-tune the limits and permissions of client-managed Web accounts.
Limits tab
Here in the "Web Limits" section, check the following:
- CGI available
- Perl available
- Ruby available
- Python available
- Custom error docs available
- SSL available
Then click on the "Cron Job Limits" section, it opens, then here Max. Allowed Cronjob types set the drop-down to "Full Cron". This will allow us to run cron tasks in many ways, such as some CMS will come in handy later.
This is done, no other setting is needed, save the form. You'll be taken back to the list of clients where our newly created client will appear.
Create a Web account
In this chapter, we will create the webhost itself and the virtualhost associated with it. Of course, ISPConfig does everything for us in the background, so we still need to fill out forms conveniently.
Click on Sites main menu, then Add new website button. This will bring up a multi-tabbed form structure that we're going through.
Domain tab

Use this tab to set up the most important information about your web hosting:
- Server: Here the system will prompt you for the server name you provided when you installed the system, leave it at this setting.
- Client: Here, scroll down and set up our client created in the previous section.
- IPv4-Address: Here, too, scroll down to what the system offers IP addresses.
- Domain: Here you enter the domain namethat we may have registered for our website. In this tutorial, I'm going to use the "test page.local" domain for this one in another description we will install a Drupal page for subsequent drilling and carving.
- CGI, Perl, Ruby, Python: Check these if you want to save them later CGI to run scripts.
- PHP: Here you set the PHP-FPM option.
- PHP Version: Set it up earlier optionally installed 7.1.19 PHP, if installed. If you have not installed any optional PHP version, select the default setting. In this case, 5.6.33 PHP will run on the hosting.
Redirect tab
Here we can set up various HTTP redirects as well as HTTPSYou can also enable 301 redirects here if you have SSL.
(You do not need to set anything here for this description.)
SSL tab
SSL in case of purchase we can generate the key here and the completed certificate must also be placed here. This will be discussed in another description.
(You do not need to set anything here for this description.)
Statistics tab
If you also want to use web statistics for our web site, you can add a password to access the statistics here and choose which statistics you want to use (AWStats, Webalizer).
(You do not need to set anything here for this description.)
Backup tab
Here you can set up daily / weekly / monthly backups and also specify exclusion libraries that are not included in the backups.
(You do not need to set anything here for this description.)
Options tab
There are a lot of important things you can do here to help you operate your existing website. For example, you can fine-tune PHP-FPM on a higher-load server running multiple web pages, or custom php.ini and Apache you can also place our settings here if the webpage you run requires it. We don't have to state anything here right now.
The finished web hosting
Once you're done, you can save the form. After saving, the list will appear with the web account you just created:
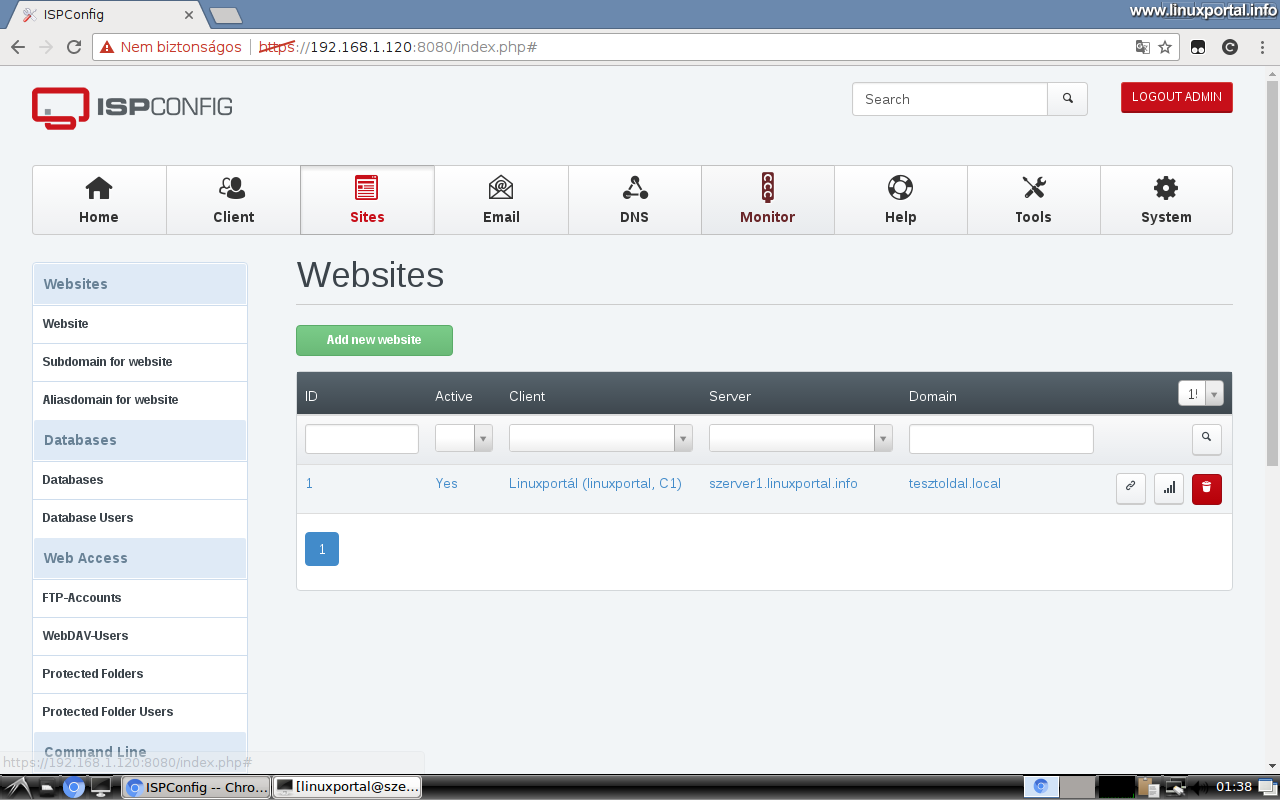
This is not the end of the task, because we have only finished hosting on the server and we still need to do a few things before we can use it.
Creating a database
To run dynamic websites, it is essential to use a database, so in this chapter we will create the user and database of the database associated with the hosting.
Database user
First, you need to create a database user to connect to your hosting database.
ISPConfig Sites can be accessed from the main menu Database Users submenu. Here is Add new User Clicking on the button will bring up a simple form with which we can easily create the user:

- Client: Set up the client you created earlier
- Database user: Enter a database username. The system prefixes usernames here, so in this case the database name will look like "c1_testpage". This is to prevent multiple clients from accidentally creating two identical names. Also, make sure your username is not too long, as you may have problems with your long name later.
- Database Password: Enter a password. Here I generated one with the system, which I also store in the /root/access.txt file on the virtual machine.
- RepeatPassword: Password Repeat.
Save the form and your database user is ready.
Database
Then you can create the database a Databases submenu:
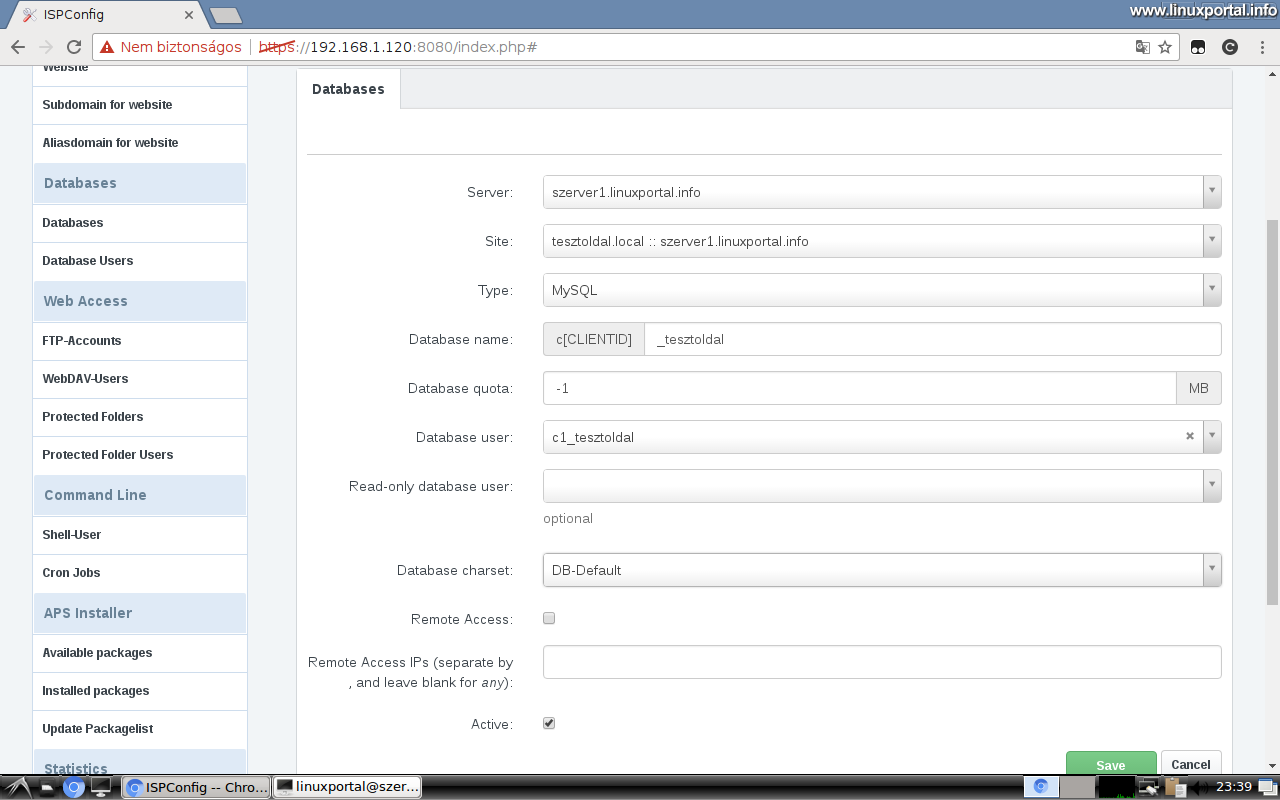
- Server: Here you will offer the right one. In the case of a multi server configuration, select the server.
- Website: Here, select the web page for which you want to create the database.
- Type: MySQL
- database name: Here too, it is advisable to choose the same name as the database user, so there will be no confusion of names later. Here, too, the system prefixes the database name, so in this case, "c1_testpage" will be my database name.
- Database quota: Database size limitation. It is worth leaving -1 to disable the restriction.
- Database user: Set up the user you just created (c1_test page for me).
- Read-only database user: Here is an additional option that if you want to create a separate database backup user, you can also add it to the database with read-only access. For example, saving the database from cron, scripts, where others may see the script files and the password, and so on, may come in handy. But we’re making a better solution for this in another description, so we’re not setting anything up here right now.
- Database charset: Leave it by default
- Remote Access: This provides remote access when connecting from a non-localhost such as phpMyAdmin but we want to connect to the database with a separate program (eg NaviCat). If you do not use such an external program, do not turn it on for greater security. In this case, the server will not allow an external connection to this database.
- Remote Access IPs: This also applies to remote access, where you can enter a white list-like IP address from which we allow access to our database.
Let's leave this blank now. - active: Make sense, leave it on.
Save the form.
So it is good to know that ISPConfig works by putting them in a cron task every minute when you save a form that needs to restart services or make structural changes, such as creating a database now. Thus, these actions will take effect only when this red circle disappears.
So we created the MySQL database for our web hosts. Here we can see that we were able to do this task more conveniently than in phpMyAdmin, where we would have to do the permissions. Not to mention the command line implementation of mySQL ...
The description Second page we continue with shell users creation ...
Navigation
- To post registration and login required
- 1139 views