
Content
Introductory
Ubuntu 22.04 LTS (Jammy Jellyfish) It was officially released on April 2022, 21, which will receive software support for another 5 years through LTS (Long Term Support), so we won’t have to worry about receiving updates until April 2027. The operating system includes the GNOME 42.0 desktop environment.
We have previously installed the Ubuntu 21.10 (Impish Indri) as the second part of a Dual boot assembly, and in this description we will install Ubuntu 22.04 LTS as a standalone graphics system on a 64-bit UEFIto a machine with one With GPT partitioning scheme designed hard disk is used for this purpose.
system Requirements
Before you begin the installation, you should check the hardware requirements of your system to make sure that Ubuntu 22.04 LTS (Jammy Jellyfish) is running on your machine and provides the expected user experience.
- Architecture: The system supports multiple architectures, in this description we are now installing the 64-bit PC version (amd64)
- CPU: 2 GHz or faster, at least 2-core, 64-bit processor
- RAM: At least 4GB of memory
- HDD: At least 25GB of disk space
- Motherboard system: BIOS vagy UEFI system motherboard. In this description, we are working in UEFI mode.
- Video: There are no basic requirements defined here, so video cores integrated into today's processors are fine, but it's a good idea to have a dedicated video card in the machine for the robust GNOME desktop to run smoothly.
- Internet access: Not essential for installation, but required to keep system packages up to date.
Download Ubuntu 22.04 LTS (Jammy Jellyfish) and create a bootable device
If you want to download an installer for other architectures (such as Raspberry, PowerPC, etc.), here's a look:
After the ISO file has finished downloading, make it a bootable device. Keep in mind that the ISO installation image must be written to your flash drive in UEFI mode.
When you are done, start your computer with the installation tool you have created.
Boot System
After starting the installer, first select the standard boot mode GRUB boot menu version 2.06 welcomes us.
Boot menu
You get some options in the boot menu. If we do nothing here for 30 seconds, it will start the first one. If you still want to scroll through the menu, use the arrow keys to make the selection and the counter will stop.

Let's briefly review the contents of the menu:
- Try or Install Ubuntu: This is the default boot method for the installer. This option loads the entire operating system into memory, so you can look around it before installing. We will move on with this.
- Ubuntu (safe graphics): This is almost the same as the first choice, only here it uses a more general graphics driver for the graphics driver, which works more securely if you might not recognize our graphics hardware properly. So if someone doesn’t see the table with the first option, there’s a good chance it will go away. With a lower resolution, color depth, etc., it can be used to boot the system and later configure the video card properly. So this option is a kind of lifeline to graphic errors.
- OEM installation (for manufacturers): This is a pre-installation method where others can install the system and their personal information is already provided by the end user. I wrote about this option earlier when installing Linux Mint 20.1 (Ulyssa).
- Boot from next volume: This option takes you back to the EFI / UEFI menu in the Boot Manager section, so you can choose another boot device if you did not want to start this installer.
- UEFI Firmware Settings: This returns you to the main page of the EFI / UEFI menu.
Select the first option and the system will be loaded into memory.
Booting Ubuntu live system
In a growing number of Linux distributions, it is becoming common practice to load live systems before installation. The point is to load the operating system, which does not make any changes to our computer's hard drive, but only takes up memory. This allows us to review the system you want to install and verify that it is compatible with your computer's hardware devices, e.g. audio, video and other parts, and we can also decide before installation whether we like the operation or interface of the system we want to install at all.
So once the system has loaded, we get a window with two options:

Here you can select your language on the left and try it out with the "Try Ubuntu" option in the main panel, or you can install it immediately with the "Install Ubuntu" option. I'm not starting the installation here yet, I'm going to do a setup before that, so I'll choose the trial option:
Set screen resolution (optional)
This section is not required unless the live system starts with an incorrect resolution. For example, on my virtual machine, the resolution is quite low, so I set it up so that the whole installation process is more transparent, there are no scroll bars, and there is no way for something to fit in the window. If, on the other hand, our resolution is correct, then skip this section.
So if you want to set a higher resolution, right-click on the desktop and select the lowest "Display Settings" option from the pop-up menu:


And set a higher resolution for us:
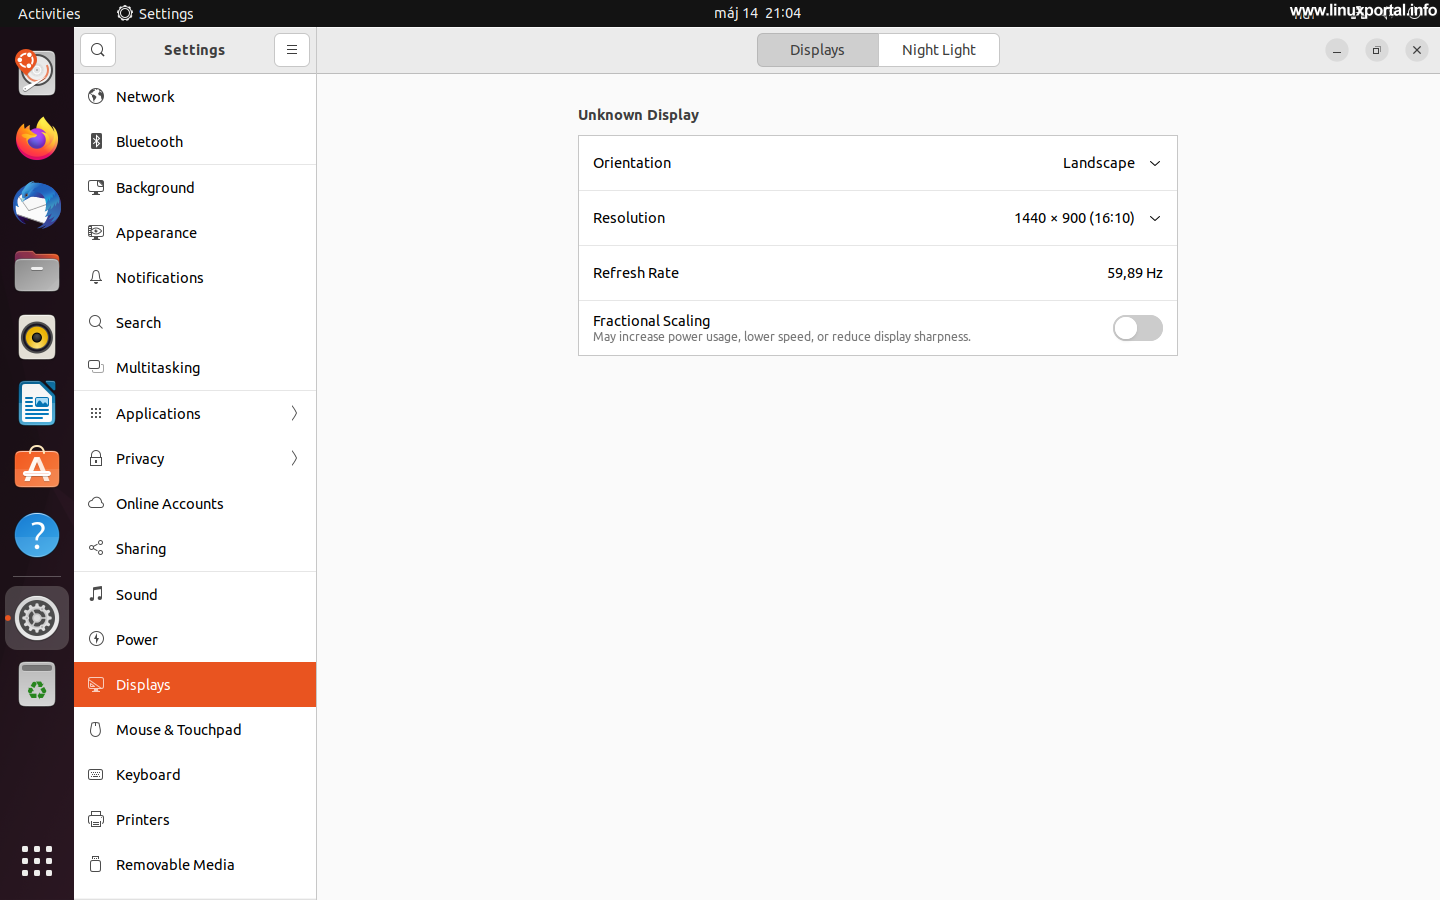
For me, 1440x900 is the more convenient resolution for displaying a virtual machine in a window, so I set that up.
If you can't find the native screen resolution of your monitor in the list, you have the option to create and configure it from the command line. However, this is more important after installation, when the system remembers our changes.
Installing Ubuntu 22.04 LTS (Jammy Jellyfish)
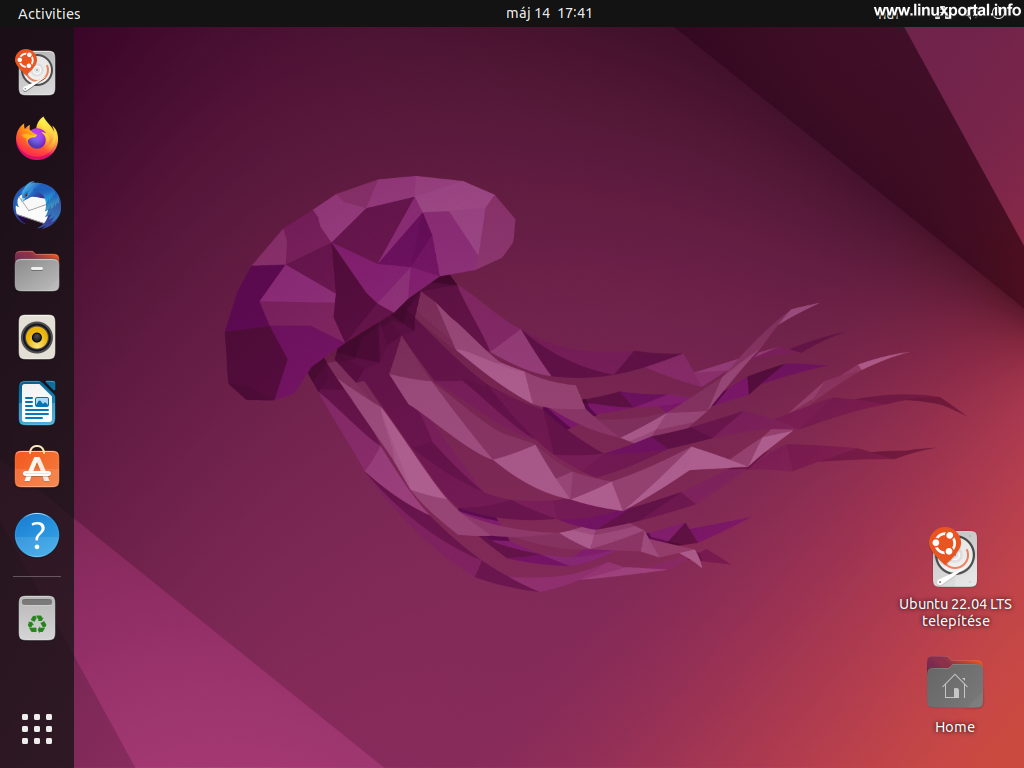
You will also find the installer icon on your desktop labeled "Installing Ubuntu 22.04". This will start the installer.
Welcome
The installer starts with a welcome page where you can also select the language:

If we didn’t choose our language in the beginning, we can do it here too. Then move on to Continuation button.
Keyboard Layout
On the second tab, you can set the keyboard layout:

Here you can also test how the selected keyboard layout works. For example, I’m testing with the well-known words “Flood Resistant Mirror Drill,” which includes long accents and “RTZ” from the QWERTZ section, so I can be sure the setting will be good. If you have a normal keyboard, the general Hungarian layout may be appropriate, but if you are using a more unique keyboard, you may need to select another one from the list. Once you've found the right setting, move on.
Updates and other software
Here's how to customize this section to suit your own needs:

Once you've set them up, move on.
Installation type
Here, the system defines the partitioning scheme. For new installations (installation as a first operating system), the following two options are available:
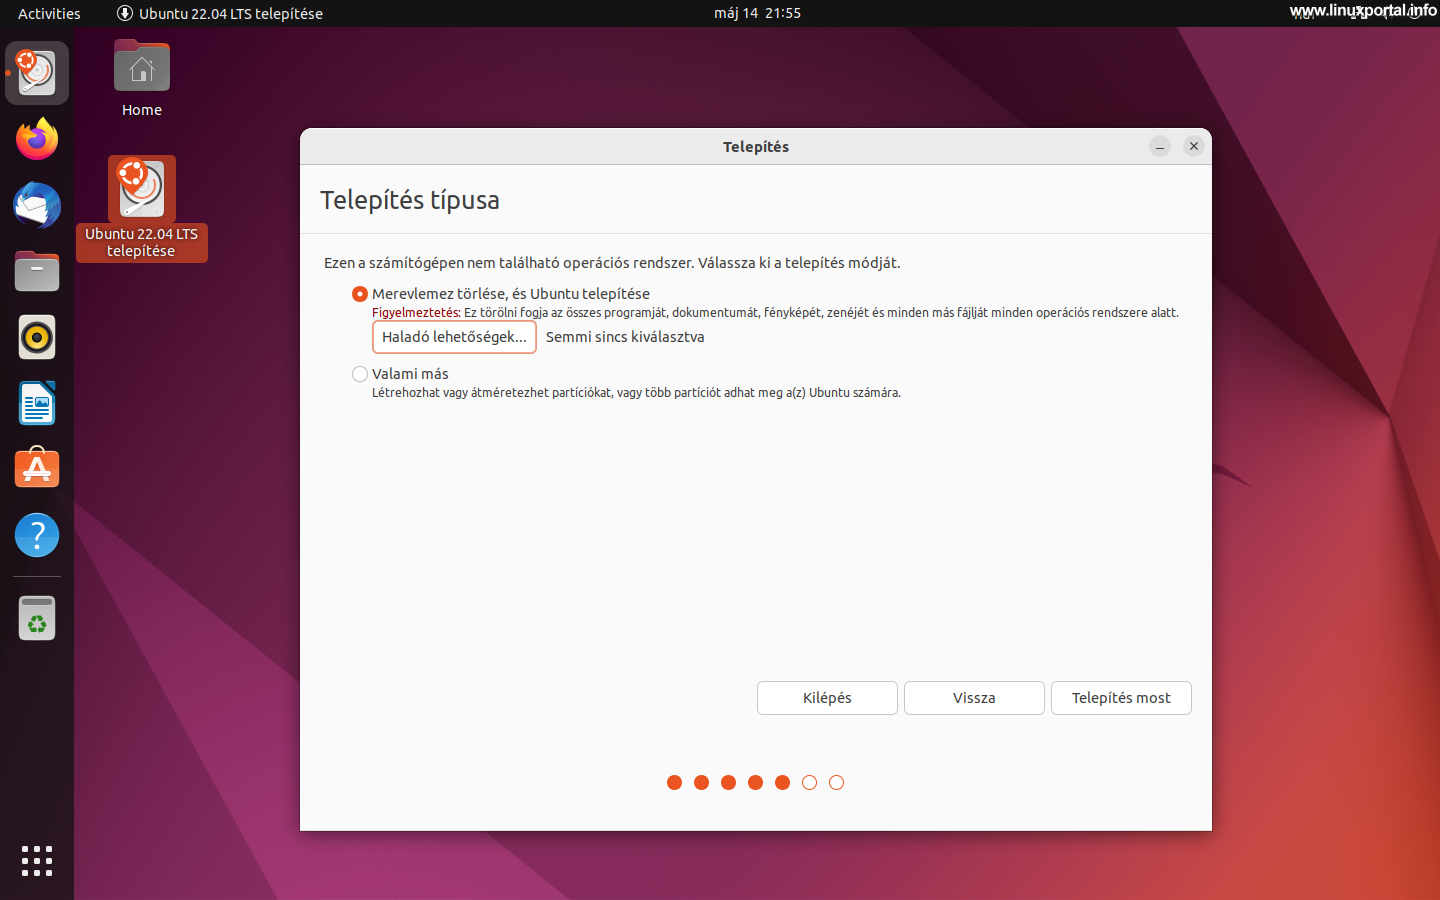
- To delete a hard drive and install Ubuntu: This option erases the entire hard drive and performs a fresh Ubuntu installation on the ripped machine. Also, here you can set some more things using the "Advanced Options" button. Below that.
- Something else: If you select this, the partition manager will come in and you can configure everything yourself. For example, you might want to choose this if you have more than one empty partition on your hard drive, so you want to decide for yourself where Ubuntu should go.
Since this installation guide is now about a simple, simple installation as a first operating system, we'll move on to the first option here, but we'll also look at the additional options offered by "Advanced Options."
Advanced options
If you click on the "Advanced Options ..." button, you will get some more setting options:

- None: This is the default, in which case nothing is selected.
- To use LVM for a new Ubuntu installation: Logical volume management (Logical Vvolume Manager) provides a logical abstraction layer between the storage devices on the machine and the file systems. This allows you to set up logical volumes: for example, if you have multiple smaller storage pools, you can merge them into a single logical volume, or even expand your logical volume later, and so on. Volume management works in a completely transparent way, so we don’t have to deal with how it works, it’s done in the background. LVM also supports disk encryption. Normally (for simple desktop installations at home) we don't need this.
- To erase a disk and use ZFS: ZFS is a software RAID manager developed by Sun Microsystems that allows us to organize our physical storage into different RAID units. It also supports disk encryption.
- To encrypt your new Ubuntu installation for security: Disk Encryption. If LVM or ZFS is selected, this option will be available as an option. If you do not want to encrypt disk management in particular, but want to use disk encryption, select the LVM option to create a simple logical volume that acts as a normal partition.
We are not selecting anything here now, we are just mentioning them at the level of mention. I will make separate tutorials on these, in which we will review their operation in detail.
Of course, if you are familiar with these features and how to partition them, adjust them to your needs. In this description, however, we will proceed with a simple installation, so staying with the "Erase Hard Disk and Install Ubuntu" option, continue with the "Install Now" button.
It will ask for confirmation and display the partitions selected for formatting:

Make sure your system is in the right place, then move on.
Time zone
In the next step, you can select your time zone:

Default is based on the language selected at the beginning, move on if good.
user details
On this page, enter your user information and computer name:

Fill it out properly.
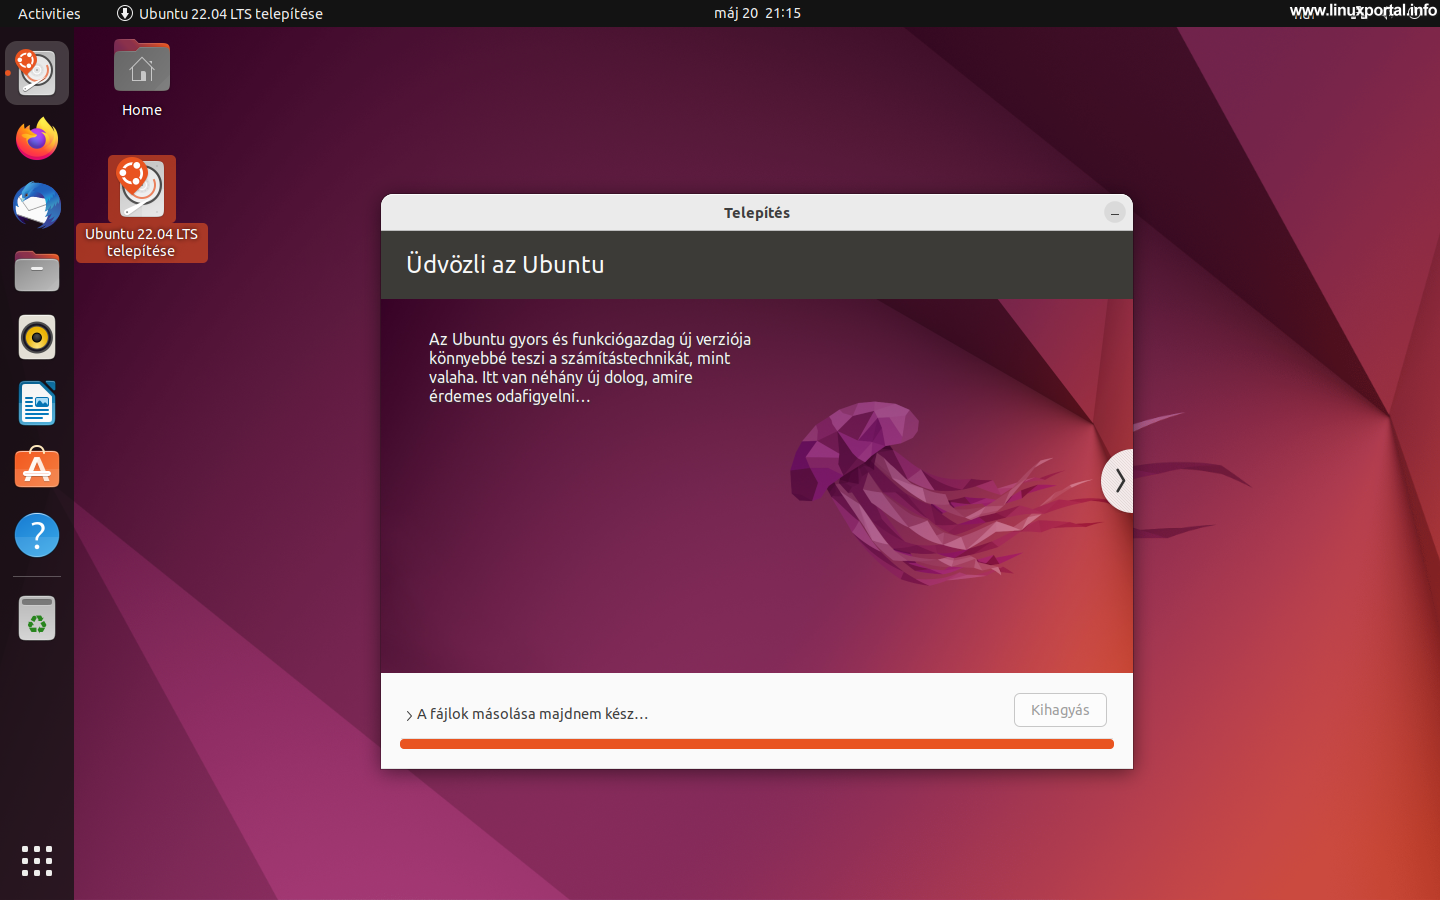
System installation
We have nothing to do here, the installer walks you through loading the system components. In the meantime, you can find out what's new in a scrollable slide show:


After the installer goes through, you will be asked if you want to continue exploring or restart your computer:

Restart the machine.
Restart the computer
If no other operating system is installed on your computer, Ubuntu will not display the GRUB menu by default, but will boot immediately and the Display Manager will appear. If you still want to spoof the GRUB menu for some reason, then BIOS / MBR On installed machines, hold down the left SHIFT key. UEFI / GPT and on machines, press ESC and the menu will appear. If you want to permanently turn on the GRUB menu when the machine starts, click on it You can find out how to set it up here.
Login
When the system loads, the login interface appears:


As you can see, we didn't remember our previously set resolution, as it was only set in the live system. Therefore, we need to set it again if we need to choose another resolution.
Initial settings
Before we can start using Ubuntu 22.04 LTS (Jammy Jellyfish), we need to set up a few things.
Connect to online accounts
After logging in, submit an option to connect to our various online accounts:
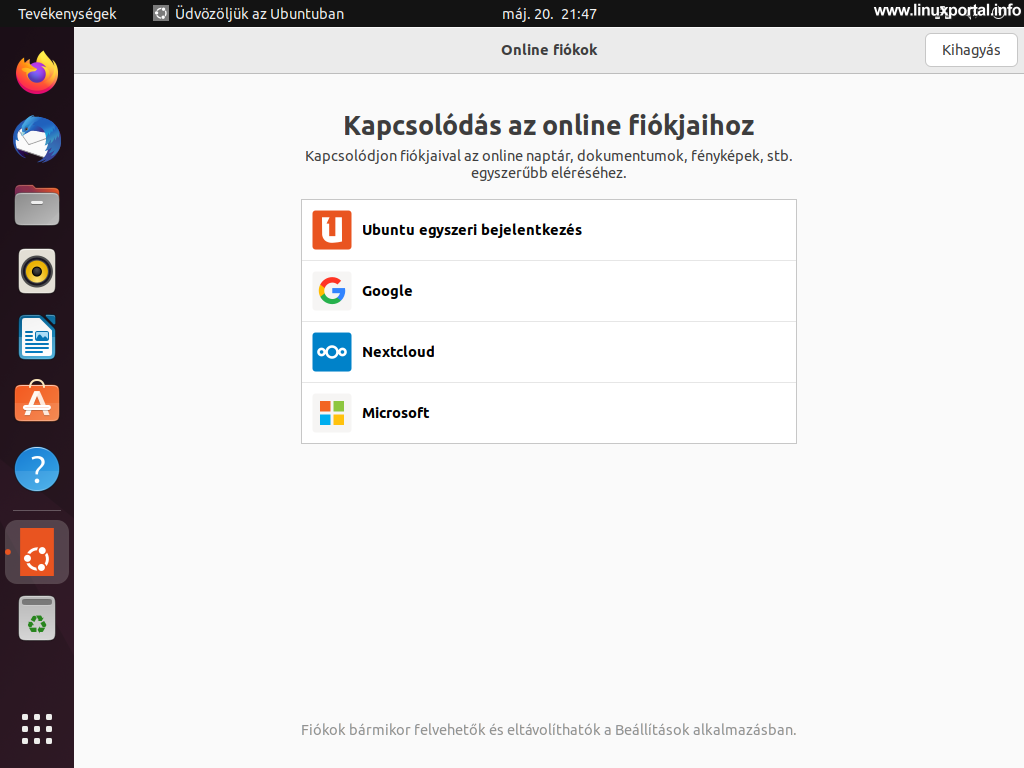
I will skip this step now.
Send system information to Canonical

Privacy Policy

We are ready to!
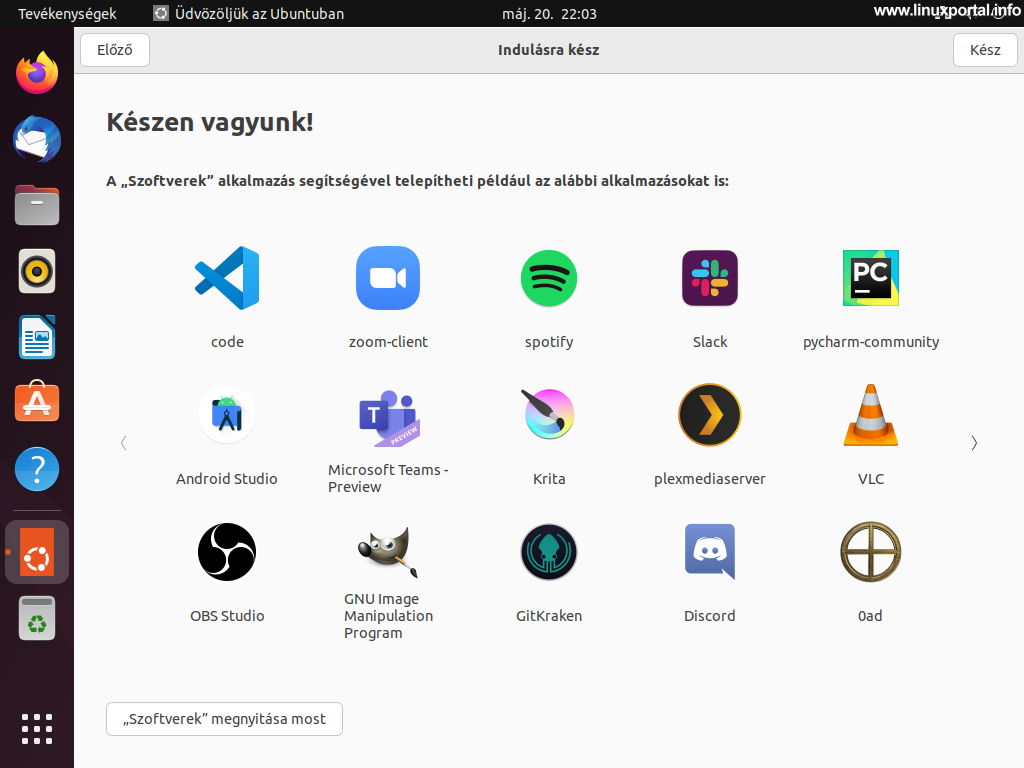
Table
After making the settings you just made, the desktop will appear:

System upgrade
After a recent installation, you may want to upgrade your system first, as the download package that you download usually does not contain the latest components. The system checks for updates on a daily basis, but we need to install them by default.
The upgrade can be done in one terminal issued as root below apt commands:
apt update
apt upgrade
or we can do this in a desktop environment.
To update the software in the desktop environment, click on the applications button at the bottom of the icon bar on the left (3x3 points) and start typing "update" in the application finder above:

Two icons will appear here, click on the gray "Update Manager" icon. This will start checking for updates:
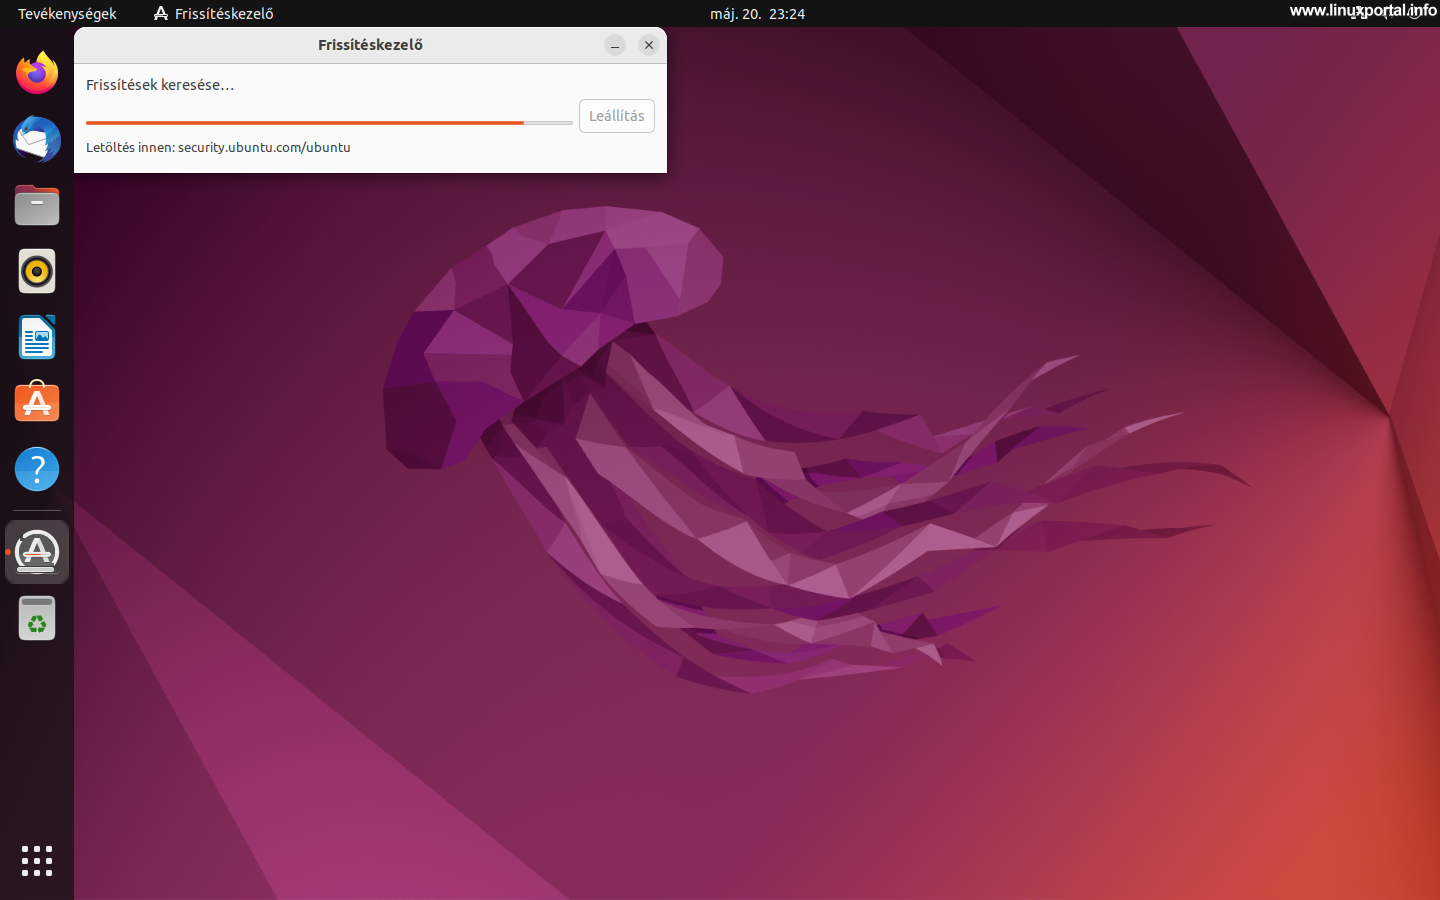
After completing the search process, you will be asked if you can install them:

Then, if you are wondering what packages will be updated, you can open the "> Update Details" option and review the details in full window mode:

You can also see here that many packages need to be updated. Click the "Install Now" button and the installation process will begin:


There is even a kernel update here, so you will have to restart your computer to load the new kernel ...

Click the "Restart Now" button.
With the Ubuntu 22.04 LTS (Jammy Jellyfish) system up and running, you can start using your computer.
Conclusion
This is how an easy installation of an Ubuntu 22.04 LTS (Jammy Jellyfish) operating system looks like. If you are planning to install a new computer, or are planning to reinstall your existing machine and are thinking about Linux, the latest version of Ubuntu, the current 22.04 LTS (Jammy Jellyfish), is a great choice, as it is just beginning its cycle, so from the time of this description - we get support for another 5 years. Furthermore, Ubuntu allows us to enjoy the stability and efficiency of Linux systems.
- Basic graphics systems
- Dual boot: Installing Windows 11 and Ubuntu 21.10 (Impish Indri) operating systems in UEFI mode on two partitions on a hard disk (page 2)
- How to configure VirtualBox for graphical desktop operating systems
- Multi-boot systems
- wiki.ubuntu.com/Releases
- releases.ubuntu.com/22.04
- cdimage.ubuntu.com/ubuntu/daily-live/current
- ubuntu.com/download/desktop
- discourse.ubuntu.com/t/jammy-jellyfish-release-notes
- ubuntu.com/tutorials/how-to-run-ubuntu-desktop-on-a-virtual-machine-using-virtualbox
- linuxconfig.org/ubuntu-22-04-features-and-release-date
- To post registration and login required
- 1489 views