Read, write, copy files metadata with ExifTool (page 3)

botond published 2019/06/15, Sat - 16:55 time

3. page content


Continuation

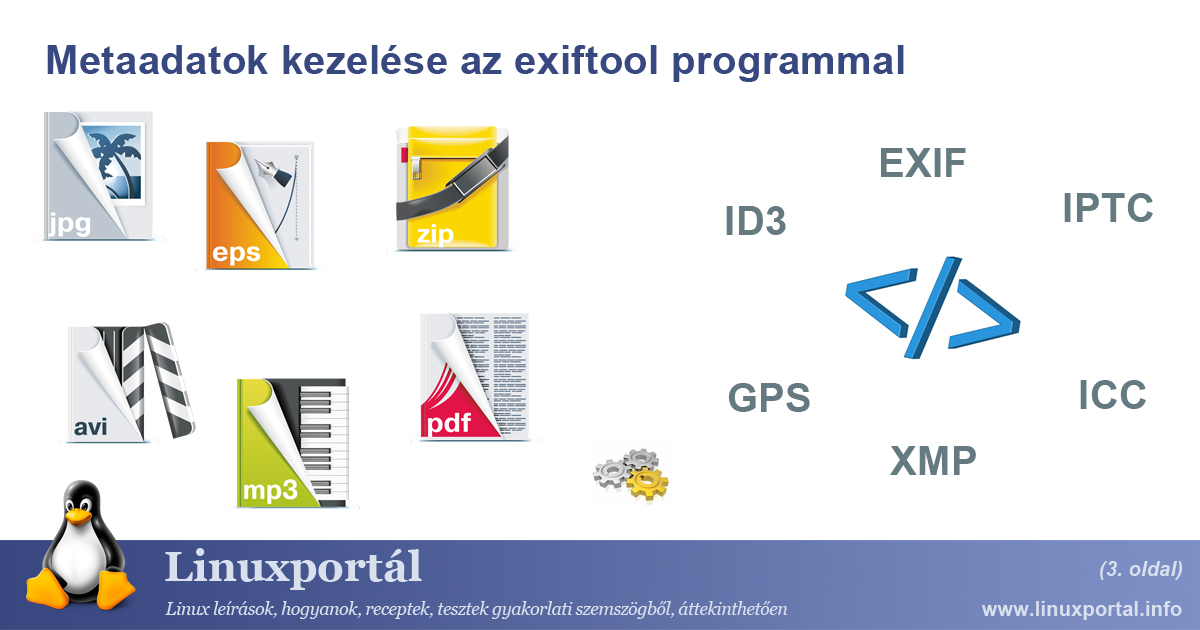
Az previous page we got to know the writing and copying functions of the exiftool command, we also tried to read the metadata with other file formats, and on this page we compiled a complete, working automation shell script, which is a JPG file in the specified directory. IPTC information copy it to EPS files in another directory.


History

There is a little history to making the whole description, which, if I briefly describe it here, will make it easier to understand why and how the example program works. The point of the story is that I make vectors with icons that I upload to stock pages for sale. Those who know these pages know what it’s about, all they have to do is that one stock page (Shutterstock) came up with a new vector upload rule about a month ago that no longer requires uploading JPG preview image files to vectors (in which previously had IPTC data as well), but only the EPS vector files alone.

The problem

This innovation makes it more difficult for uploaders, as most people have so far uploaded vector descriptions and keywords to the site in IPTC records of JPG images. And since the change, this data must now be embedded in EPS files. The problem with all this is that those who have uploaded vectors automatically and in larger quantities will significantly slow down the workflow by manually filling in the EPS files.

The solution

For example, the solution could be an automation script that you can embed in your existing workflow without having to change the way you upload it to other pages. The only task is to automatically copy the IPTC data of the already existing, keyed JPG files to the EPS files saved with the same name, so that they do not have to be manually re-filled after uploading to the page.


Creating a script for copying IPTC data

basic Cycle

After getting acquainted with exiftool command, from here the task becomes very simple and our script will not be complicated, based on a while cycles enter, which gets the file names from a pipeline from the find command from the appropriate working directory:

1
2
3
4
5
6
7
8
9
10
#!/bin/bash
 
# EPS munkakönyvtár beállítása
WORK_EPSDIR="/eps/munkakonyvtarunk/elerese"                         # A végén nincs "/" jel!
 
# Fő ciklus
find $WORK_EPSDIR -maxdepth 1 -name "*.eps" -type f |
while read filename; do
    [...]
done

The EPS working directory contains the target EPS files to which we copy the required IPTC data. We need to go through these files first.

Find JPG files with the same name

In the next step, look for a JPG file with the same name as the EPS file in the JPG working directory within the loop:

1
2
3
4
5
6
7
8
9
10
11
12
13
14
15
16
17
18
19
20
21
#!/bin/bash
 
# EPS és JPG munkakönyvtárak beállítása
WORK_EPSDIR="/eps/munkakonyvtarunk/elerese"                         # A végén nincs "/" jel!
WORK_JPGDIR="/eps/munkakonyvtarunk/elerese"                         # A végén nincs "/" jel!
 
# Fő ciklus
find $WORK_EPSDIR -maxdepth 1 -name "*.eps" -type f |
while read filename; do
    basename=$(basename $filename)                                  # Kinyerjük csak a fájl nevét
    basename=${basename%.*}                                         # Leszedjük annak a kiterjesztését is.
    jpgfile=$WORK_JPGDIR/$basename.jpg                              # a megfelelő jpg fájlnév összeállítása
    
    # JPG fájl meglétének vizsgálata a JPG könyvtárban
    if [ -f $jpgfile ] ; then                                       # Ha megvan az azonos nevű JPG fájl, akkor
        [...]
    else                                                            # Ha nincs meg, akkor
        [...]
    fi
    echo
done

The JPG working directory setting was also included at the beginning of the script. This can be the same directory as the directory containing the EPS files, but it makes the program more flexible if you can set up separate directories for it.

When setting up work directories, do not put "/" at the end of the paths, because in other parts of the program string concatenations will include these.

Then 10-12. line, we generate the JPG file name with the same name from the EPS file name by specifying the JPG working directory and replacing the extension.

Then comes one if structure by checking the existence of the file.

Check IPTC in EPS files

If the previous section found the appropriate JPG file - that is, you have the basic conditions for copying the data - then here we perform another check to see if IPTC data has already been included in the EPS file. This section is not vital, but it can prevent you from re-entering (unnecessarily) the IPTC data to run the program multiple times.

1
2
3
4
5
6
7
8
9
10
11
12
13
14
15
16
17
18
19
20
21
22
23
24
25
26
#!/bin/bash
 
# EPS és JPG munkakönyvtárak beállítása
WORK_EPSDIR="/eps/munkakonyvtarunk/elerese"                         # A végén nincs "/" jel!
WORK_JPGDIR="/eps/munkakonyvtarunk/elerese"                         # A végén nincs "/" jel!
 
# Fő ciklus
find $WORK_EPSDIR -maxdepth 1 -name "*.eps" -type f |
while read filename; do
    basename=$(basename $filename)                                  # Kinyerjük csak a fájl nevét
    basename=${basename%.*}                                         # Leszedjük annak a kiterjesztését is.
    jpgfile=$WORK_JPGDIR/$basename.jpg                              # a megfelelő jpg fájlnév összeállítása
    
    # JPG fájl meglétének vizsgálata a JPG könyvtárban
    if [ -f $jpgfile ] ; then                                       # Ha megvan az azonos nevű JPG fájl, akkor
        output=$(exiftool -IPTC:Caption-Abstract $filename)         # Kiolvassuk az EPS fájl IPTC tartalmát egy változóba
        if [[ ${#output} = 0 ]] ; then                              # Ha még nincs benne IPTC adat, akkor
            [...]
        else                                                        # Ha már van benne IPTC adat, akkor
            [...]
        fi
    else                                                            # Ha nincs meg, akkor
        [...]
    fi
    echo
done

In the new section (line 16-21), an exiftool is first executed in a subshell (the EPS file in the loop variable of the while loop) IPTC: Caption the result of the reading of the field is extracted into a variable, and then its character length is examined to determine if it contains data. If the field we read is 0, then there is no IPTC data in the EPS file yet, in which case the process can continue.


Copy IPG data from JPG to EPS file

If you have got our program under control so far, then the point may be: copying the IPTC data from the "found" JPG file to the EPS file to be looped (line 19):

1
2
3
4
5
6
7
8
9
10
11
12
13
14
15
16
17
18
19
20
21
22
23
24
25
26
27
#!/bin/bash
 
# EPS és JPG munkakönyvtárak beállítása
WORK_EPSDIR="/eps/munkakonyvtarunk/elerese"                         # A végén nincs "/" jel!
WORK_JPGDIR="/eps/munkakonyvtarunk/elerese"                         # A végén nincs "/" jel!
 
# Fő ciklus
find $WORK_EPSDIR -maxdepth 1 -name "*.eps" -type f |
while read filename; do
    basename=$(basename $filename)                                  # Kinyerjük csak a fájl nevét
    basename=${basename%.*}                                         # Leszedjük annak a kiterjesztését is.
    jpgfile=$WORK_JPGDIR/$basename.jpg                              # a megfelelő jpg fájlnév összeállítása
    
    # JPG fájl meglétének vizsgálata a JPG könyvtárban
    if [ -f $jpgfile ] ; then                                       # Ha megvan az azonos nevű JPG fájl, akkor
        output=$(exiftool -IPTC:Caption-Abstract $filename)         # Kiolvassuk az EPS fájl IPTC tartalmát egy változóba
        if [[ ${#output} = 0 ]] ; then                              # Ha még nincs benne IPTC adat, akkor
            # IPTC adatok átmásolása a $jpgfile -ból az EPS fájlba
            exiftool -overwrite_original -tagsFromFile $jpgfile -IPTC $filename
        else                                                        # Ha már van benne IPTC adat, akkor
            [...]
        fi
    else                                                            # Ha nincs meg, akkor
        [...]
    fi
    echo
done

So here we copy all the IPTC data from the JPG file to the EPS file with a single copy command. This way, we do not have to delve into the appropriate Caption, keywords, etc. fields, but copy everything. Furthermore, it has already been described -overwrite_original switch to make sure you don't get trashed in your working directory.

Because the entire program is based on the fact that the JPTC files in our automated workflow have already been included in the IPTC data, we do not perform any further JPG file IPTC checks here.

This means that your program is up and running, it's almost done, but it's still out of the box.

Manage output, use colors

I left this part straight to the end because we not only write things down, but also we also use colors in the outputs generated by the programto make the program more transparent during operation.

In the program a tput use the command to set the colors - which are stored in pre-variables - so that you can conveniently switch the colors to the output while writing:

1
2
3
4
5
6
7
8
9
[...]
 
# Kiemelőszínek definiálása
green=$(tput setaf 2)                                               # Zöld kiemelőszín
red=$(tput setaf 1)                                                 # Piros kiemelőszín
cyan=$(tput setaf 6)                                                # Cián kiemelőszín
reset=$(tput sgr0)                                                  # alapállapot visszaállítása
 
[...]
1
2
3
[...]
echo "${green}Zöld szövegrész${reset}"
[...]

Using these, our program is as follows.

Final state

In its final state, the program also includes writes to the color output:

1
2
3
4
5
6
7
8
9
10
11
12
13
14
15
16
17
18
19
20
21
22
23
24
25
26
27
28
29
30
31
32
33
34
35
36
37
38
39
40
41
42
43
44
45
#!/bin/bash
 
# EPS és JPG munkakönyvtárak beállítása
WORK_EPSDIR="/eps/munkakonyvtarunk/elerese"                         # A végén nincs "/" jel!
WORK_JPGDIR="/eps/munkakonyvtarunk/elerese"                         # A végén nincs "/" jel!
 
# Kiemelőszínek definiálása
green=$(tput setaf 2)                                               # Zöld kiemelőszín
red=$(tput setaf 1)                                                 # Piros kiemelőszín
cyan=$(tput setaf 6)                                                # Cián kiemelőszín
reset=$(tput sgr0)                                                  # alapállapot visszaállítása
 
 
# Fő ciklus
echo ${cyan}
echo "******************************************************"
echo "EPS fájlok IPTC adatainak bemásolása a JPG fájlokból"
echo "******************************************************"
echo ${reset}
 
 
find $WORK_EPSDIR -maxdepth 1 -name "*.eps" -type f |
while read filename; do
    basename=$(basename $filename)                                  # Kinyerjük csak a fájl nevét
    basename=${basename%.*}                                         # Leszedjük annak a kiterjesztését is.
    jpgfile=$WORK_JPGDIR/$basename.jpg                              # a megfelelő jpg fájlnév összeállítása
 
    printf "${cyan}Fájl: $basename.eps${reset} "       
    
    # JPG fájl meglétének vizsgálata a JPG könyvtárban
    if [ -f $jpgfile ] ; then                                       # Ha megvan az azonos nevű JPG fájl, akkor
        printf "${green}JPG-t megtaláltam, EPS IPTC ellenőrzése...${reset} \n"
        
        output=$(exiftool -IPTC:Caption-Abstract $filename)         # Kiolvassuk az EPS fájl IPTC tartalmát egy változóba
        if [[ ${#output} = 0 ]] ; then                              # Ha még nincs benne IPTC adat, akkor
            # IPTC adatok átmásolása a $jpgfile -ból az EPS fájlba
            exiftool -overwrite_original -tagsFromFile $jpgfile -IPTC $filename
        else                                                        # Ha már van benne IPTC adat, akkor
            printf "Az EPS már tartalmazza az IPTC adatokat, fájl kihagyása..."
        fi
    else                                                            # Ha nincs meg, akkor
        printf "${red}JPG nincs meg! Fájl kihagyása.${reset} "
    fi
    echo
done

Finally, the lines starting with printf and echo indicate what happened in the program.


During operation

After running some trial files, it looks like the first time you run it:

ExifTool - Sample program in action

And if we were to run it again on the same files, we would skip the files that already contain IPTC:

ExifTool - Sample Execute - Second Run

This check feature can come in handy, for example, if you have a large collection directory that contains a mix of old EPS files and unprocessed ones, so you can only touch on new ones when you run it in stages. This also saves time because the read operation associated with checking the IPTC is faster than writing (re) writing the data to a file.

Of course, the program works with any number of files, so if you drop it on a 10 000 directory containing EPS, you can still make copies nicely, obviously over time.


Conclusion

So this would be a comprehensive (but not exhaustive) presentation of the ExifTool program and command, inspired primarily by changes made to Shutterstock. Since I didn’t want to jump to the middle right away, the first two pages of the description focused on the basic use of the program.

Although the sample program is a fairly specific tool that can be used on a small scale, with minor modifications, it may be useful to perform other tasks as well.


Navigation

This description consists of several pages: