
Content
- page: Overview of basic terms and preparation for Matomo hosting
- page: Download and install Matomo
- page: Placing tracking code on WordPress pages
- page: Placing tracking code on Drupal pages
- page: Placing and customizing tracking code on custom pages
- page: Make important settings after installation
- page: Installation of GeoIP 2 (PHP) based geolocation system
- page: Matomo migration of a complete system to PHP-FPM based server API operation
2. page content
Continuation
The description on the first page we made the Matomo (formerly Piwik) web statistics and this page will install the system itself.
Installing Matomo (Piwik)
Download and unpack
Enter the root space created for Matomo as root:
cd /opt/matomoDownload the official download page a wget and then unpack:
wget https://builds.matomo.org/piwik.zip
unzip piwik.zip
Delete unnecessary files from the directory (only the piwik directory remains), then move the entire contents of the extracted subdirectory to the current directory:
rm *
mv piwik/* .
Then delete the emptied piwik directory:
rm -rf piwikSo now I have 79 Mb of the entire contents of the library.
Next, migrate the entire contents of the directory to the www-data user and group as it was downloaded as root, but when executed from outside it will be handled by the www-data user:
chown -R www-data:www-data .Installation
Load the matomo main directory into the browser, familiar with the first page accesssuch as the server IP addresses from matomo directory:
http://192.168.1.120/matomo/
And the installer starts:
Welcome page

Click the button labeled here.
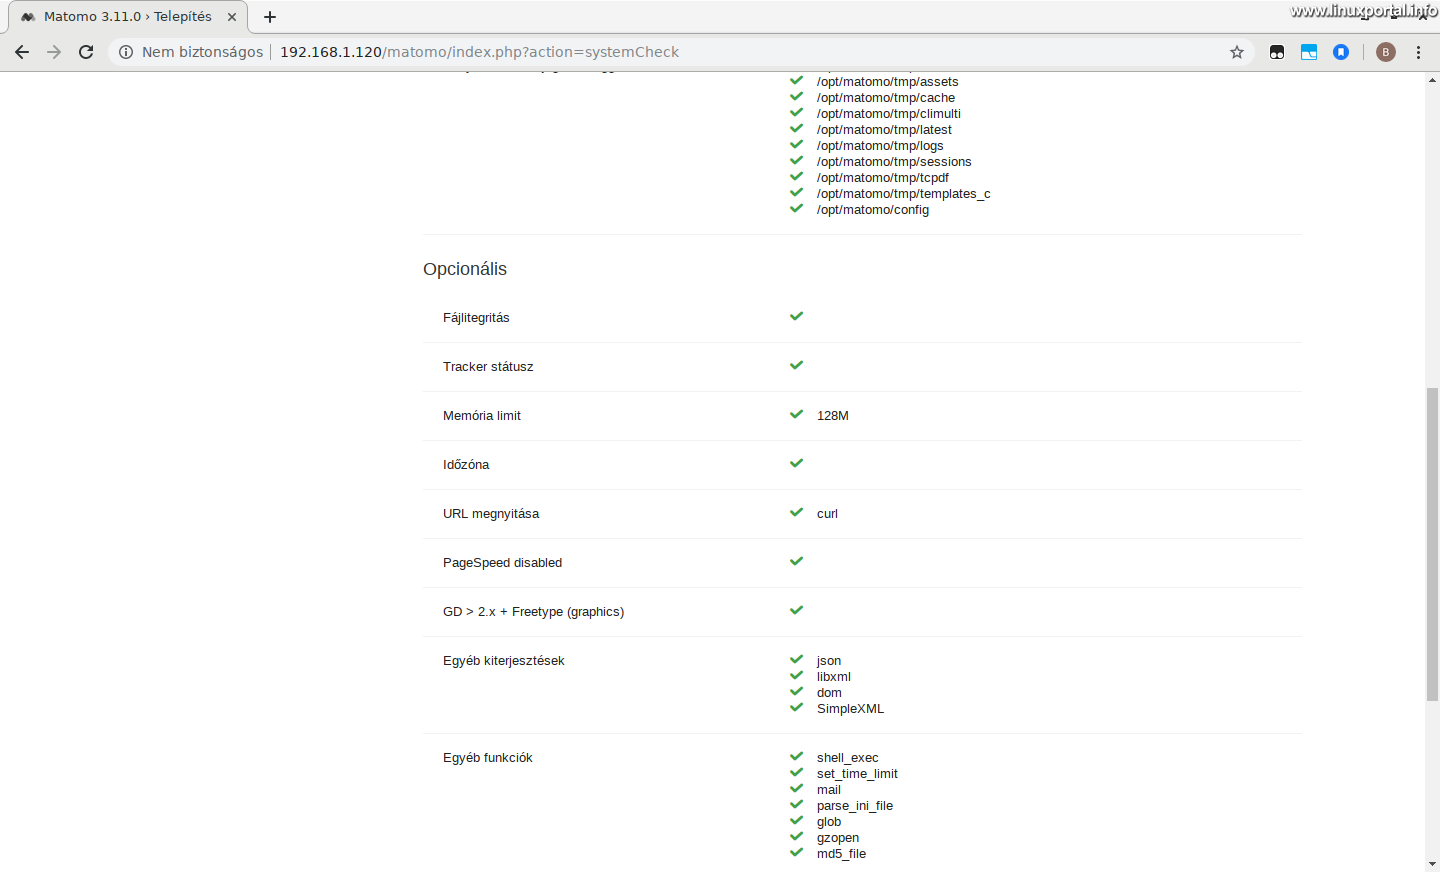
system check
Here is a long list of system requirements and their fulfillment status:
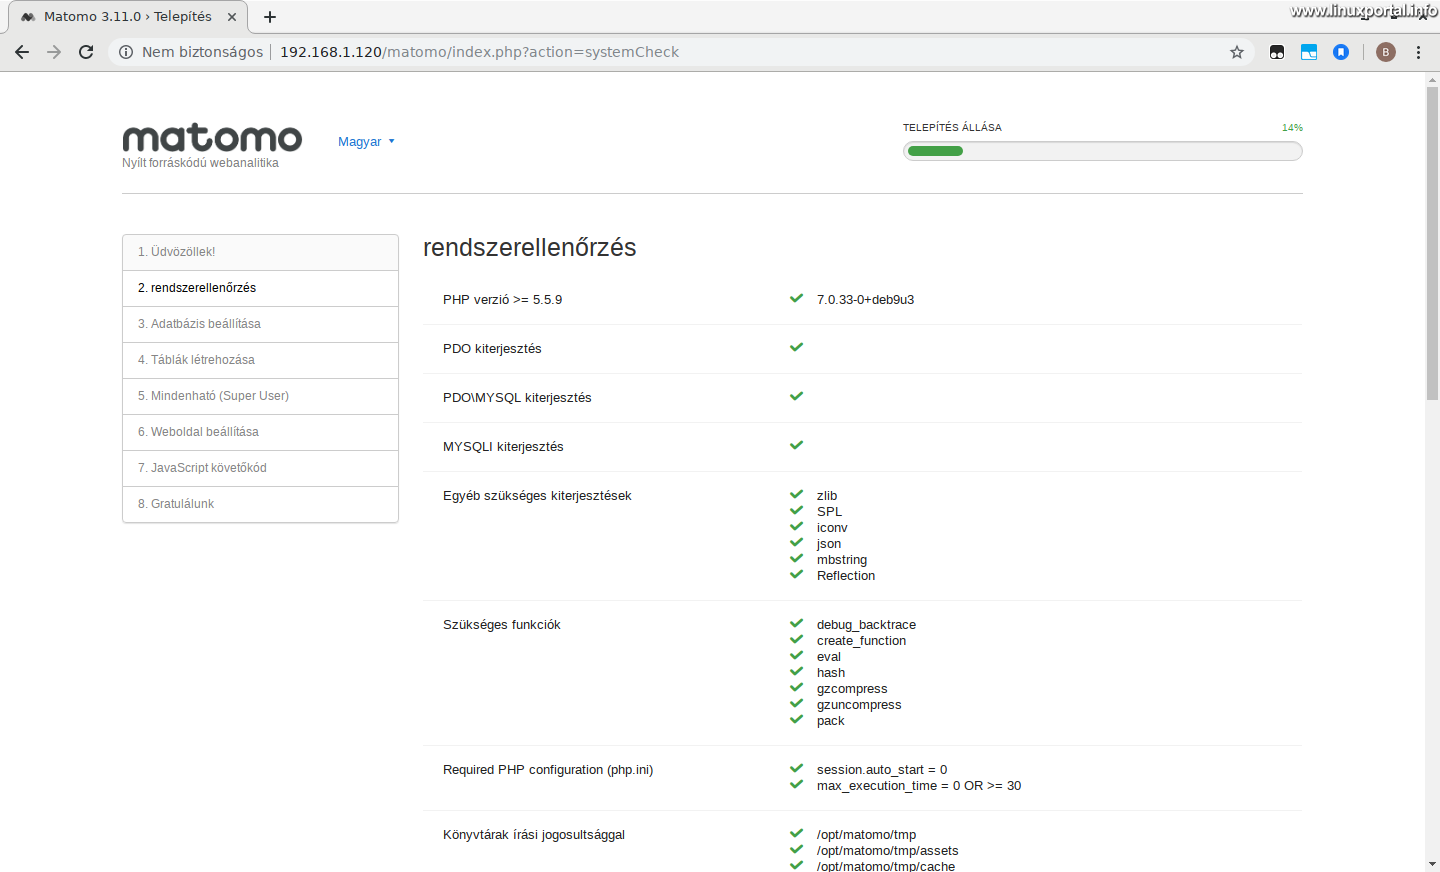

Here our system meets all the requirements, but for one thing it warns you, that is SSL connection. Without it, it will only go highly recommended that it be encrypted HTTPS we use the Matomo interface through the protocol. We will not discuss this now, we will discuss SSL in other tutorials.
If any PHP plugin would be missing from the system, replaced by installing the appropriate PHP version.
Searching for available PHP5 packages on older systems is apt-cache command (eg Debian 8):
apt-cache search php5To search for available PHP7 packages on newer systems (eg Debian 9, Ubuntu 18.4):
apt-cache search php7Among these, install the Matomo missing plugin.
And if all is well, let's move on.
Database setup
On this page we need to specify the database access and connection method:

Let's fill it specified when creating the database access data. You can leave the table prefix "matomo_". In the adapter section, PDO / MYSQL is selected by default. If there was a green check mark in the "MYSQLI Extension" line on the previous (system scan) page then select the MYSQLI option here. This provides a more modern and efficient database connection to the MySQL server and PHP scripts like the old PDO based.
Once you've set everything up, move on.
Creating tables
If you have set everything correctly in the previous step, you will be presented with one of the following screens:
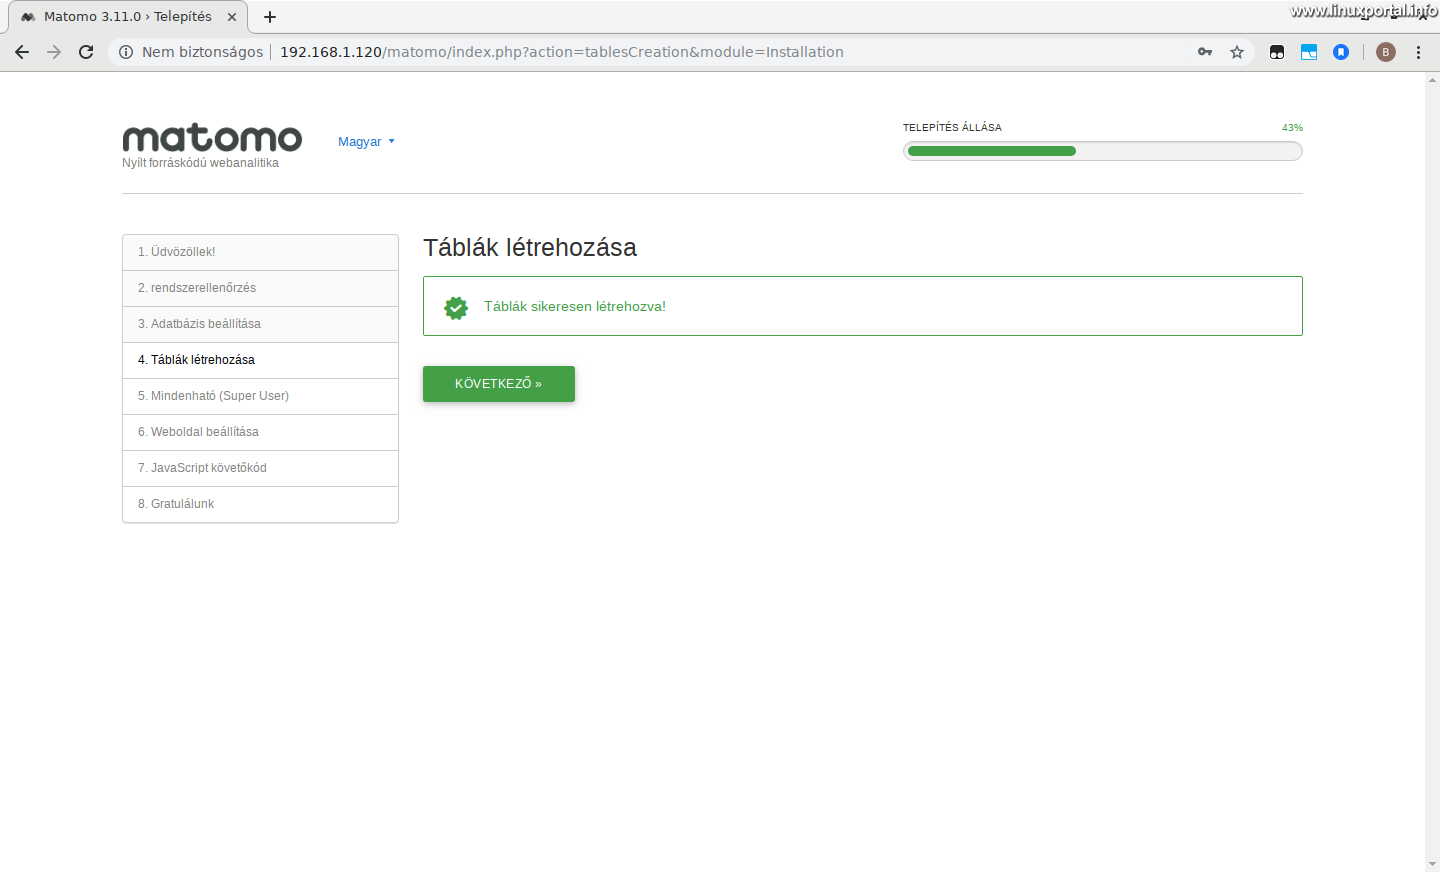
Let's move on ...
Super user setup
We need to enter the super user name and password here:

Enter your username here and then your password twice. You will also be asked for an email address. If you are installing in a production environment, enter a valid address here, otherwise you can set anything. Then, according to our decision, check out the newsletter sections. I'm leaving these blank here, because now I'm installing Matomo on a virtual machine.
If we are, we can go on.
Website setup
In this section you will need to set up your first website to measure. That's why I chose this one Debian 9 is the perfect server base, because I have already installed one WordPress page, so now I enter this page:

Fill in the fields as appropriate and at the end whether or not this is an e-commerce site.
If we are, we can go on.
Set up tracking code
Here's how to get the JavaScript tracking code for the webpage you just set up:


If you want to measure a unique webpage, you can paste the tracking code displayed here into its source in in front of part. If, on the other hand, a better known CMS content management system we will skip this section because we will integrate the tracking code with a plug-in for the system.
Regardless of the above, tracking codes can be set up on the fly, and there is plenty of documentation on how to compile them, which will be covered in more detail later in this description. Thus, we will also build our own measurement code to achieve the most optimal and accurate operation.
Let's move on.
Finish installation
In the concluding section, the system congratulates us on the successful installation and provides us with additional useful information. At the bottom of the screen, it also offers two options:
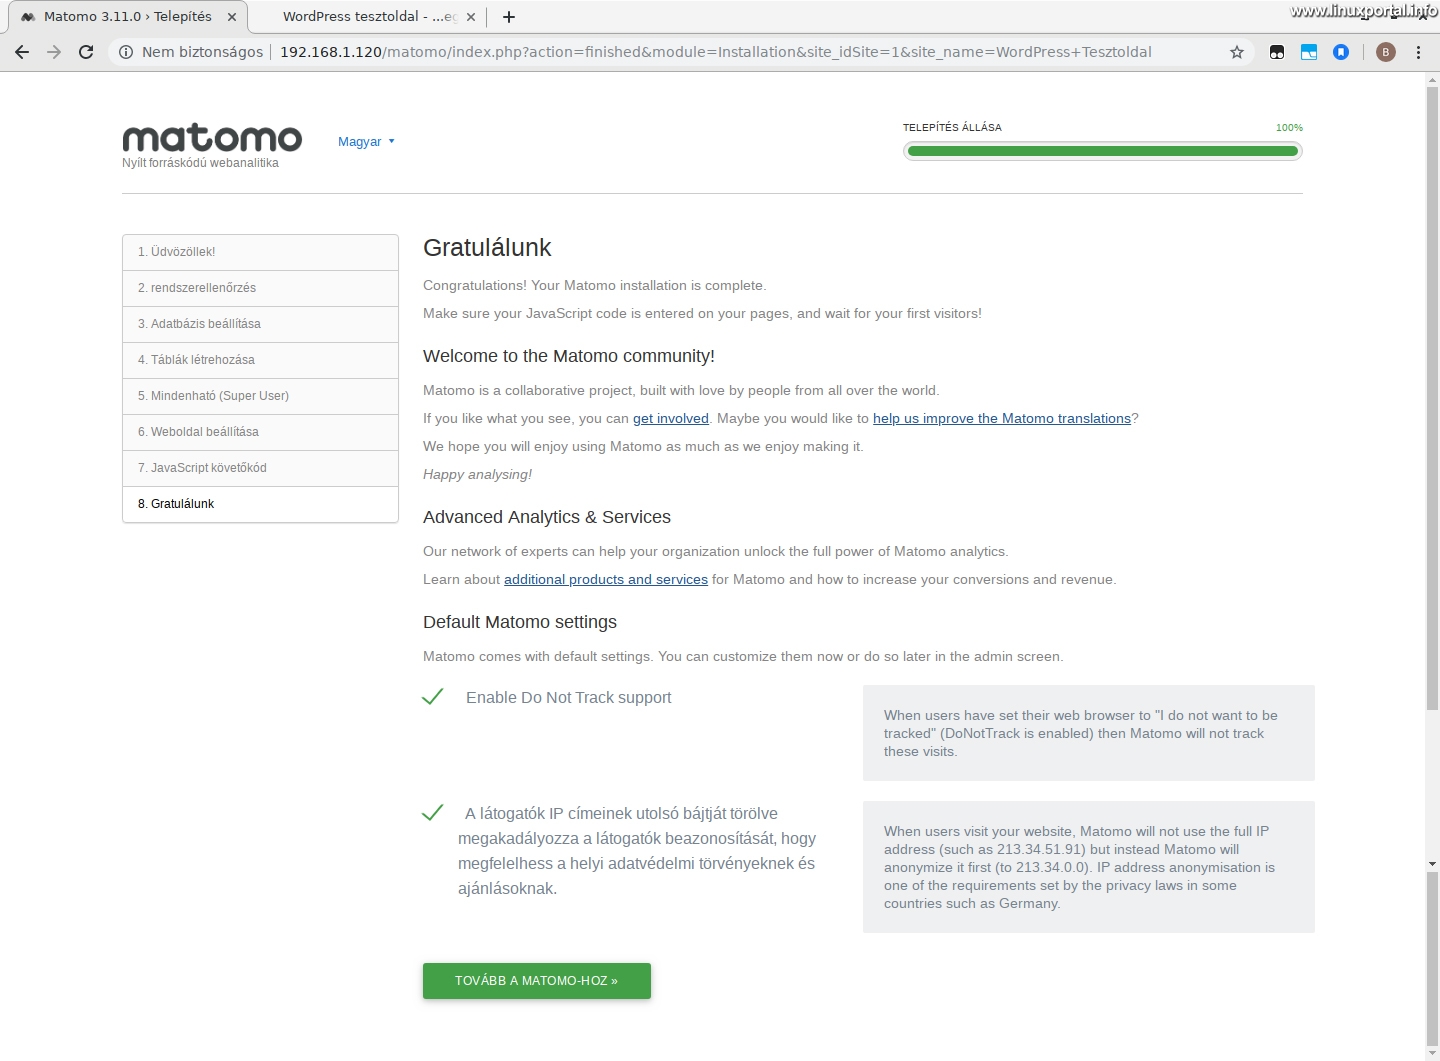
- Enable Do Not Track support: If enabled, visitors to webpages will have the option to refuse to track their visits.
- IP address anonymization setting: Here, in order to preserve anonymity, Matomo cuts it off IP addresses last segment.
Adjust these to suit your needs, then click the Next button below. With this the installation is complete, the system will redirect you to the login page.
First login
If you have successfully completed the installation process, you will find yourself in the access panel:

Log in with the super user configured during installation.
After logging in, the control panel will come in, but for the time being it receives a warning stating that no data has been logged yet, and again offers to install the tracking code:

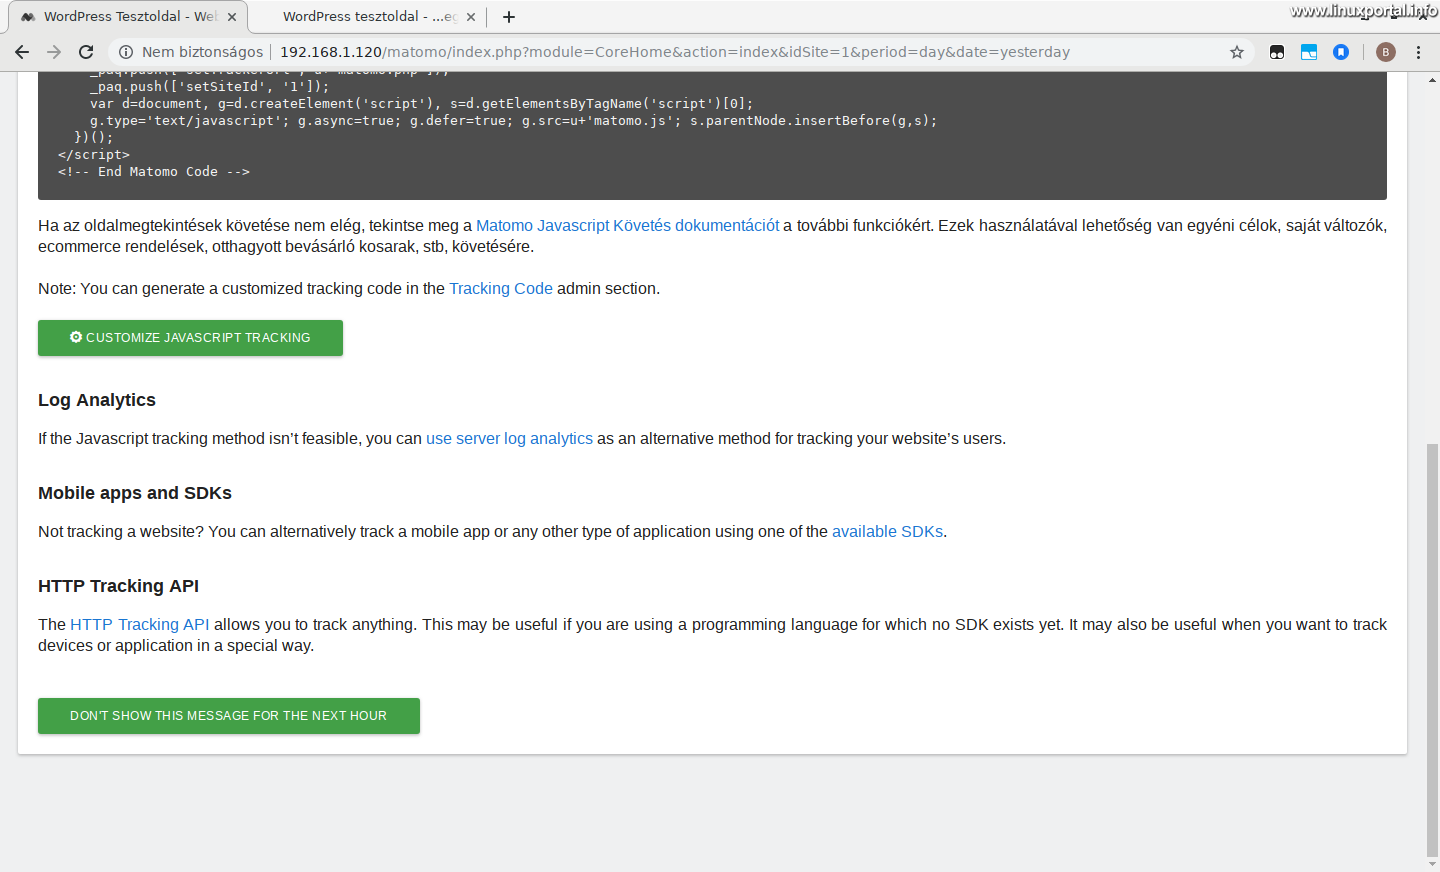
Here we act according to our own situation: if we have a unique website, place the offered measurement code in the source code in front of its closing member, or if you have a CMS system, you need to look for a plug-in for it.
And if you click the green button at the bottom of the page, which will remove this warning for the next hour, you'll be taken to the regular control panel, which has no data yet:
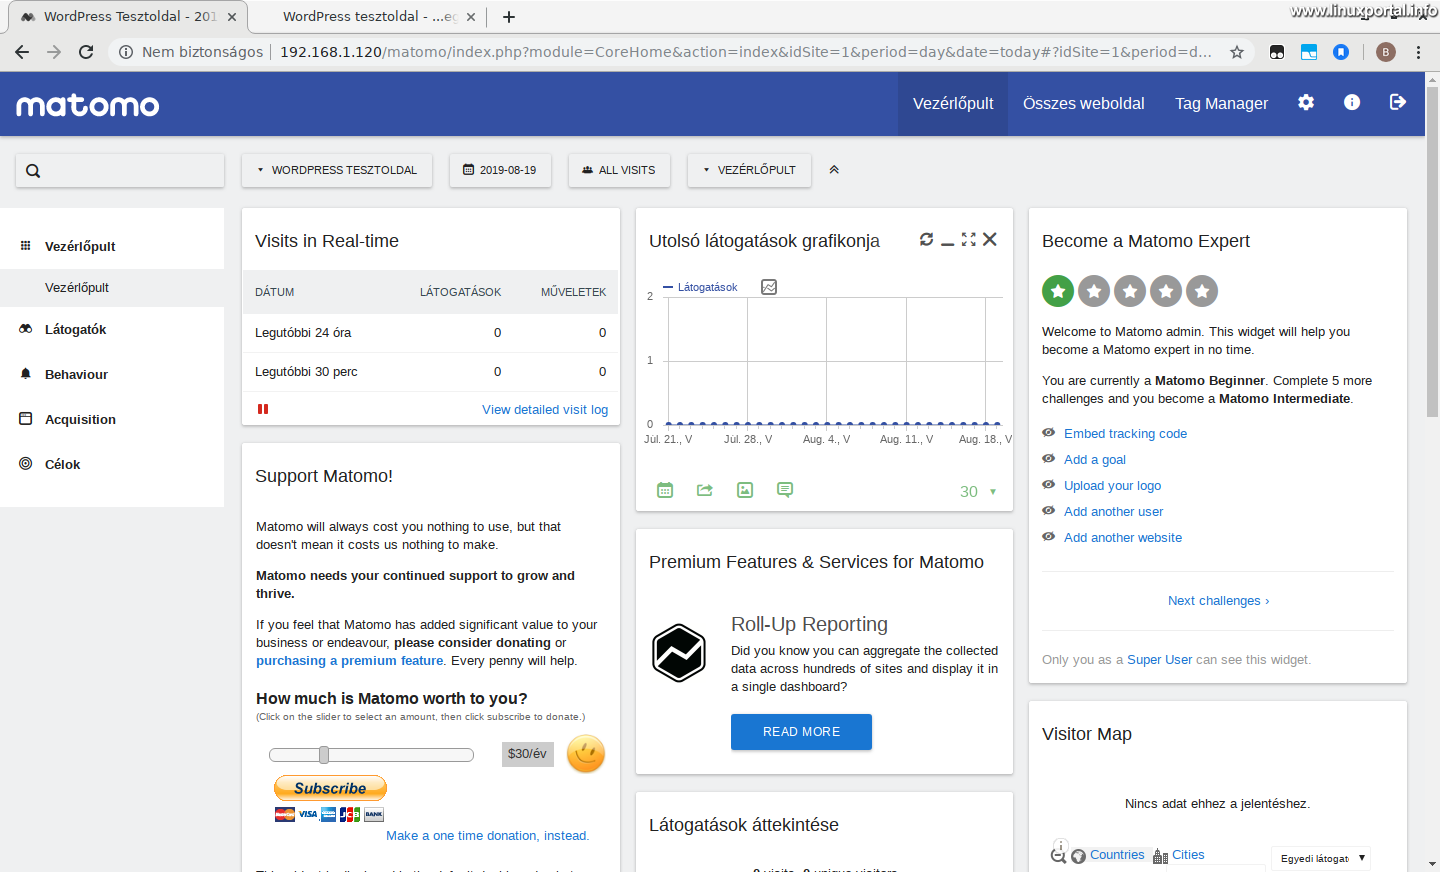
Then our first thing will be to incorporate the tracking code into our site - which is what next page We are getting on.
- Encyclopedia - Matomo (Piwik) web analytics
- How to upgrade our Matomo (formerly Piwik) web analytics system to version 4.x.
- Matomo.org
- Matomo.org - Installation
- What should we do if our Matomo web analytics system generates "AH01630: client denied by server configuration" type Apache errors that causes Fail2Ban to block our IP address?
- Server monitoring with Munin on Debian 9 (Stretch) and Debian 10 (Buster)
Navigation
- To post registration and login required
- 115 views