
In this brief description I will describe ISPConfig 3 web host control panel update in a few steps. The operation is very simple, just a command line we need to answer some questions and we are ready.
Now we will upgrade from 3.1.11 to 3.1.12, but the same applies to other versions.
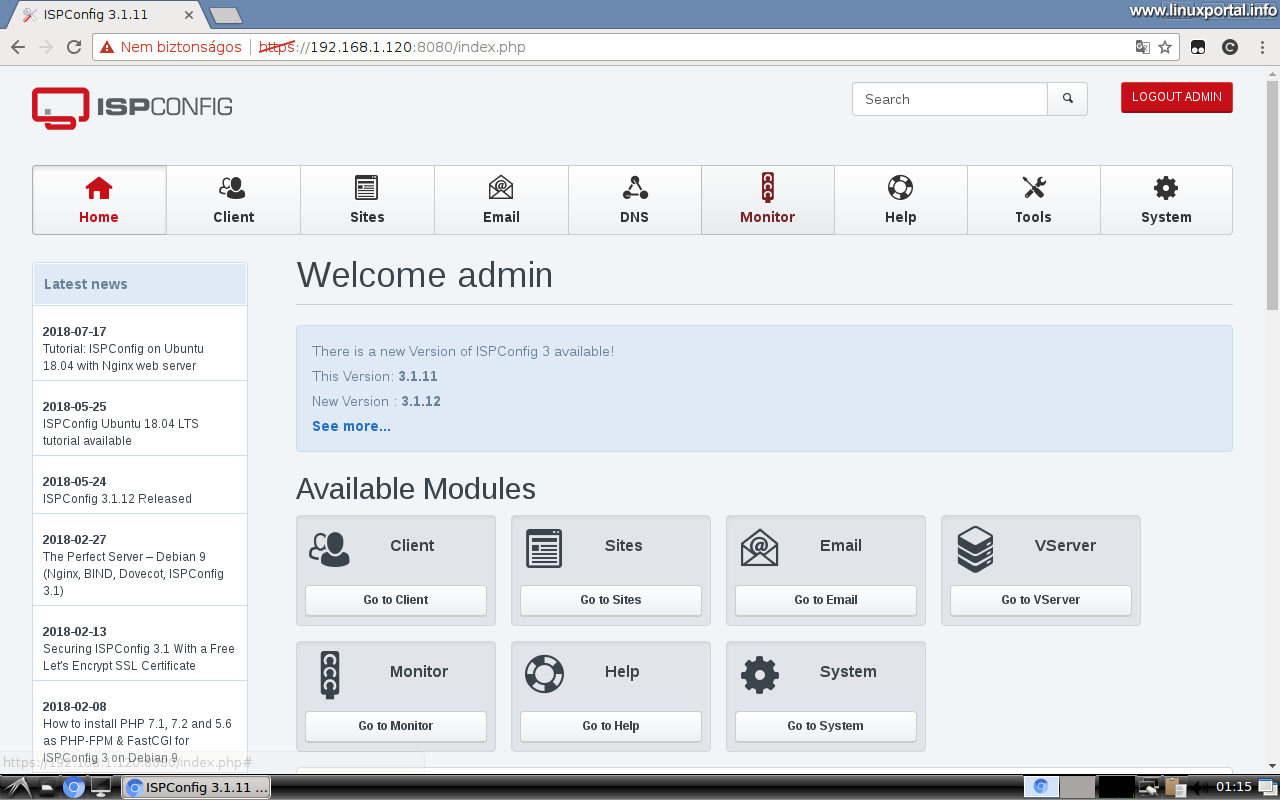
By entering the ISPConfig control panel interface as an Admin, the system will immediately inform you of the available update on the home screen:
In this case, open a terminal and run the update script as root:
sudo ispconfig_update.sh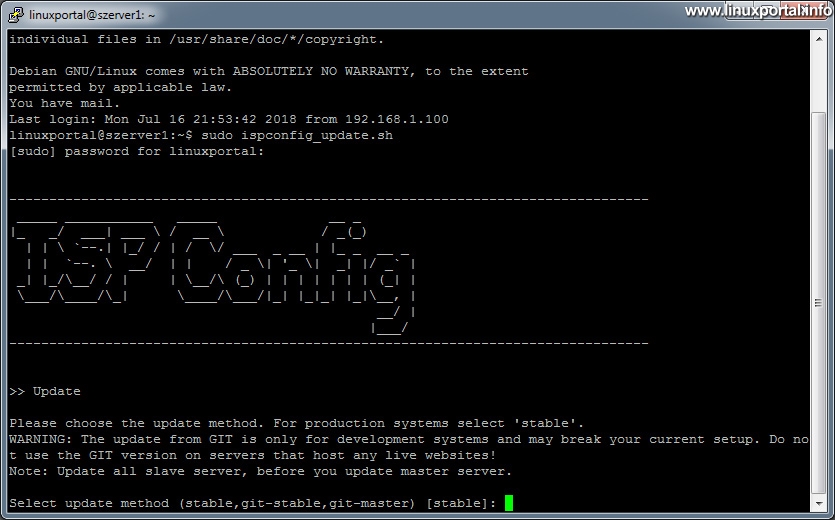
The control panel text logo appears, and the first question is what upgrade method should we choose (stable release, Github version, etc.). Here, select the default "[stable]" option between square brackets, so press enter. You will then download the fresh package and ask if you want to back up your current system and place it in the / var / backup directory:

After saving the backup copy in its place, it runs the PHP and the MySQL update files, and then ask if you can delete the obsolete JavaScript file:
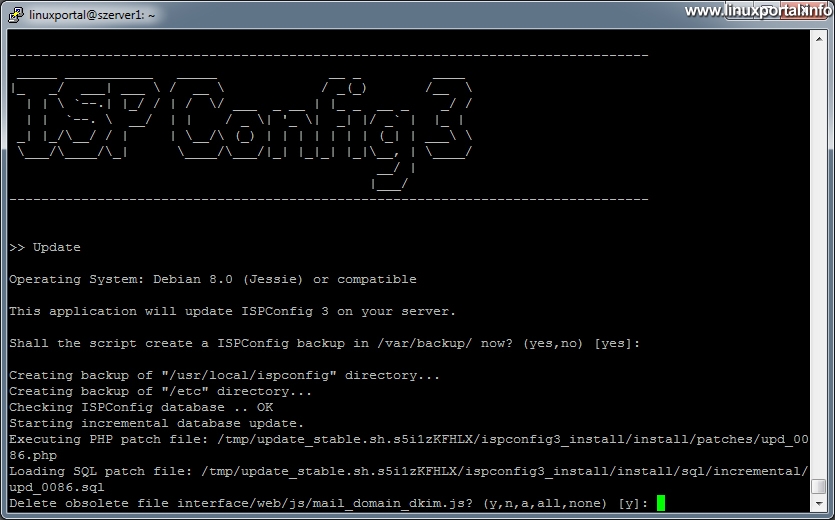
Of course, you will only be asked about this file now when you upgrade this version, so this section will change with each update to see which one is outdated and replaced. So be sure to delete them at this time to avoid losing sight of the file system. Press Enter and you will be prompted one by one if there are multiple files to delete, or enter "all" before enter and delete all at once. We can trust this refresh process, you know what you no longer need.
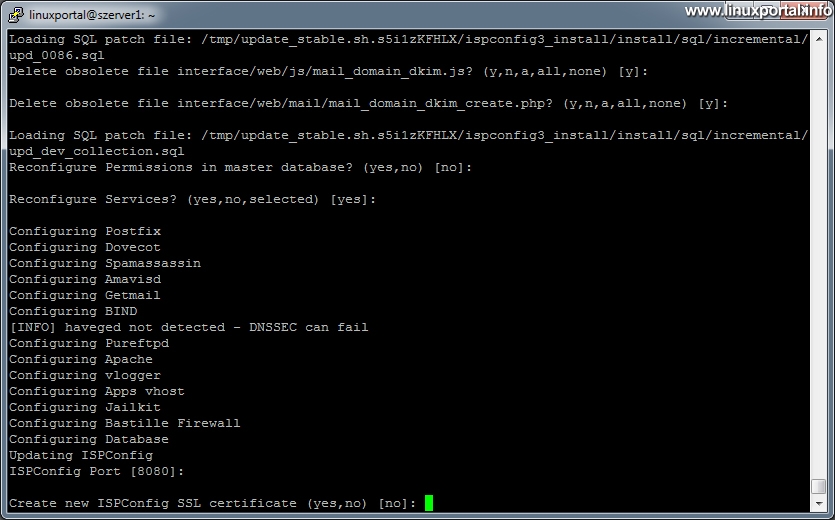
You then run another MySQL upgrade section and ask you to reconfigure the permissions in the main control panel database:

The default answer here is the default, which we can leave as we do not need to tamper with the permissions, so hit enter.
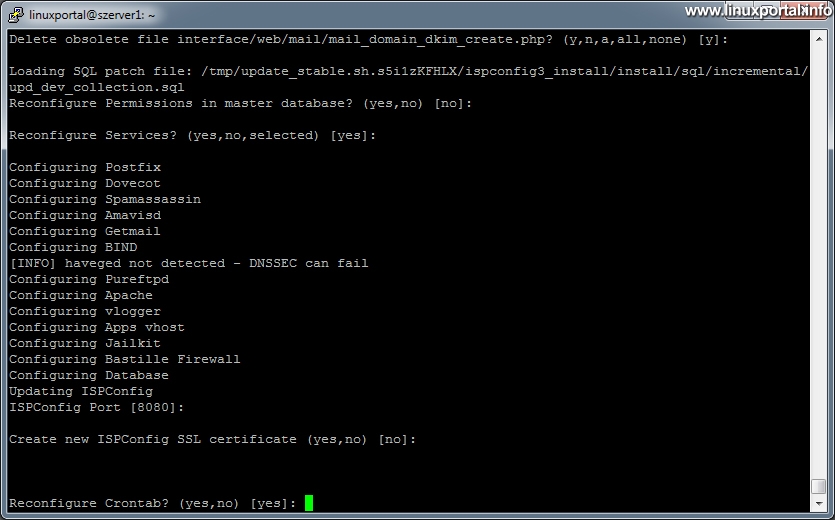
In the next step, a default will ask you to reconfigure the services again option:

Here we accept the yes option, press enter.
You will then reconfigure the features shown in the following image,

then asks for the ISPConfig port number, default to the previous port number. Unless you want to change the ISPConfig control panel access port, hit enter.
In the next step you will be asked if we want a new one SSL generate certificate:
So if no new SSL generation is needed, press enter.
Then comes the reconfiguration of the cron timing system, a default one again option, leave the default option here, press enter:
You then reconfigure crontab and restart the services:
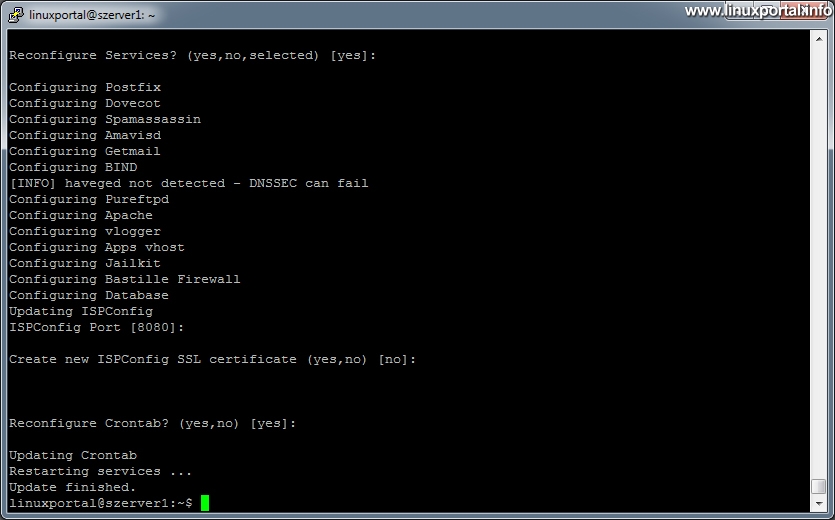
And finally, if all goes well, the upgrade is done and we get the command line back.
Then, quit and then return to ISPConfig as an admin (this is how the version control is updated) and look at the result:

The upgrade process does not take more than about 2-3 minutes. If there is no extreme situation, you can add default options to essentially any question by pressing the enter keys.
It is advisable to keep the control panel up to date, and in many cases important security updates or bug fixes will be included in the new version.
- To post registration and login required
- 255 views