
Content
- Introductory
- Prerequisites
- Configure custom PHP versions in the ISPConfig interface
- Conclusion
Introductory
If you have more than one web site on our server, you may need different web pages PHP version to operate. ISPConfig using it is a very simple task as the control panel can run multiple versions of PHP at the same time. In this tutorial, we'll walk you through how to configure PHP instances installed on your server with FastCGI and PHP-FPM modes.
Prerequisites
You need certain conditions to make the settings, let's see what these are:
server Configuration
The first step is to install a server that contains the ISPConfig control panel. For example, one of the following:
- Perfect server: Debian 8 (Jessie) v1.0 (Installation guide | download virtual machine)
- Perfect server: Debian 8 (Jessie) v1.1 (download virtual machine)
- Perfect server: Debian 9 (stretch) v1.0 (Installation guide | download virtual machine)
- Perfect server: Debian 10 (Buster) v1.0 (Installation guide | download virtual machine) (offer)
- Perfect server: Ubuntu 18.04 LTS v1.0 (coming soon)
So any server is good for this task, you can choose which one to put together, or if you just want to try, you can also download the virtual machines. In this description, I will use the bold highlighted version of Debian 10, and I recommend this as well, as this is currently the latest server version on the site.
Here's a guide to setting up virtual machines: How to configure VirtualBox for basic systems (Although a new one has come out since the writing of the description VirtualBox version, the setting process is still the same).
Installed PHP instances
Another condition is that there are several different versions of PHP systems available on the server. In this description, we will not cover individual PHP installations, but will focus only on configuring ISPConfig. However, in the past we have already prepared a point-by-step guide, of which we only need to perform the first page, and from here we only need to install the PHP versions we need:
So once again, let's just execute the first page of the link I just linked, the rest is set up in the ISPConfig interface.
Configure custom PHP versions in the ISPConfig interface
If the above conditions are met then the PHP settings in ISPConfig can come.
Check for available PHP versions
First, check which PHP versions are available. You can skip this step, but it's a good idea to check if, for example, PHP versions have been installed before, so we don't remember exactly which versions are on the server. To do this, run the following commands:
ls -al /etc/php
ls -al /run/php
The first command checks the existence of PHP installation libraries, and the second command checks the socket files of the various versions needed for PHP-FPM to work. These are output from my Debian 10 perfect server:

For the sake of today's example, I have now installed all available PHP versions, which are also listed ( phpMyAdmin socket file still in the Installing Debian 10 LAMP Server so it is present). Of course, it is not mandatory to install and configure all of them, but which one you want to use.
Create a new PHP version in ISPConfig
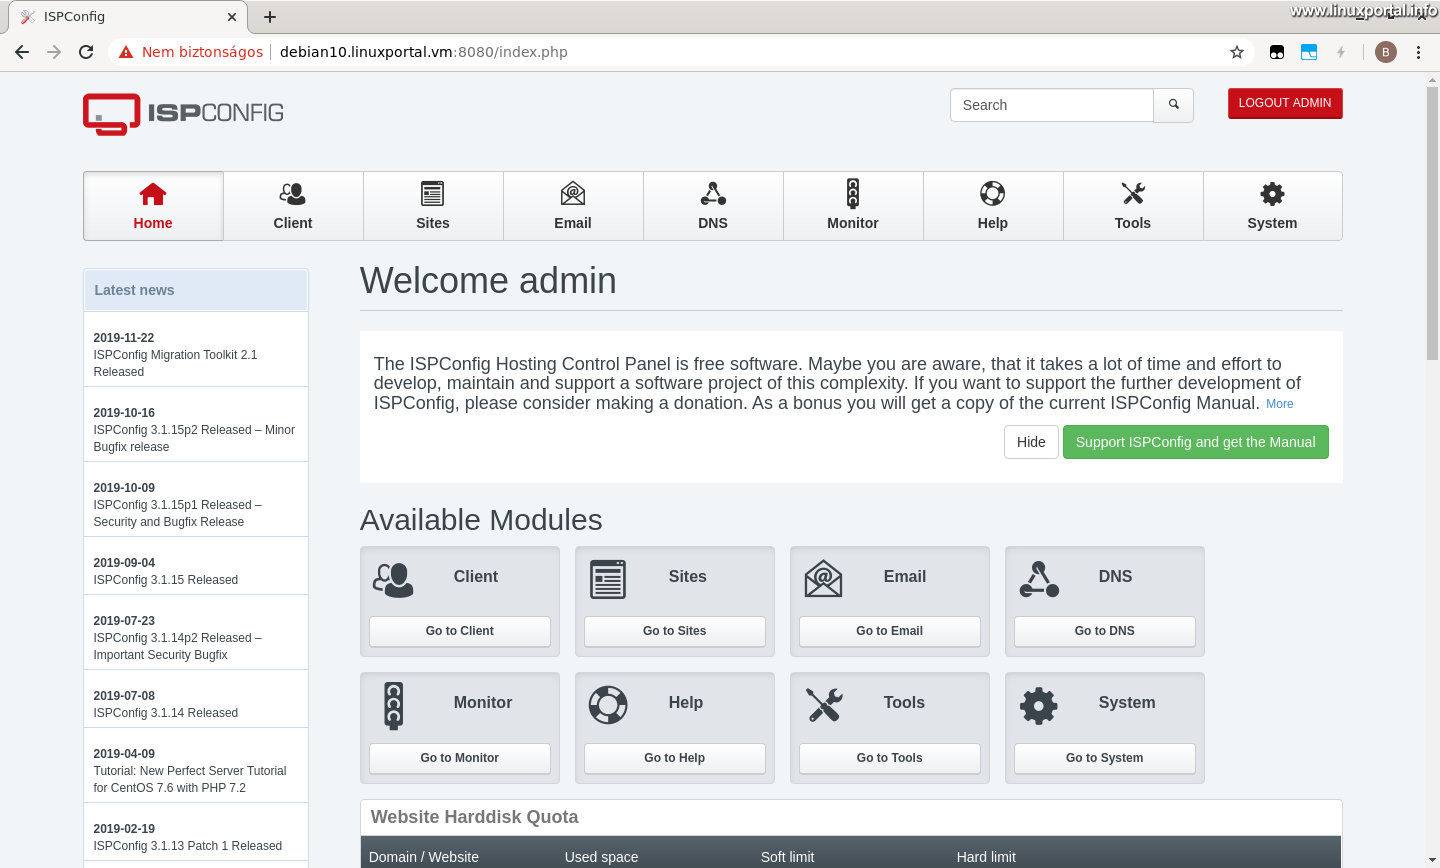
When ISPConfig is available on our server, enter the interface as Admin (I left the interface language in the original setting, so it will appear in English):
Let's move to the top right System main menu, then to the left Additional PHP Versions menu:

Click here for the green Add new PHP version button. This will bring up the new PHP form:
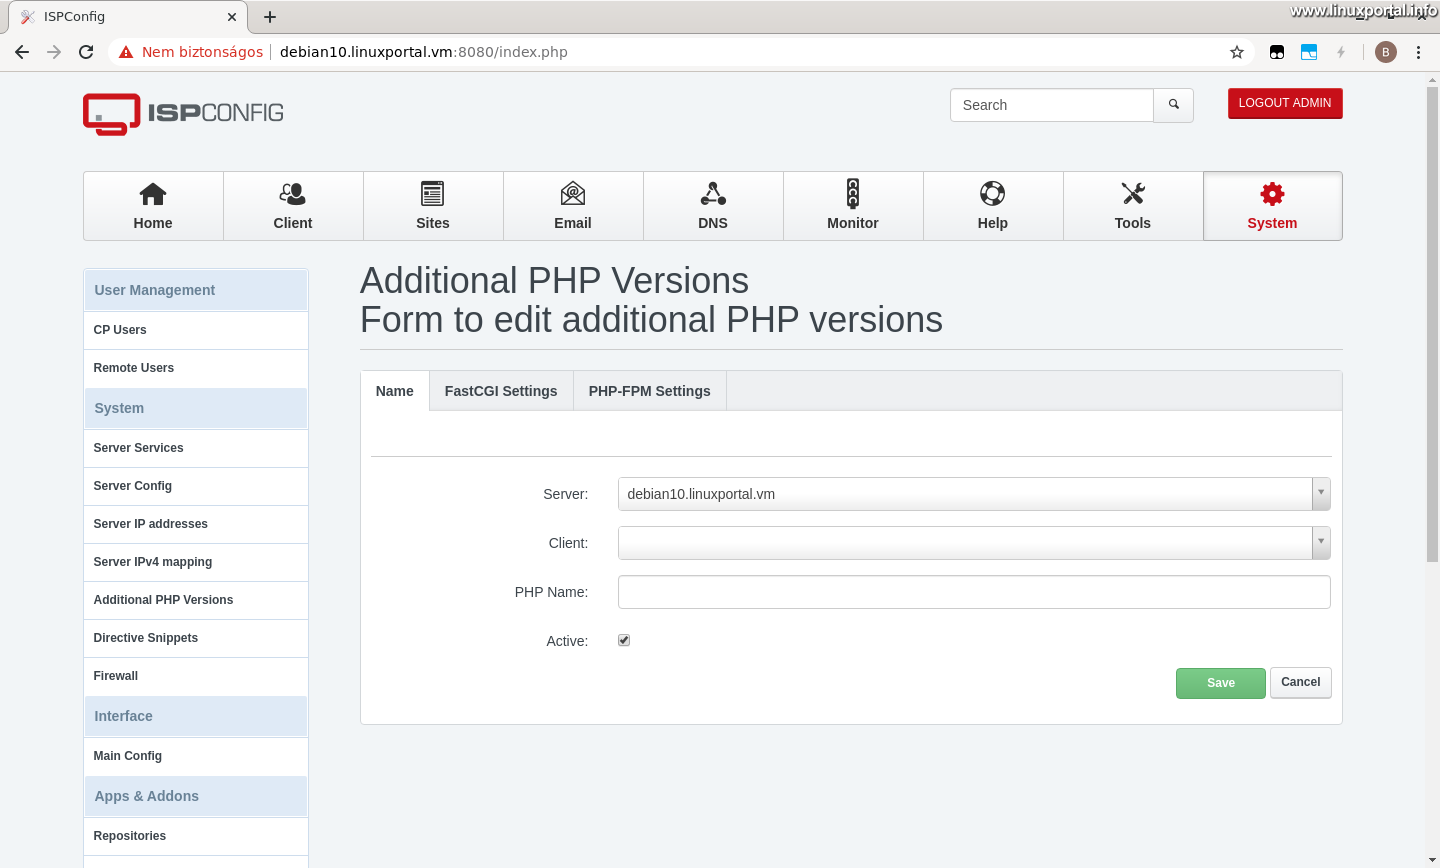
So with this option you need to create and configure all the unique PHP versions you want to use. Below, we'll review the settings for these PHP versions.
Configuring PHP 5.6
Name tab

- Server: Select the name of your server
- Client: If you are using clients, it is advisable to leave it blank so that all clients will have access to this version of PHP.
- PHP Name: PHP 5.6
- Active: kite
FastCGI Settings tab

- Path to the PHP FastCGI binary: php cgi5.6
- Path to the php.ini directory: /etc/php/5.6/cgi
Note here that you do not need to use an absolute path for the first value, because the php-cgi files / usr / bin are in the directory that are included in the path by default:

So you don't need a / sign at the beginning or the end.
The second setting (ini directory path) is an absolute path, so it starts with /!
PHP-FPM Settings tab

- Path to the PHP-FPM init script: php5.6-fpm
- Path to the php.ini directory: / etc / php / 5.6 / fpm
- Path to the PHP-FPM Pool directory: /etc/php/5.6/fpm/pool.d
Here, too, at the first setup, the system will automatically a /etc/init.d/ will look for the init script in the directory, so you only need to enter the filename itself. For the other two options, you must specify the php.ini and PHP-FPM pool directories with absolute paths. They do not need a / sign at the end.
Finally, save the form.
Configuring PHP 7.0
Let's create a newer PHP version and set everything up the same way as the previous one. I'm not taking pictures here anymore, so beware of relative and absolute paths here too!
Name tab
- Server: Select the name of your server
- Client: Leave it blank
- PHP Name: PHP 7.0
- Active: kite
FastCGI Settings tab
- Path to the PHP FastCGI binary: php cgi7.0
- Path to the php.ini directory: /etc/php/7.0/cgi
PHP-FPM Settings tab
- Path to the PHP-FPM init script: php7.0-fpm
- Path to the php.ini directory: / etc / php / 7.0 / fpm
- Path to the PHP-FPM Pool directory: /etc/php/7.0/fpm/pool.d
Configuring PHP 7.1
The next is the same ...
Name tab
- Server: Select the name of your server
- Client: Leave it blank
- PHP Name: PHP 7.1
- Active: kite
FastCGI Settings tab
- Path to the PHP FastCGI binary: php cgi7.1
- Path to the php.ini directory: /etc/php/7.1/cgi
PHP-FPM Settings tab
- Path to the PHP-FPM init script: php7.1-fpm
- Path to the php.ini directory: / etc / php / 7.1 / fpm
- Path to the PHP-FPM Pool directory: /etc/php/7.1/fpm/pool.d
Configuring PHP 7.2
Name tab
- Server: Select the name of your server
- Client: Leave it blank
- PHP Name: PHP 7.2
- Active: kite
FastCGI Settings tab
- Path to the PHP FastCGI binary: php cgi7.2
- Path to the php.ini directory: /etc/php/7.2/cgi
PHP-FPM Settings tab
- Path to the PHP-FPM init script: php7.2-fpm
- Path to the php.ini directory: / etc / php / 7.2 / fpm
- Path to the PHP-FPM Pool directory: /etc/php/7.2/fpm/pool.d
Configuring PHP 7.3
Name tab
- Server: Select the name of your server
- Client: Leave it blank
- PHP Name: PHP 7.3
- Active: kite
FastCGI Settings tab
- Path to the PHP FastCGI binary: php cgi7.3
- Path to the php.ini directory: /etc/php/7.3/cgi
PHP-FPM Settings tab
- Path to the PHP-FPM init script: php7.3-fpm
- Path to the php.ini directory: / etc / php / 7.3 / fpm
- Path to the PHP-FPM Pool directory: /etc/php/7.3/fpm/pool.d
Configuring PHP 7.4
Name tab
- Server: Select the name of your server
- Client: Leave it blank
- PHP Name: PHP 7.4
- Active: kite
FastCGI Settings tab
- Path to the PHP FastCGI binary: php cgi7.4
- Path to the php.ini directory: /etc/php/7.4/cgi
PHP-FPM Settings tab
- Path to the PHP-FPM init script: php7.4-fpm
- Path to the php.ini directory: / etc / php / 7.4 / fpm
- Path to the PHP-FPM Pool directory: /etc/php/7.4/fpm/pool.d
Once we have all set, our list will look like this:

Configuring PHP 8.0
PHP 8 installation and configuration description completed:
Conclusion
So that would be setting up custom PHP versions in ISPConfig. After that, you can configure the web pages in the appropriate PHP version of the page. These PHP variants can be used in FastCGI and PHP-FPM modes, of which I recommend using more modern PHP-FPM.
- How to install newer PHP versions on our Debian 9 (Stretch) LAMP server in PHP-FPM mode
- How to install PHP 8 on your Debian or Ubuntu server
- How to manually change the PHP version of a website or web application running in a PHP-FPM pool?
- Perfect server: Debian 8 (Jessie) V1.0
- Perfect server: Debian 9 (stretch) V1.0
- Perfect server: Debian 10 (Buster) V1.0
- Encyclopedia - ISPConfig
- Encyclopedia - PHP
- Encyclopedia - PHP-FPM
- What's new and changed in PHP 8
- Download the perfect server: Debian 10 (Buster) v1.1
- To post registration and login required
- 632 views