Content
- page: Installing Windows 7
- page: Installing Debian 10 (Buster)
The 1. page content
Introductory
In this dual-boot description, we will first install a Windows 7 operating system and then an instance of Debian 10 (Buster). The installation is a 64-bit BIOS is based on a single machine MBR Partition Schema 64-bit systems will also be mounted on two partitions of a built-in hard disk.
This combination is of the simpler kind, and it is realistic, for example, to install a Debian system next to an existing Windows 7 for the sake of familiarity, so I consider this to be the most obvious part of the dual-boot / multi-boot description.
Prerequisites
Before starting the installation, you should consider examining the influencing factors and conditions to make sure this is the right setup for us. Because this applies to all parts of the dual-boot / multi-boot description series, this is the subject of the Multi-boot systems category page I collected the most important theoretical parts.
hardware environment
So here's a 64-bit BIOS machine that has a piece of 80GB blank hard disk (at least that's what this dual-boot installation is intended for). Also, I set up 4 processor cores and 4 GB RAM on the virtual machine, which is perfect for this purpose. If everything is available and installers are also at hand, we can also start the installation.
Installing Windows 7 (x64)
If you already have a Windows 7 system that you want to install as a secondary Debian 10 (Buster) operating system, you can skip the Windows 7 installer and configure the partitions during Debian installation. However, if you do not have anything installed on your machine, continue installing Windows 7.
After starting the computer with the Windows 7 installer and selecting the 64-bit version, the installer will ask you for the language settings
Language settings

Do not be fooled by the interface, because I have a Windows 10 version packed with the Windows 7 installation framework, so during the installation the windows of the installation process appear in a Windows 10 style, but the installation process remains the same.
Select your language settings and move on.
Installation
In the next step, you can choose between installation and "Repair your computer":

Of course, in the fresh installation, select the middle one Installation button. If there was a problem with an earlier installation, you might need to repair your computer.
Activating Windows
The next step is to activate Windows:

If you have a product key, enter it here. It is irrelevant for the presentation of the dual-boot installation whether Windows is activated, so I will continue with the "No product key" option below.
Select system type
Next, we need to select the type of system we want to install:
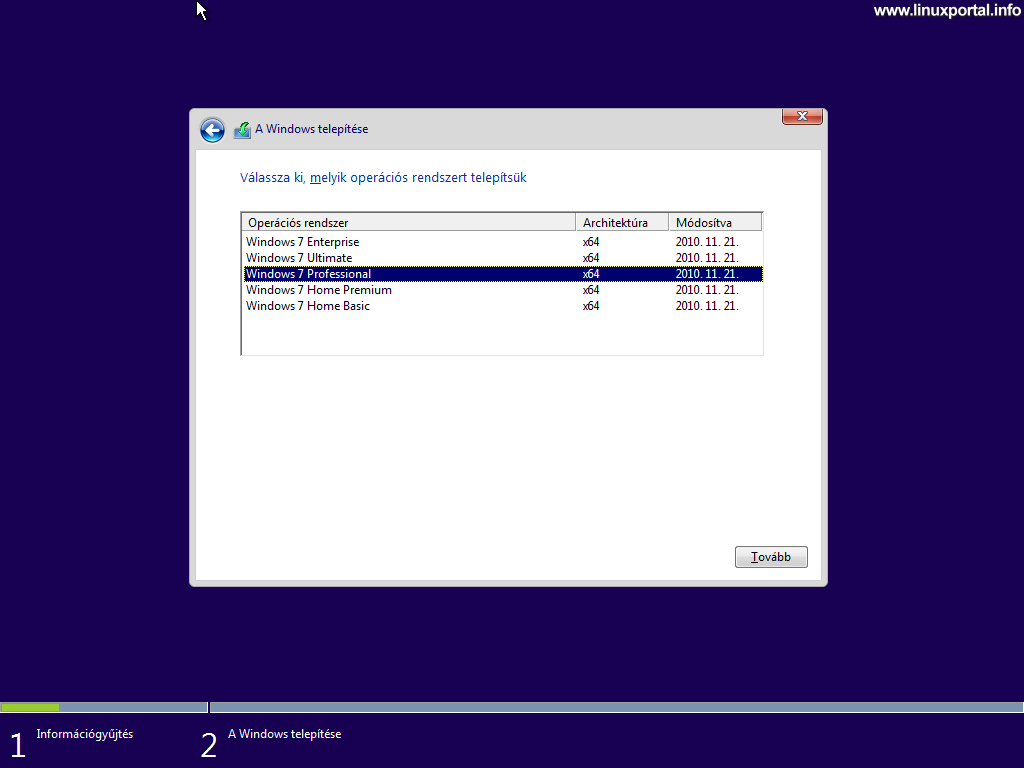
Here, select the version that corresponds to your product license. I am installing the Professional version.
Accept License Terms
Next, we need to accept the license terms:
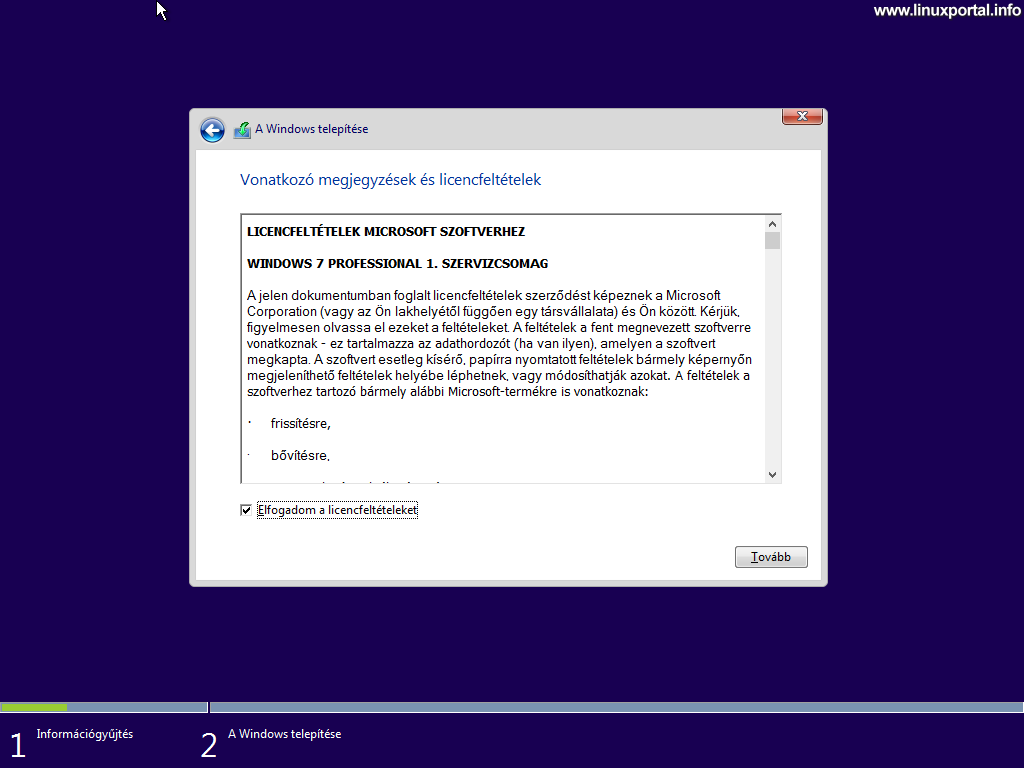
Check the checkbox below and then click next.
Installation method
In this step, you need to choose whether you want to perform a simpler update or customize the installation yourself with more detailed configuration options:

Select the bottom detailed installation method here.
Partitioning a disk
In terms of dual-boot installation, this is the first essential step we need to take judiciously so far. So here we need to partition the storage on the machine so that there is a free primary partition for both operating systems (or Debian will also need a swap partition). If no partition has been created on the hard disk, this status will be accepted in the first place:

So this machine has an 80GB storage that we will now split in two. If someone may already have partitions on their hard drive, you need to decide what to do with them. Considering that this description is about dual-boot installation on a mass storage device with an MBR partition schema, the number of options is limited: There can be a total of 4 primary partitions on the MBR-type disk. Two of these will be used by Windows and two by Debian. So in light of this, the options are:
- If there is one partition on the disk and there is still unpartitioned disk space that will be sufficient for the second (Debian 10) system (minimum 10-15 GB), install Windows on the first partition, if it suits us.
- If you have one or more partitions on the disk, you can delete them and start creating the partitions again.
- If you already have two partitions set up for the two systems, then you can install Windows on the first partition, and from the second partition and then install Debian, you need to clip a little bit for the swap partition, of course if you want a swap partition for Debian recommended).
In short, the Windows installer automatically splits the partition assigned to Windows into two additional primary partitions by cutting off the reserved system partition and re-creating the installation partition. So we don't have to go much further with Windows. The Debian part will be enough to deal with during the Debian installation.
Staying with my own example, I will now create a partition in 80 GB of free space that will be enough for Windows. Starting from the example of my laptop in use, which has a Debian 10 (with desktop) and a Windows 7, where Debian so far occupies a total of 15 GB and Windows 7 47 GB, so I say that the available 80 GB I create a 60 GB partition for Windows.
Once you have decided on the size of the first partition to be created for Windows 7, click on the "new" option. An input field will appear below the list of partitions, where you can specify the size of the partition to be created in MB. By default, it offers us the full size setting, which is 80 "MB" for the 81920GB HDD (below ...). So here I set up 61440 MB (60 * 1024) to come out to exactly 60 GB:

Then click "Apply".
And here we are warned that additional partitions can be created by the installer:

Click OK here.
You will then create two new partitions:

So here’s exactly what I wrote earlier: Out of the 60GB you set, you “rolled out” a 500MB system reserved partition, and the "remaining" 59,5 GB of space created the target partition where we are going to install it.
If you are so far and the selection is on the correct partition, click More button.
Installing Windows
Then the installer starts, which we have to wait for:


Machine restart
After the installer has run, restart the machine:

Windows setup
There are still a few things to do after the system starts up.
Username and hostname
First we need to enter the username of the main user of the system and the name of the computer:

Here, stop the data that suits us and click on More button.
Password
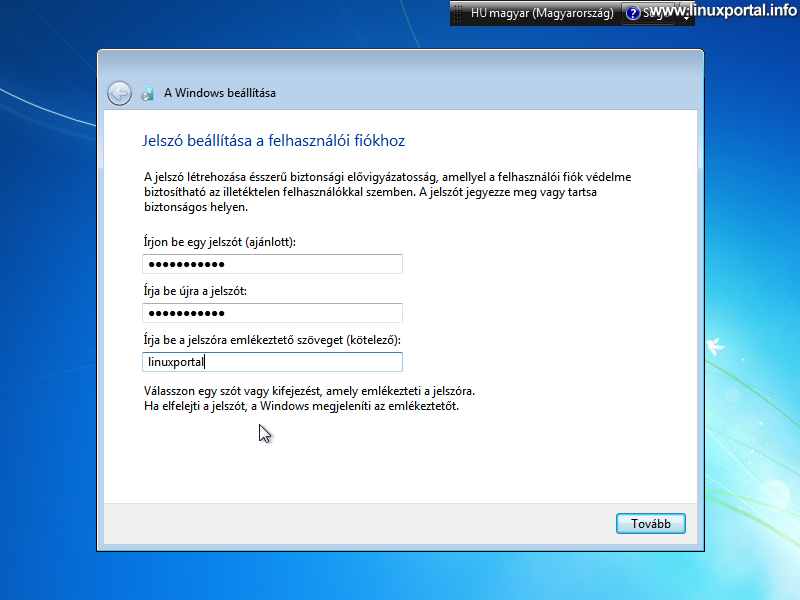
Then enter your password and move on.
Updates

At the beginning of this tutorial it was mentioned that Windows 7 is no longer supported, so whatever we choose here, the system will still work perfectly.
Set date and time
Then we can check the date and the correct time zone setting:

If all is right, then move on.
Set up a network

Set the option that suits your situation here. Normally, on a home computer behind a router, you should choose Home network. But if you use the machine in a different way, choose the setting that best fits your needs. You will then connect to the network and finalize your settings:
Finalize settings

You then prepare the table and you're ready to go.
Windows ready to use

So this would be the first part of this dual-boot installation, the next page we will continue installing Debian 10 (Buster) on another partition.
- Multi-boot systems
- Dual boot: Installing Windows 11 and Ubuntu 21.10 (Impish Indri) operating systems in UEFI mode on two partitions on a hard disk
- How to configure VirtualBox for graphical desktop operating systems
- Ubuntu 22.04 LTS (Jammy Jellyfish) UEFI Mode Installation
- Encyclopedia - BIOS (Basic Input Output System)
- Encyclopedia - MBR (Master Boot Record)
Navigation
- To post registration and login required
- 710 views